Overview
This guide will walk you through the process of creating a project in Carrier. Follow the steps below to get started.
Step 1: Log in to Carrier
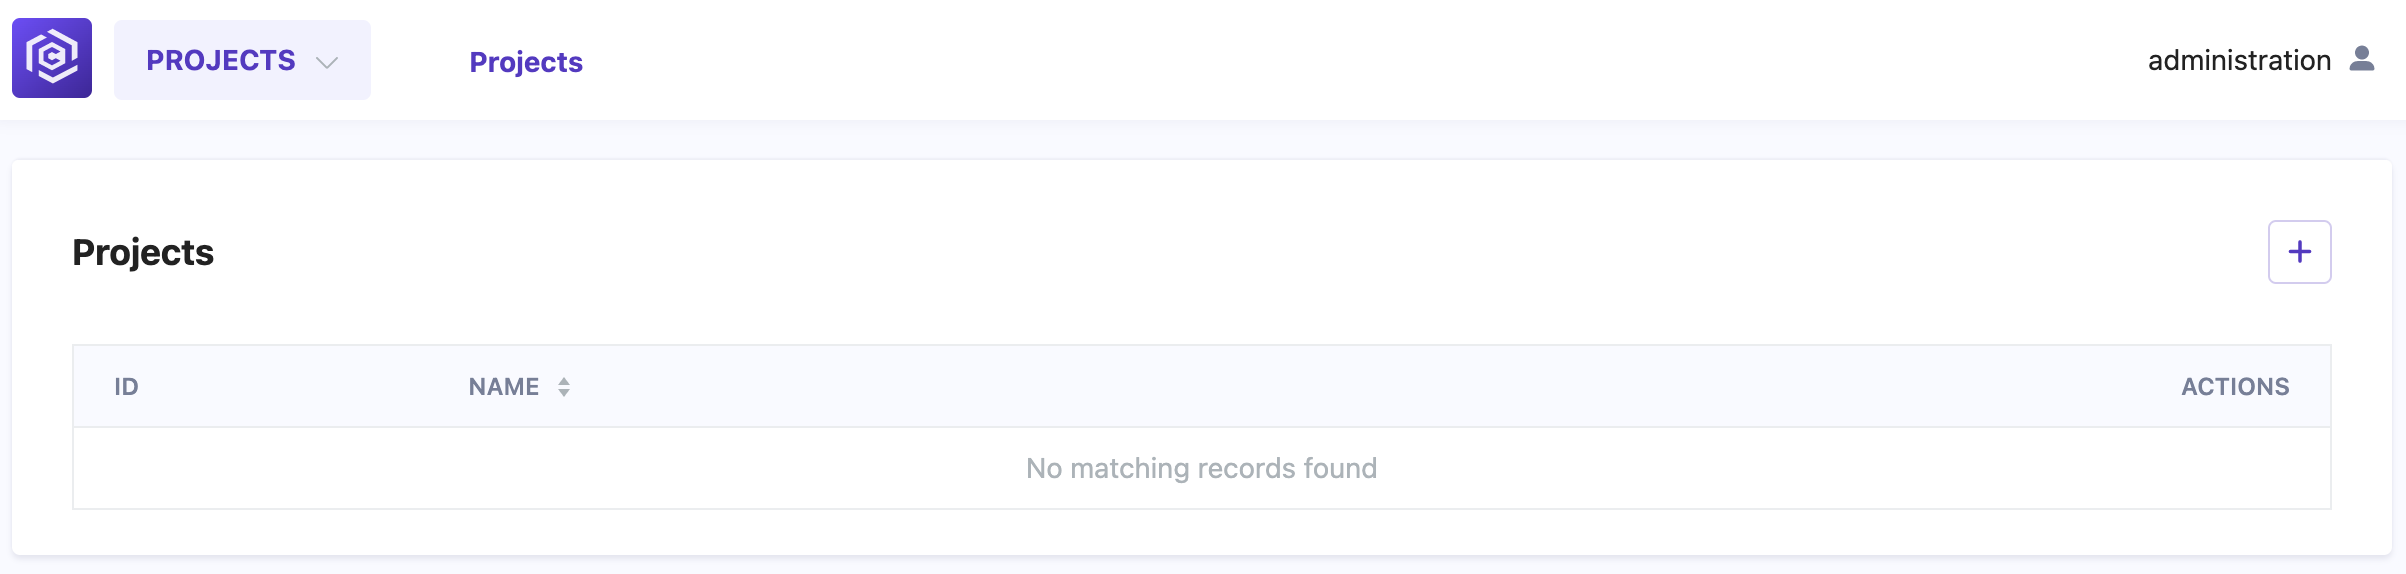
Once you have accessed the Carrier platform, you will be greeted with a page indicating that no projects have been created yet.
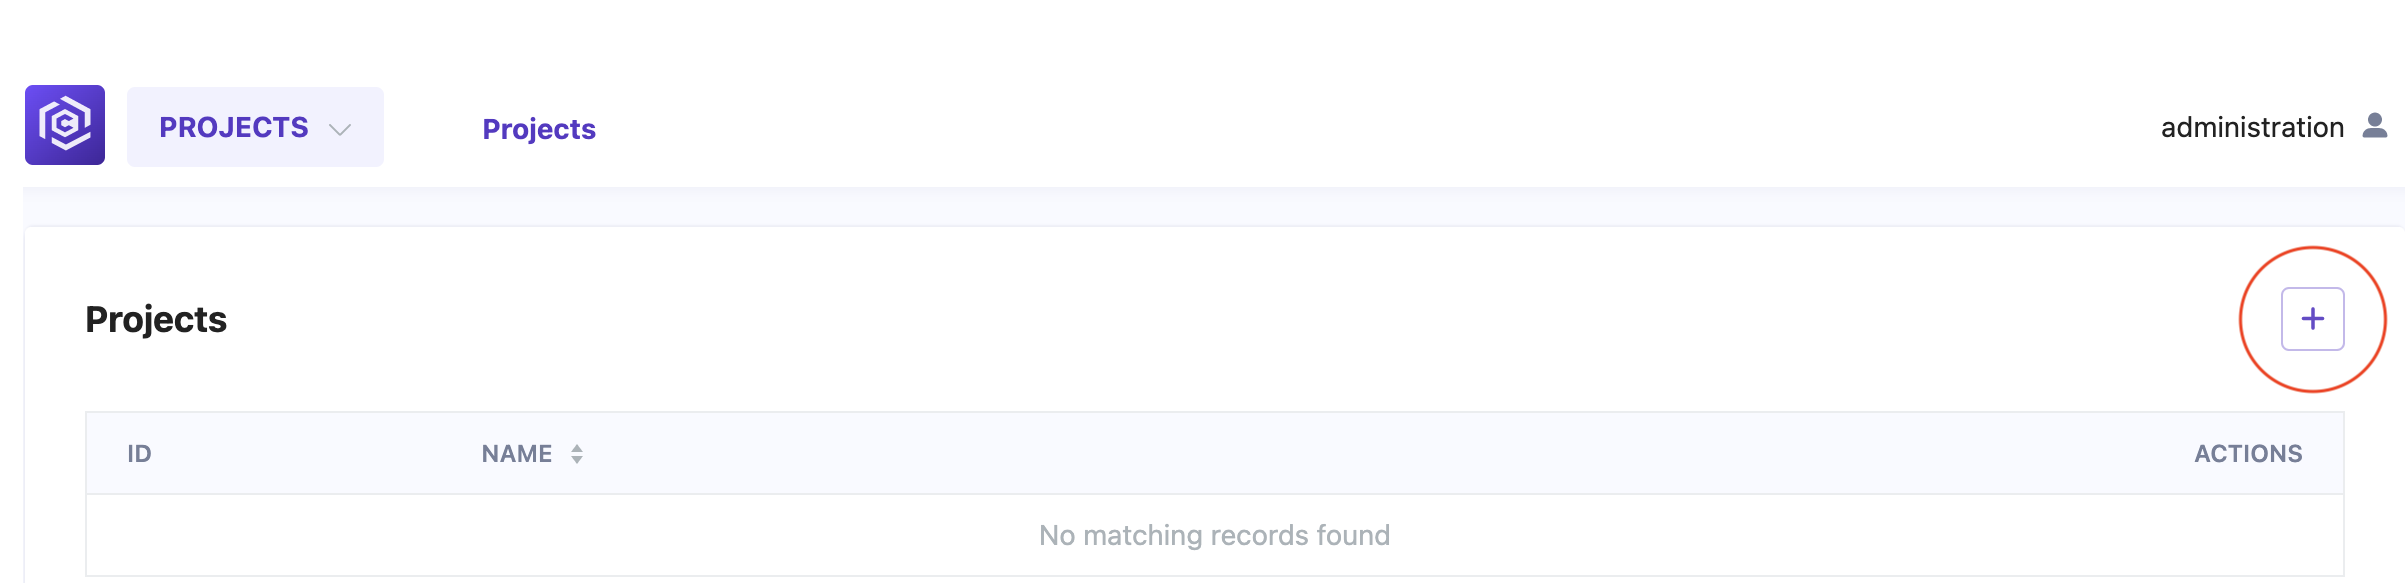
Step 2: Add a Project
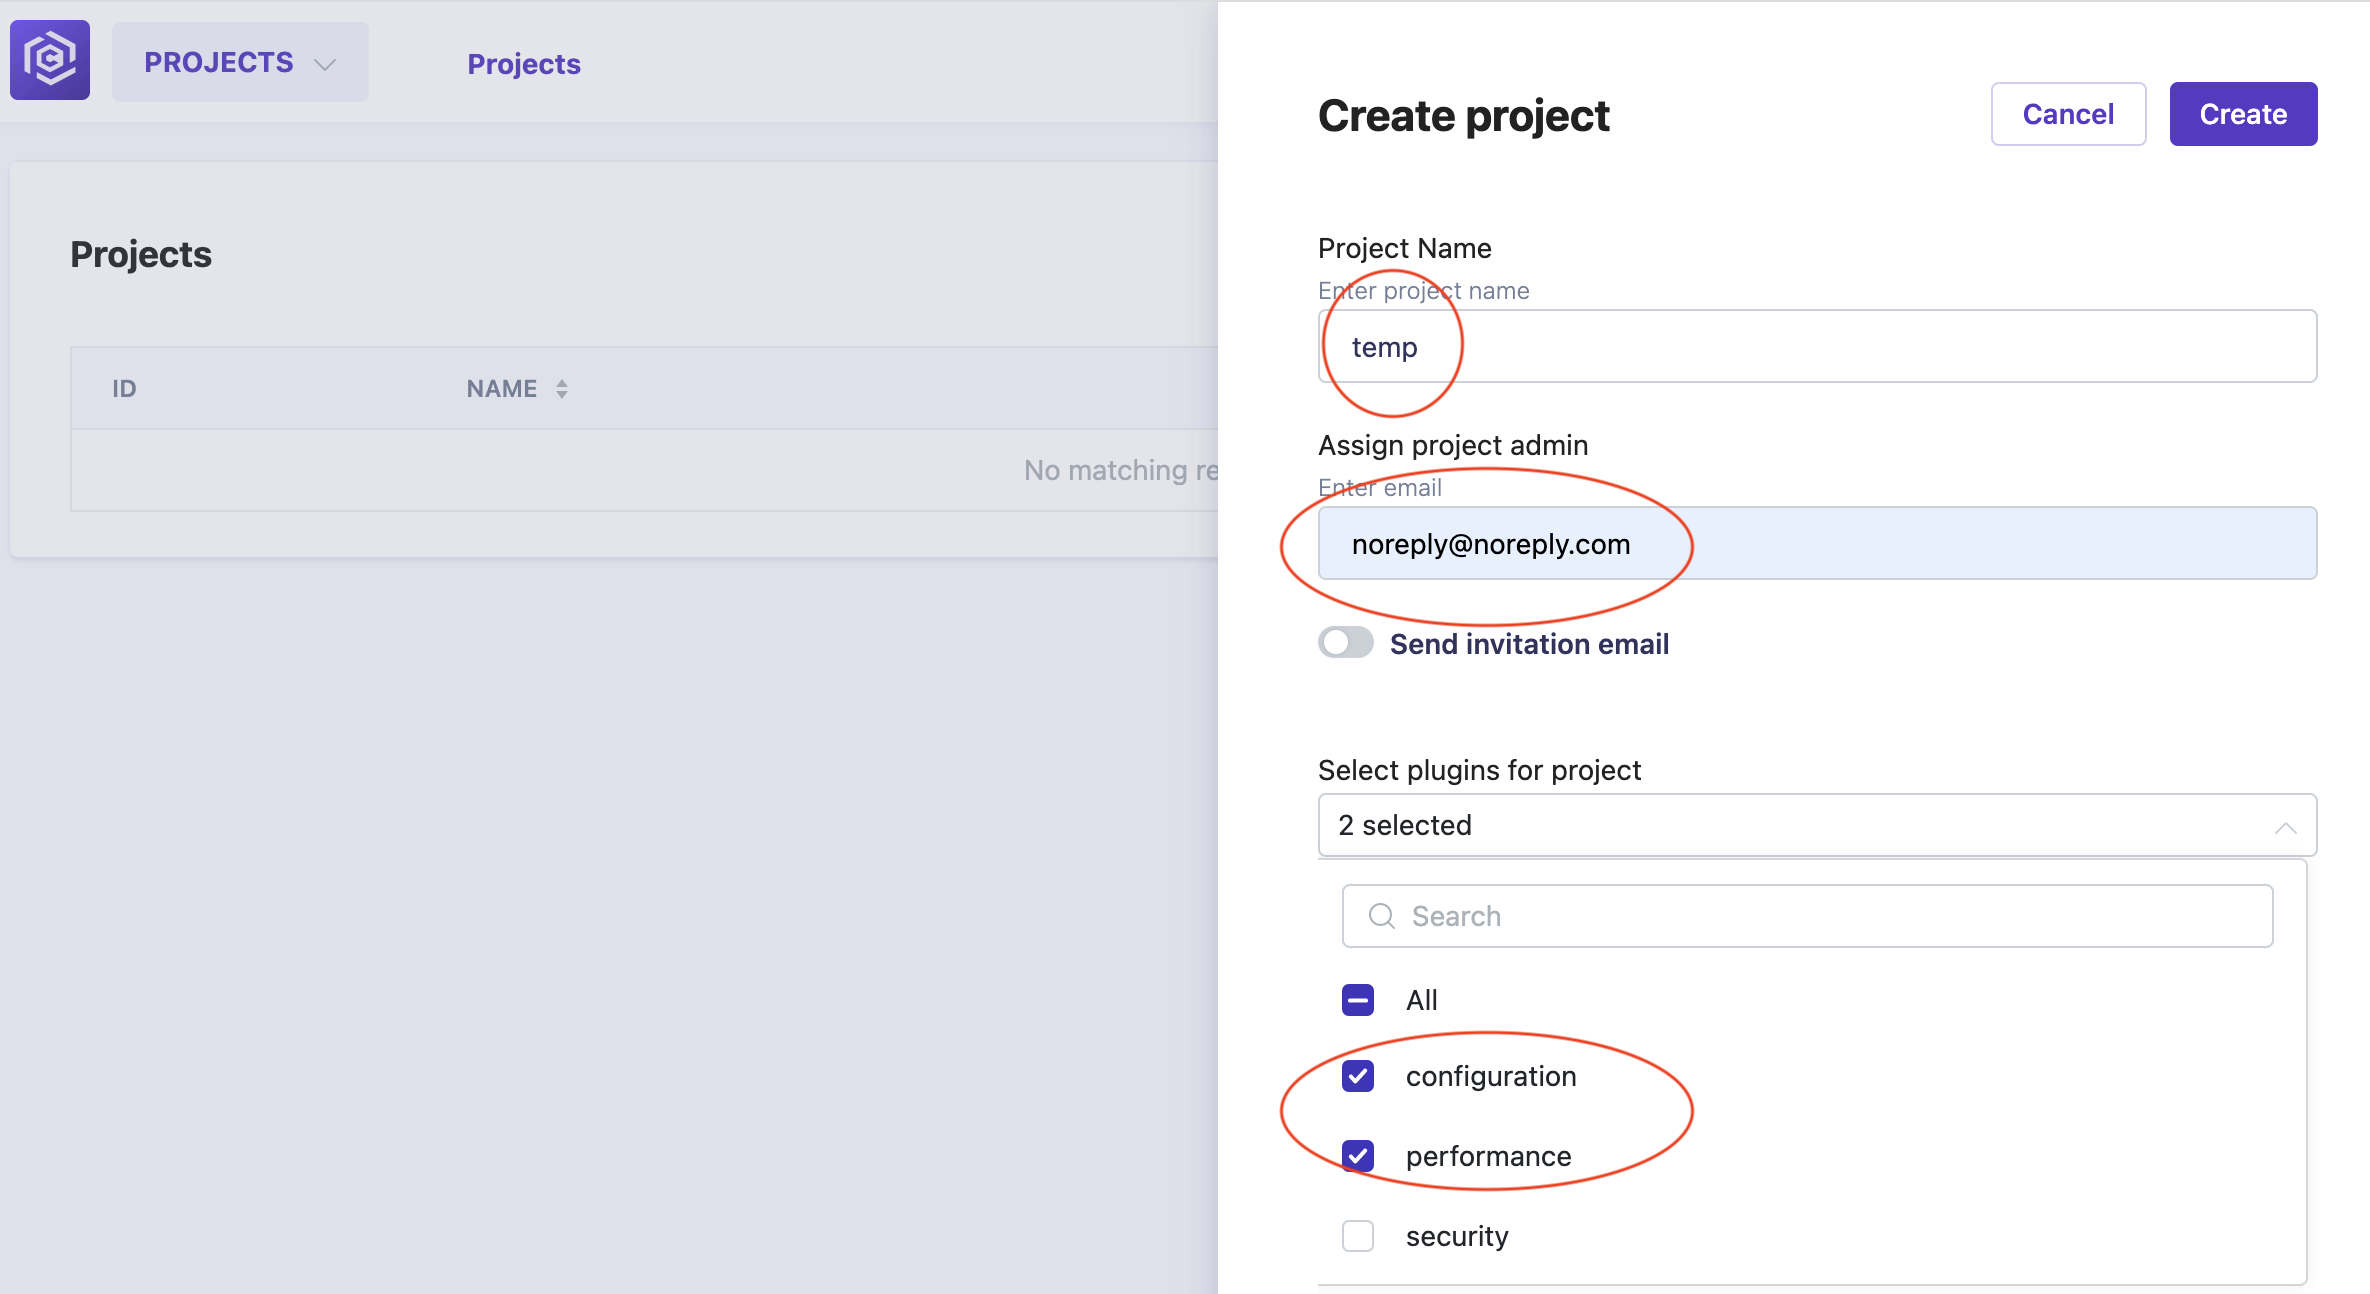
Click on the plus sign icon to add a new project. In the dialog box that appears, enter the name of your project and click “Create”.
Set a name for your project and provide an email address for the new user (e.g., noreply@noreply.com). Then, click “Create” to proceed.
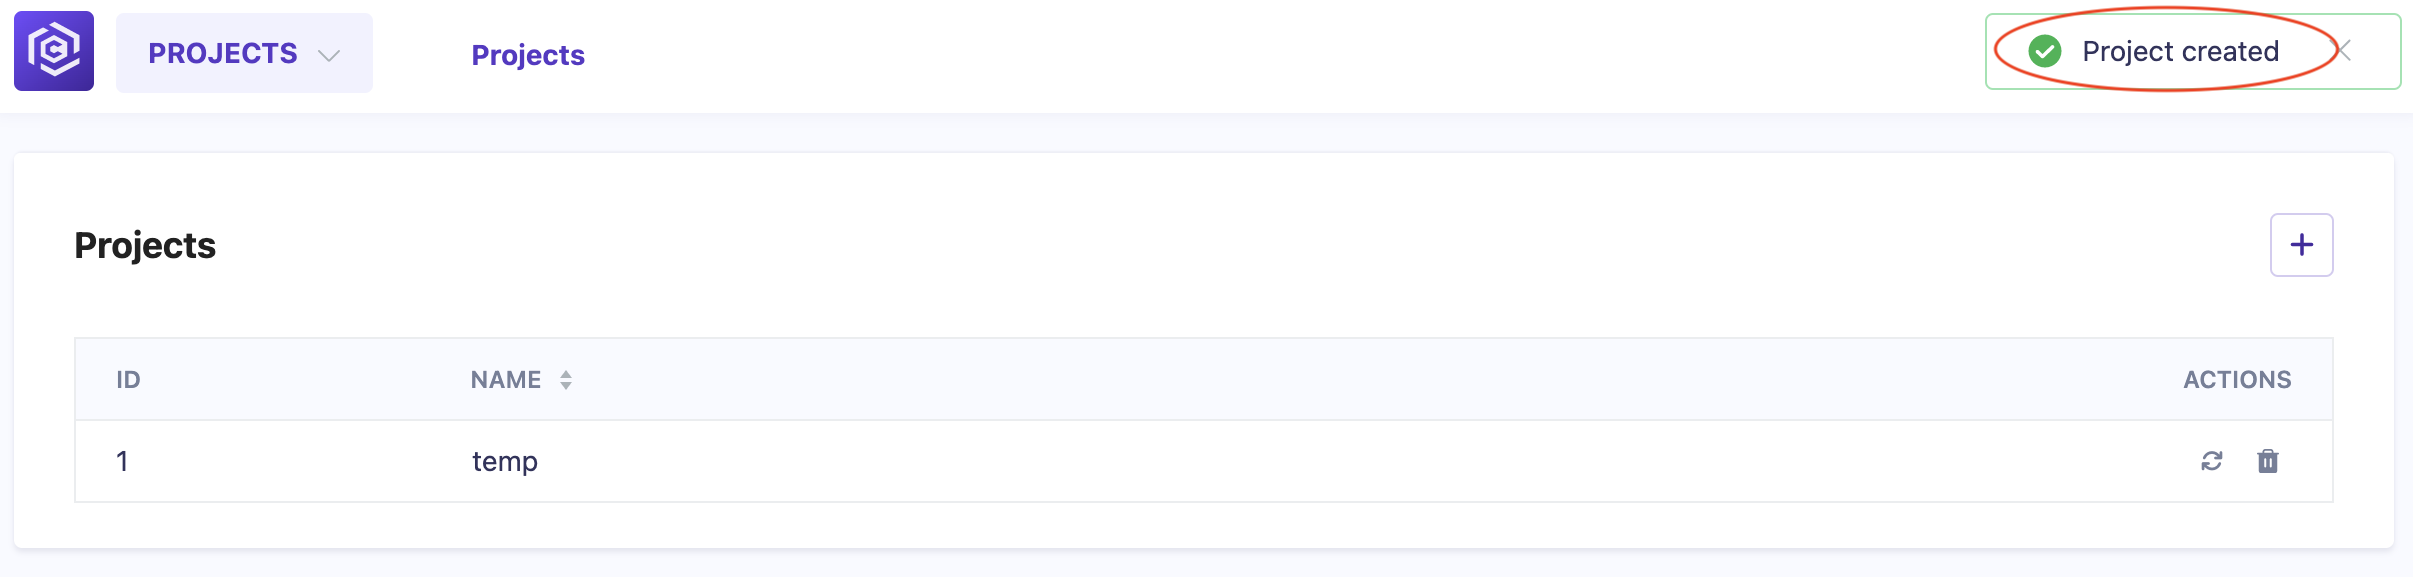
Step 3: Project Creation
Wait for the project creation process to complete.
To check for any errors during the creation process, monitor the
carrier-pylonlogs.
1
$ docker logs -f carrier-pylon
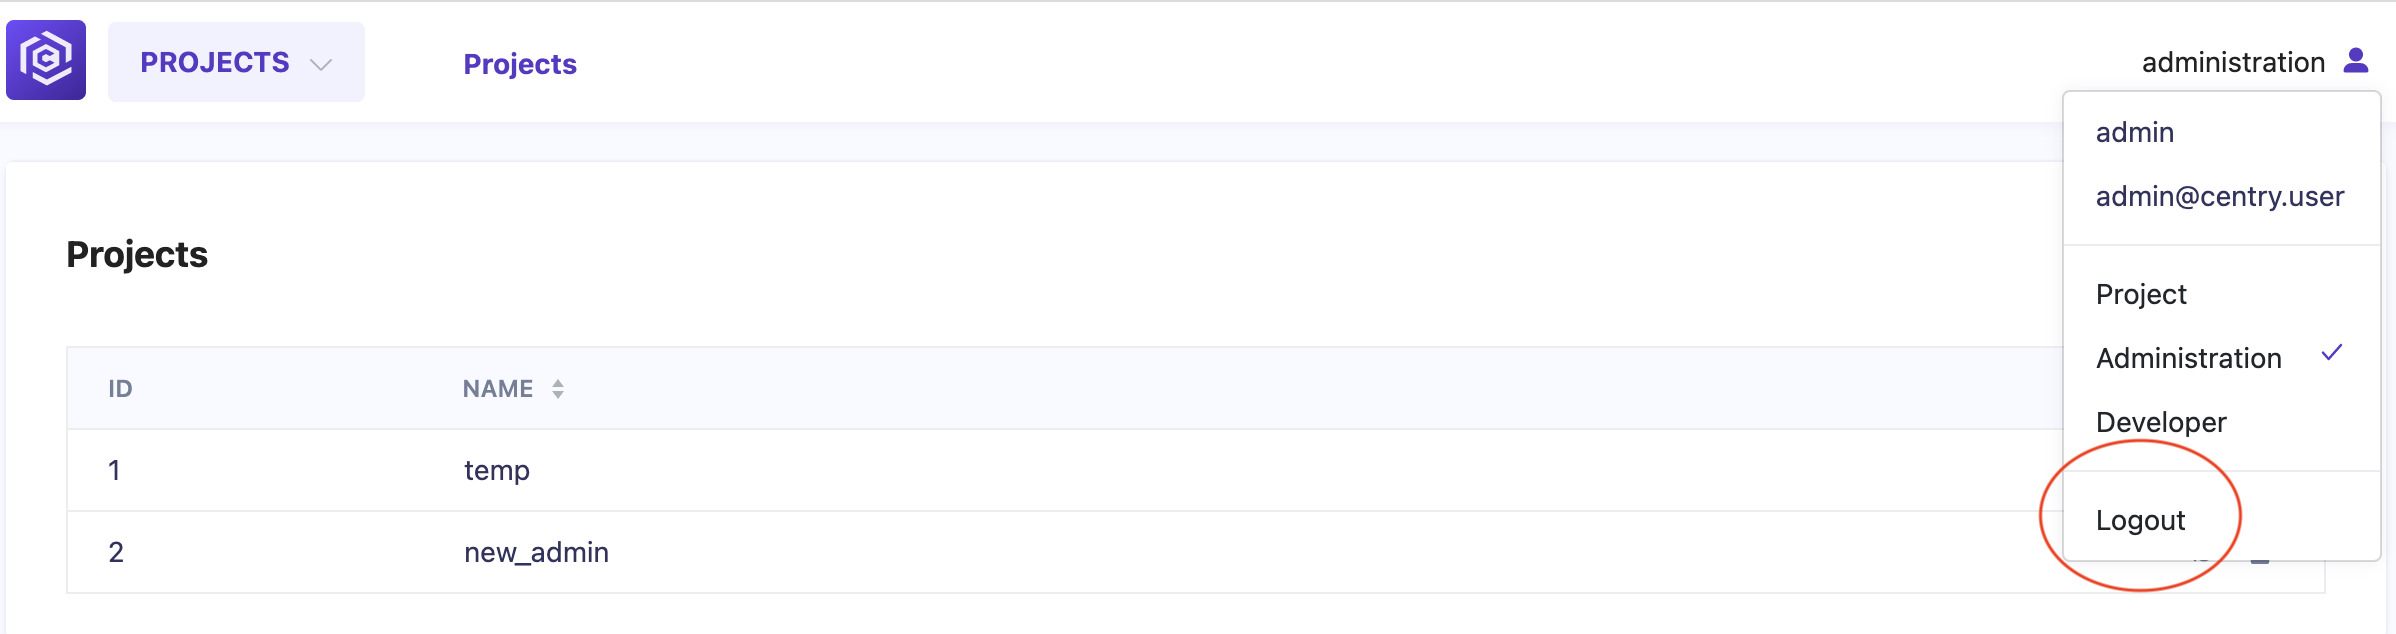
Step 4: Log Out
Once the project has been successfully created, you can log out of the current session. Click on the user icon and select “Logout”.
Step 5: Log in with New User Credentials
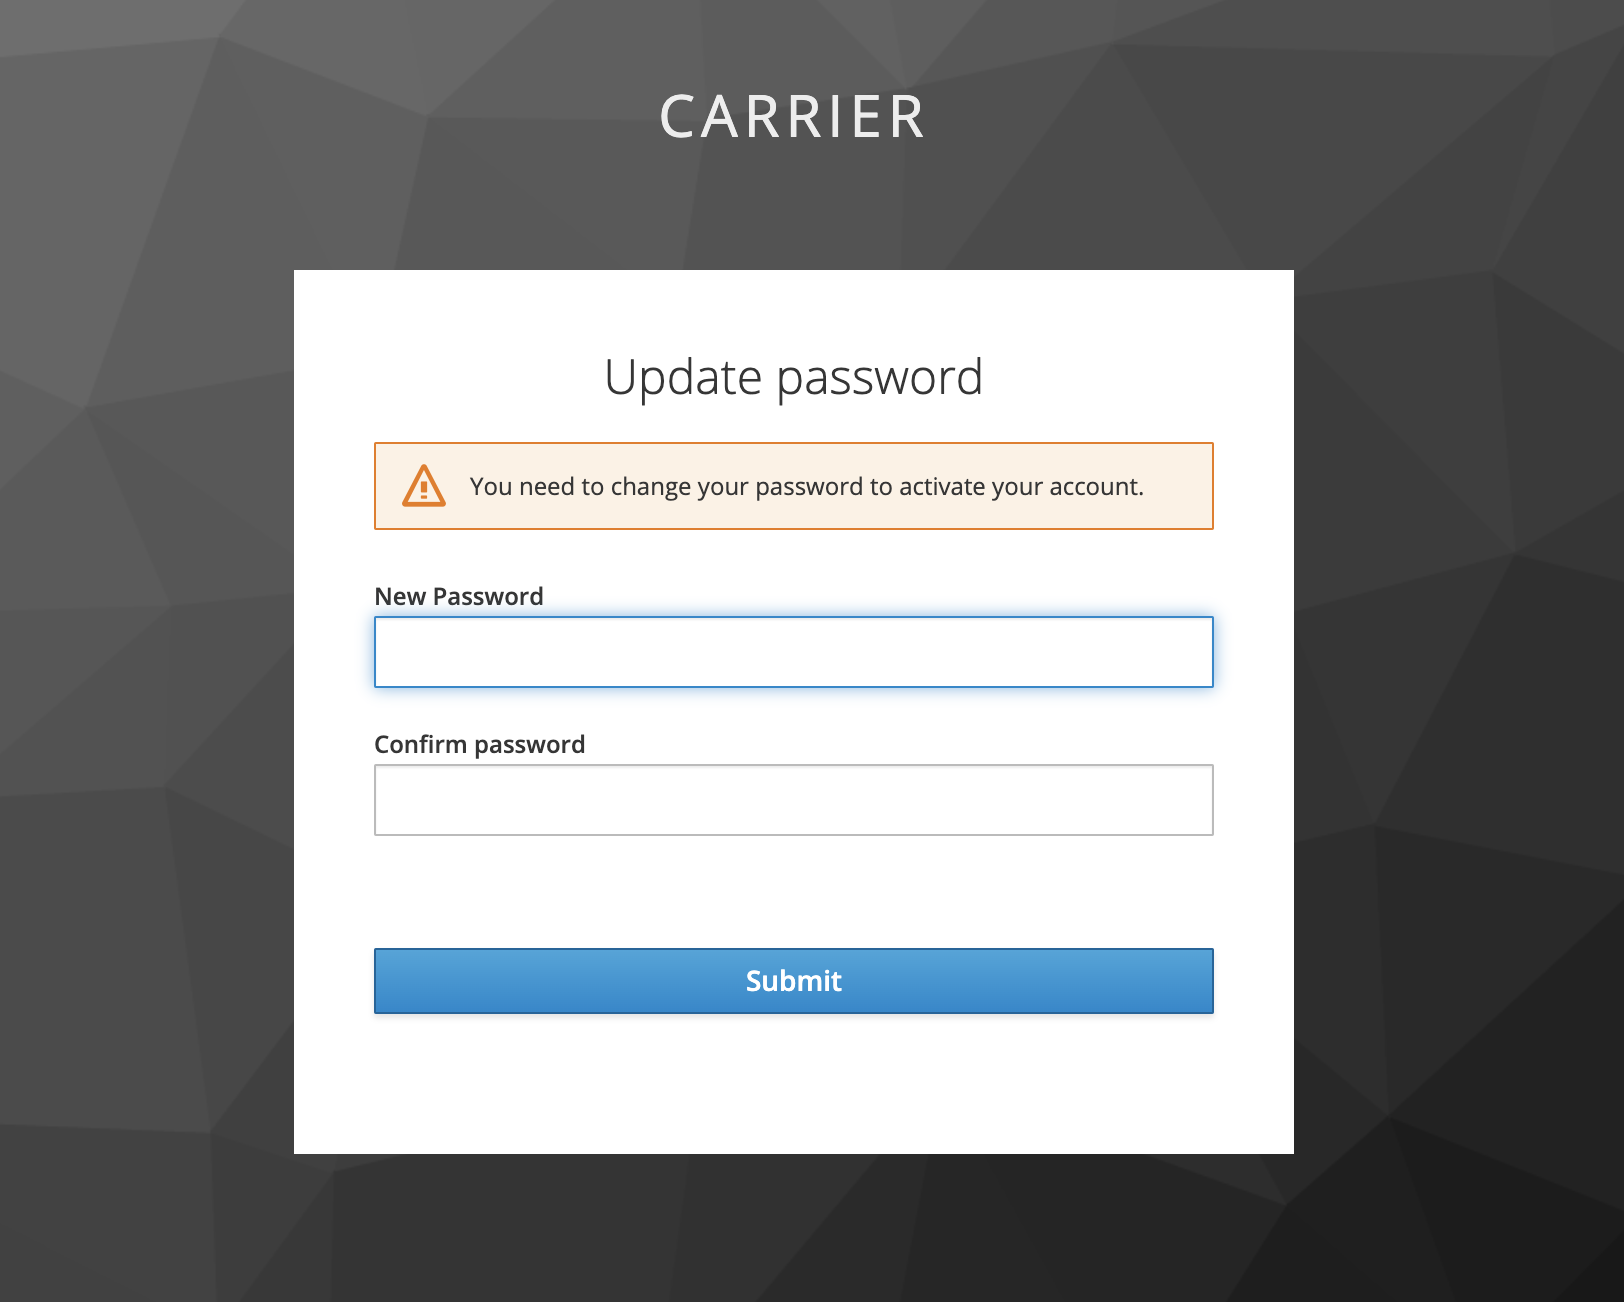
Log in again using the email address specified during project creation (e.g., noreply@noreply.com) and the temporary password 11111111.
Step 6: Set New Password
Set a new password for the user account. Enter the desired password and click “Submit”.
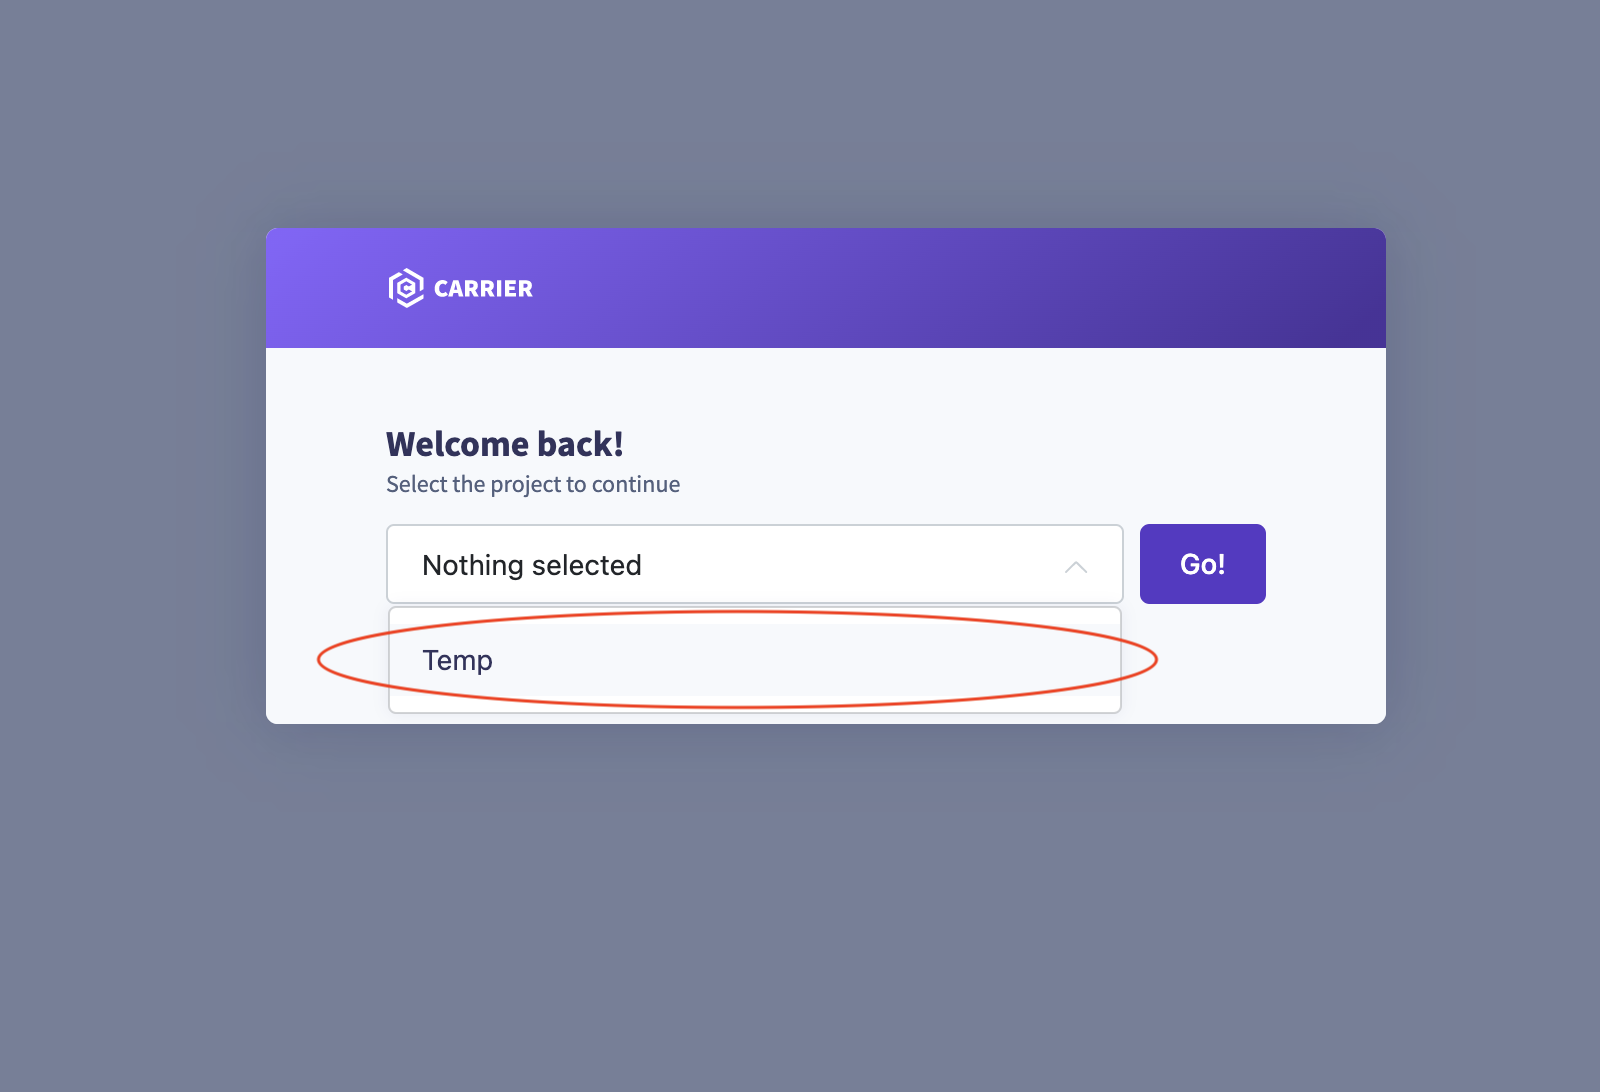
Step 7: Select the Project
After logging in, select the desired project from the dropdown menu and click “Go!”.
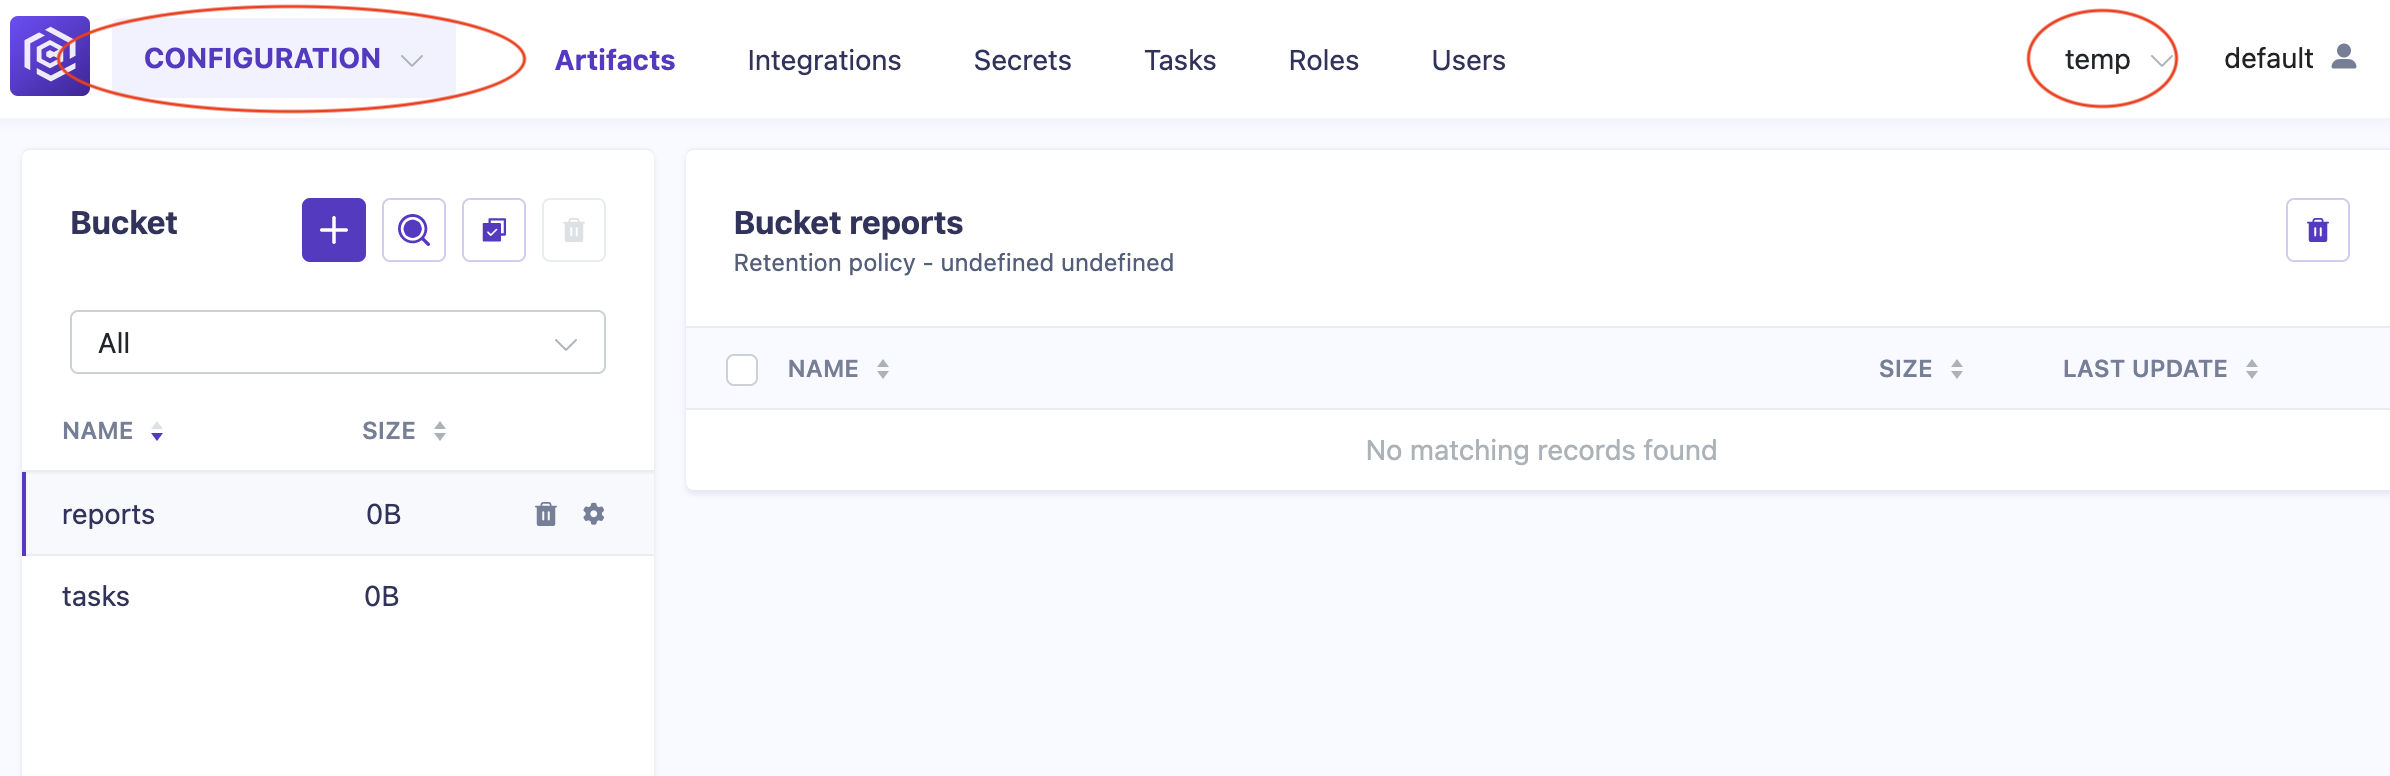
Step 8: Project Configuration
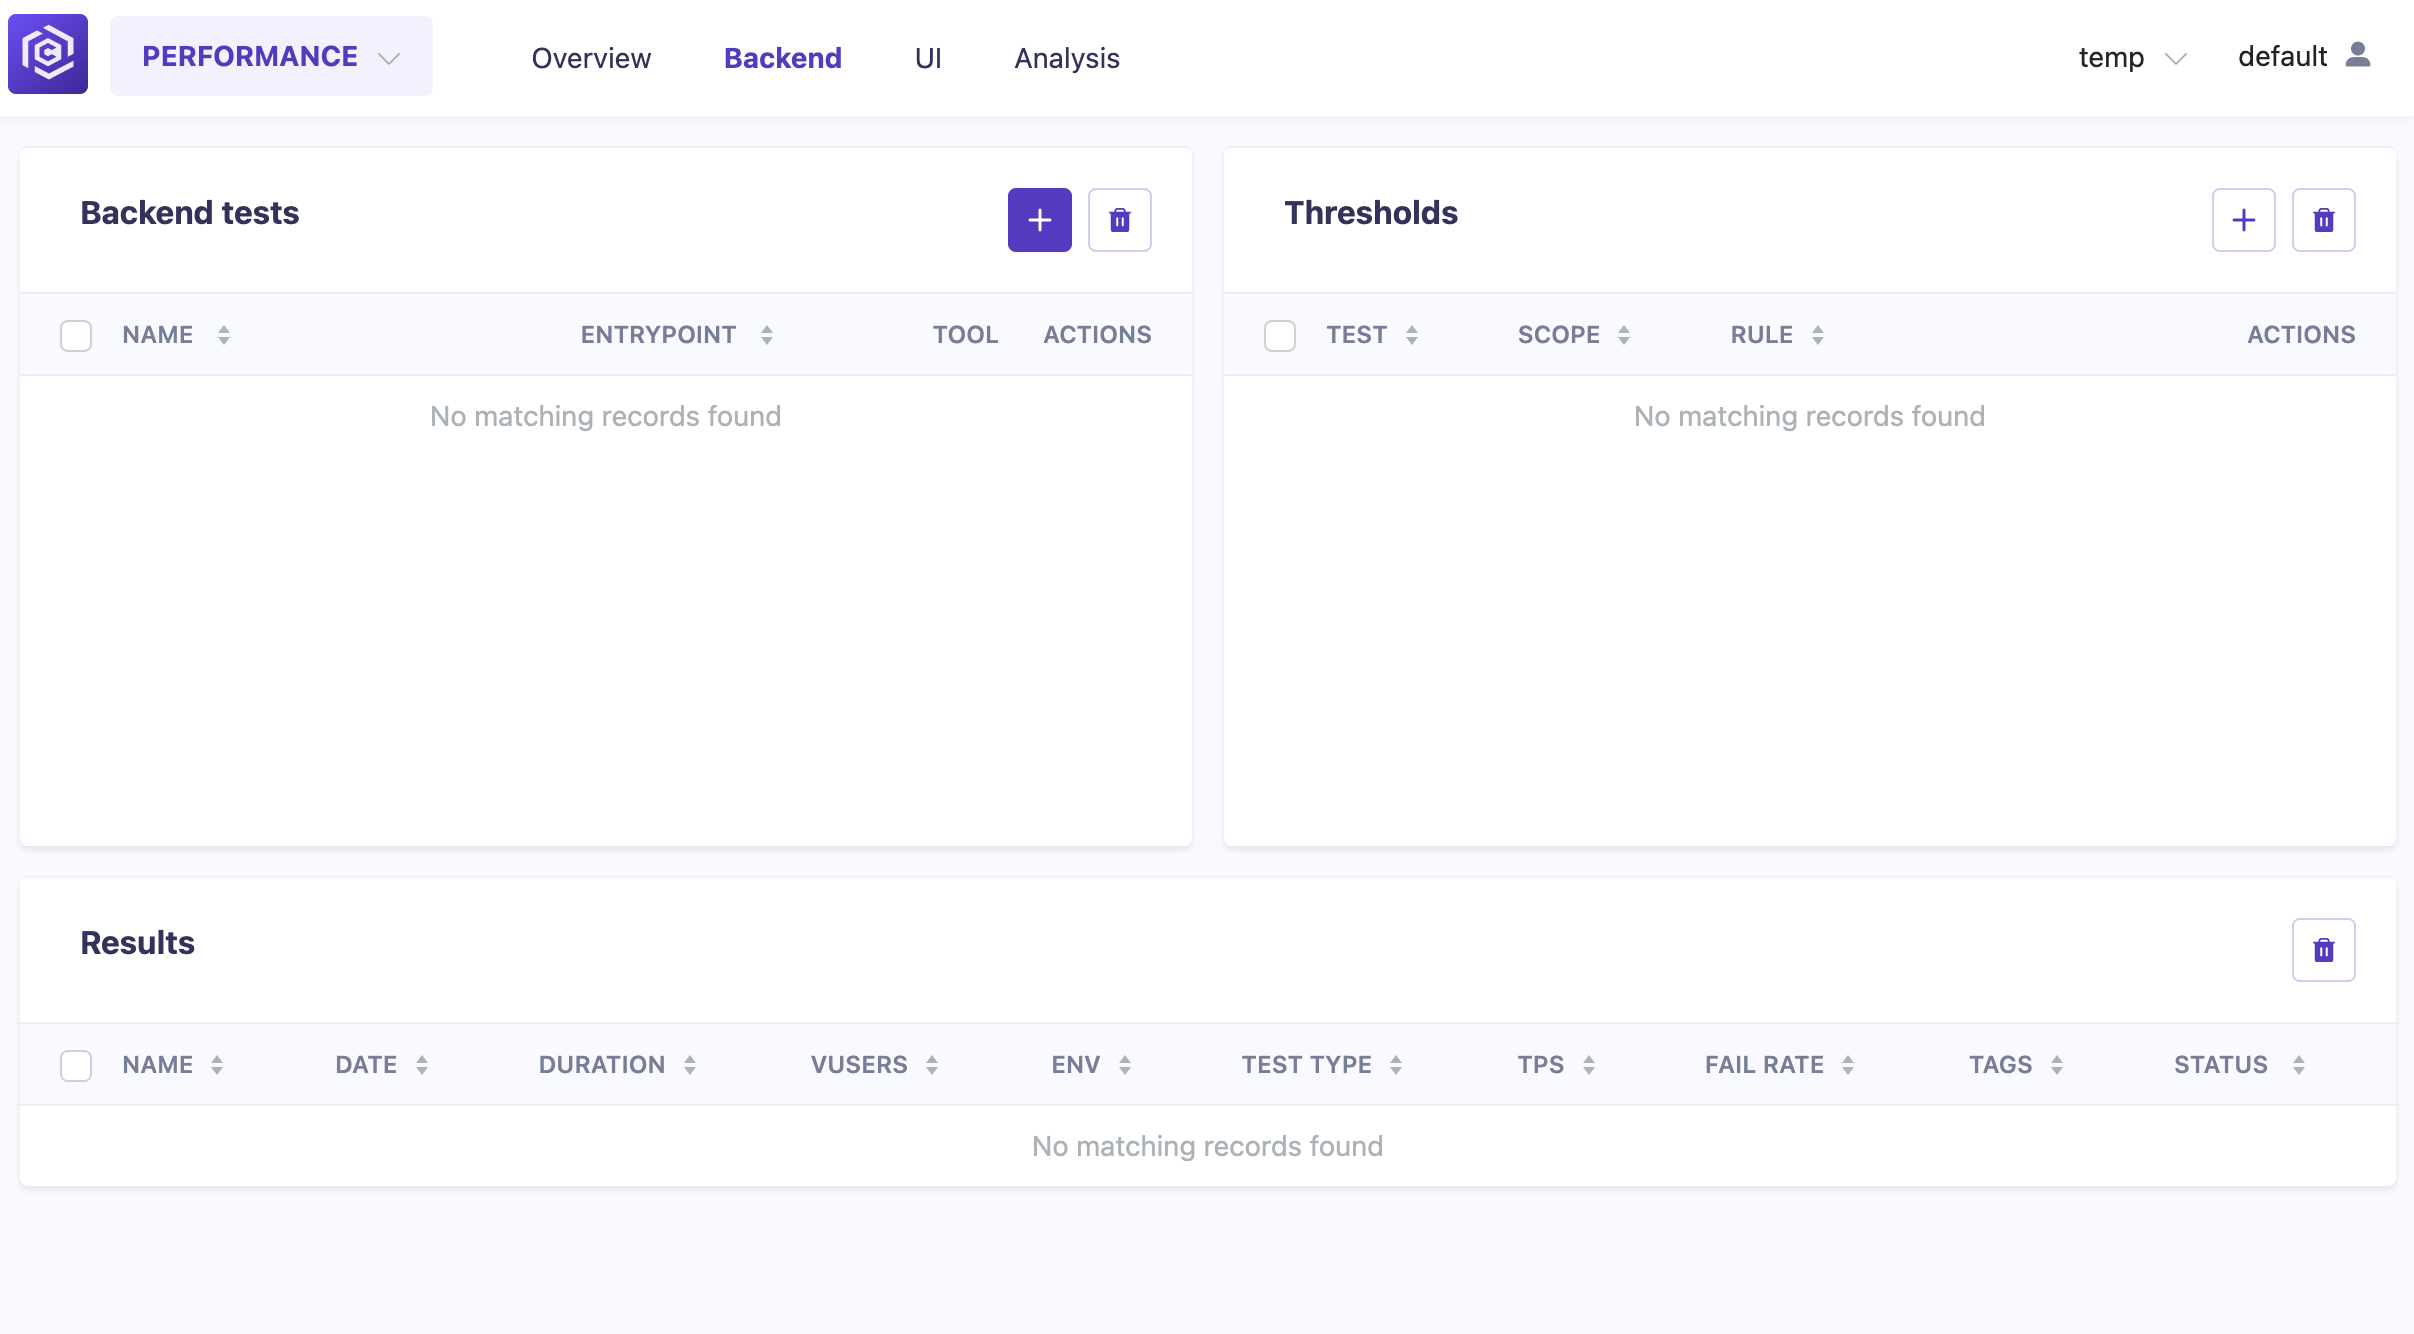
Once you have selected the project, you will be redirected to the project configuration page. Here, you can access various settings and configurations for your project.
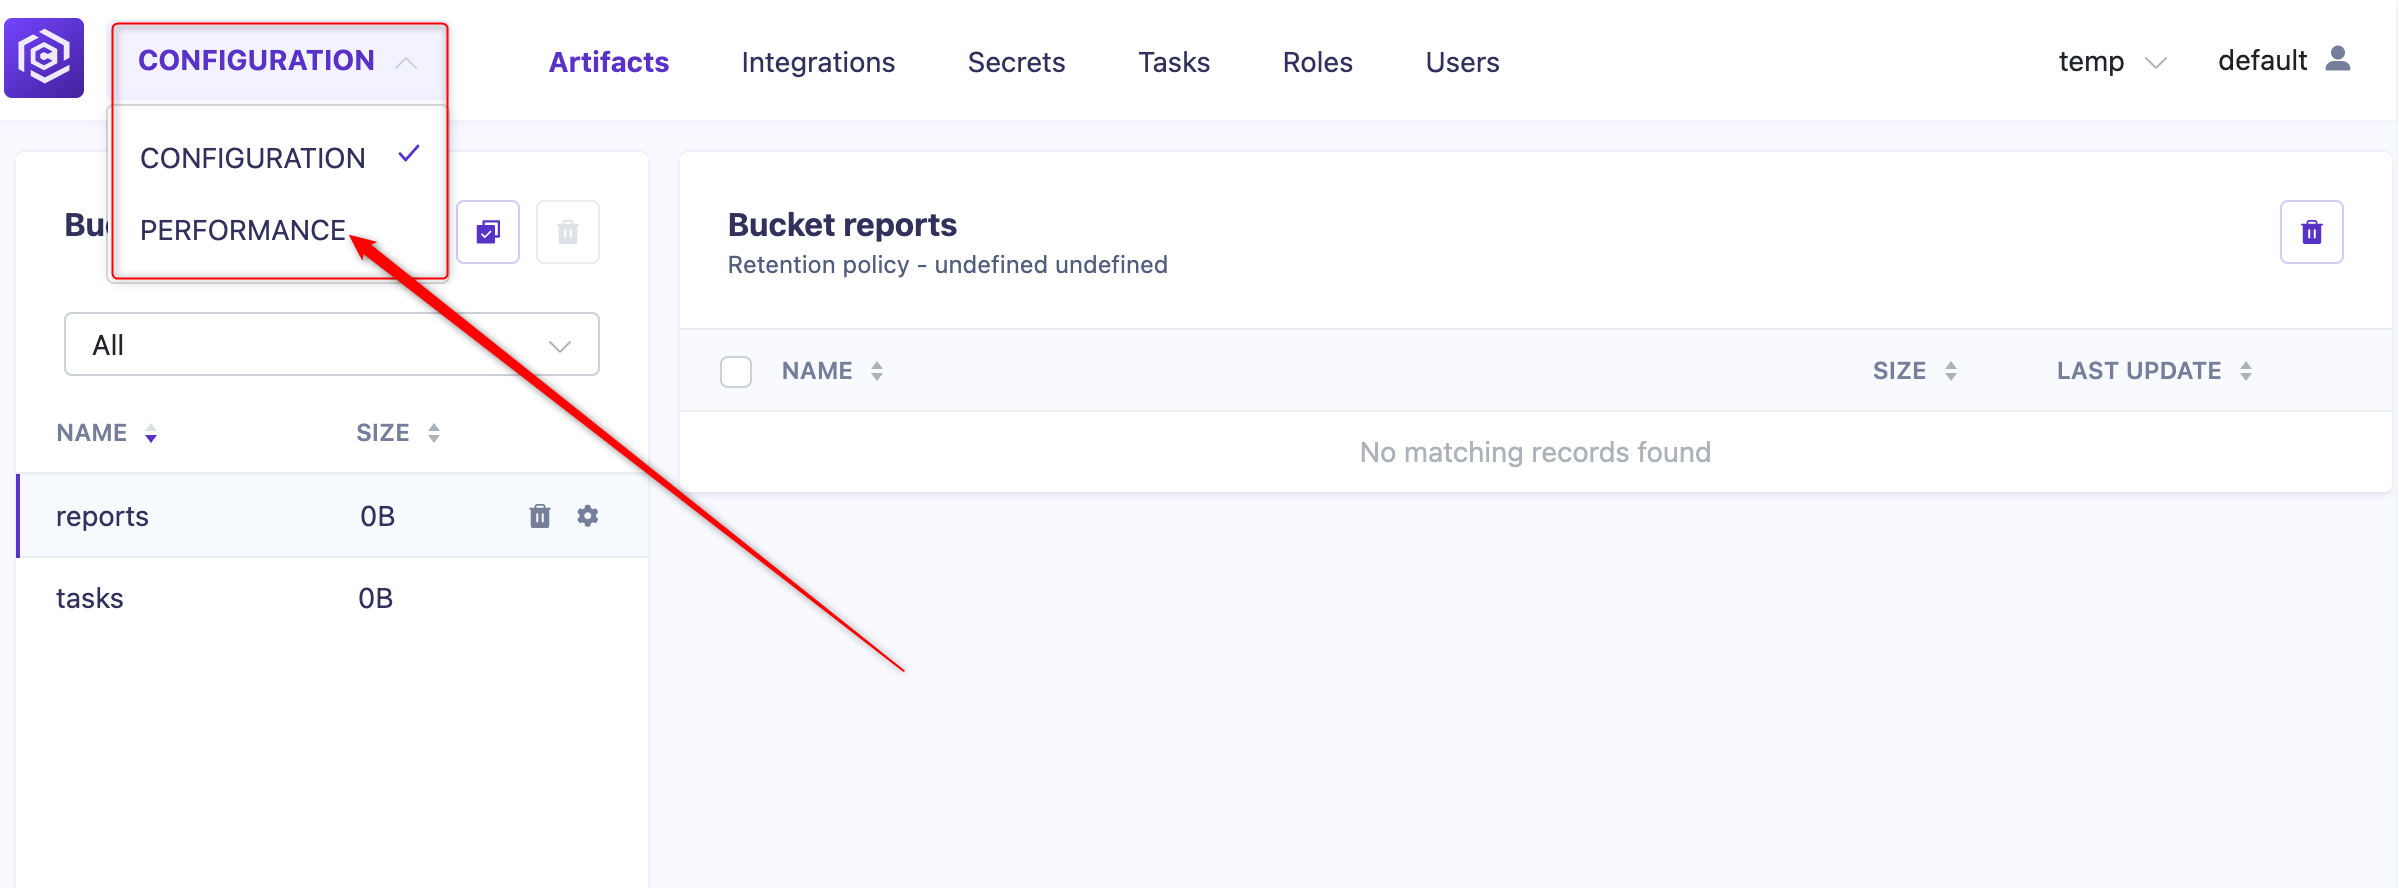
Step 9: Navigate to Performance
To start configuring performance tests, navigate to the “Performance” tab.
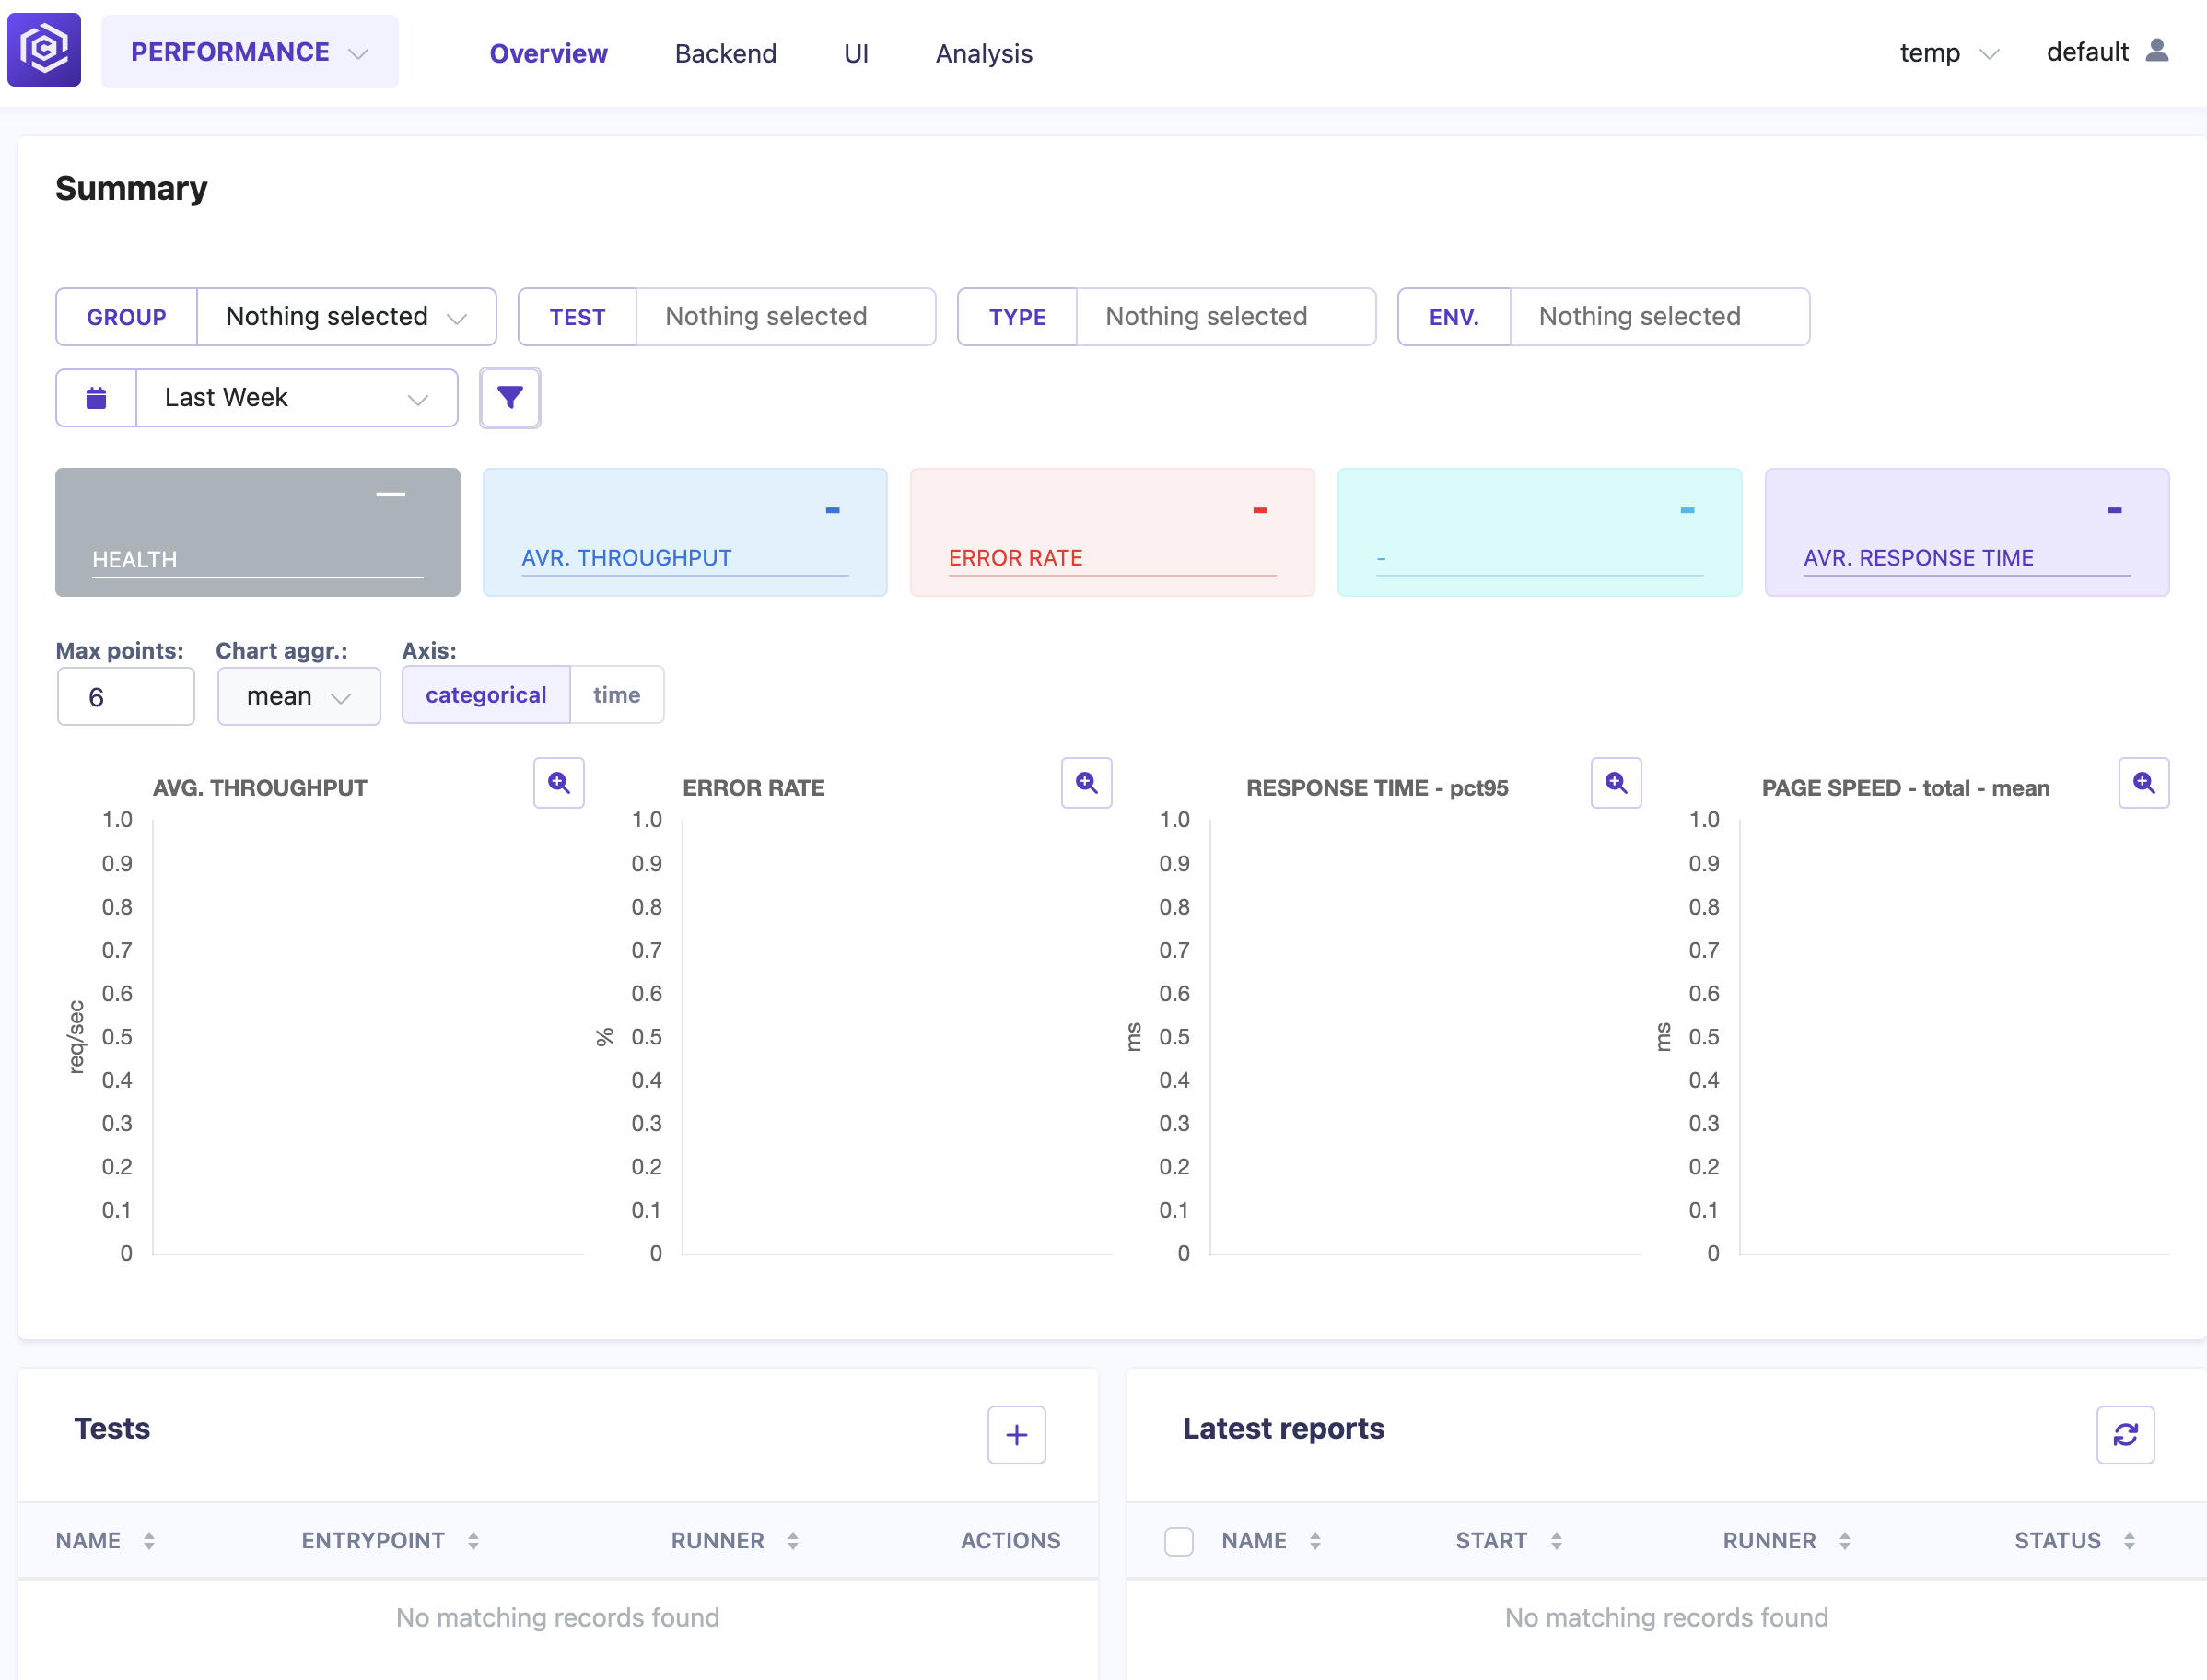
Step 10: Performance Test Runs
In the performance section, you will see the latest test runs and performance metrics.
Step 11: Add a New Test
To add a new test, select the “Backend” tab.
Congratulations! You have successfully created a project in Carrier and can now begin configuring and running tests.
Next Step: Changing the Default Passwords
Follow the guide on how to change default Admin passwords in Carrier and Keycloak to get started. Follow the guide on how to configure backend performance test to get started.
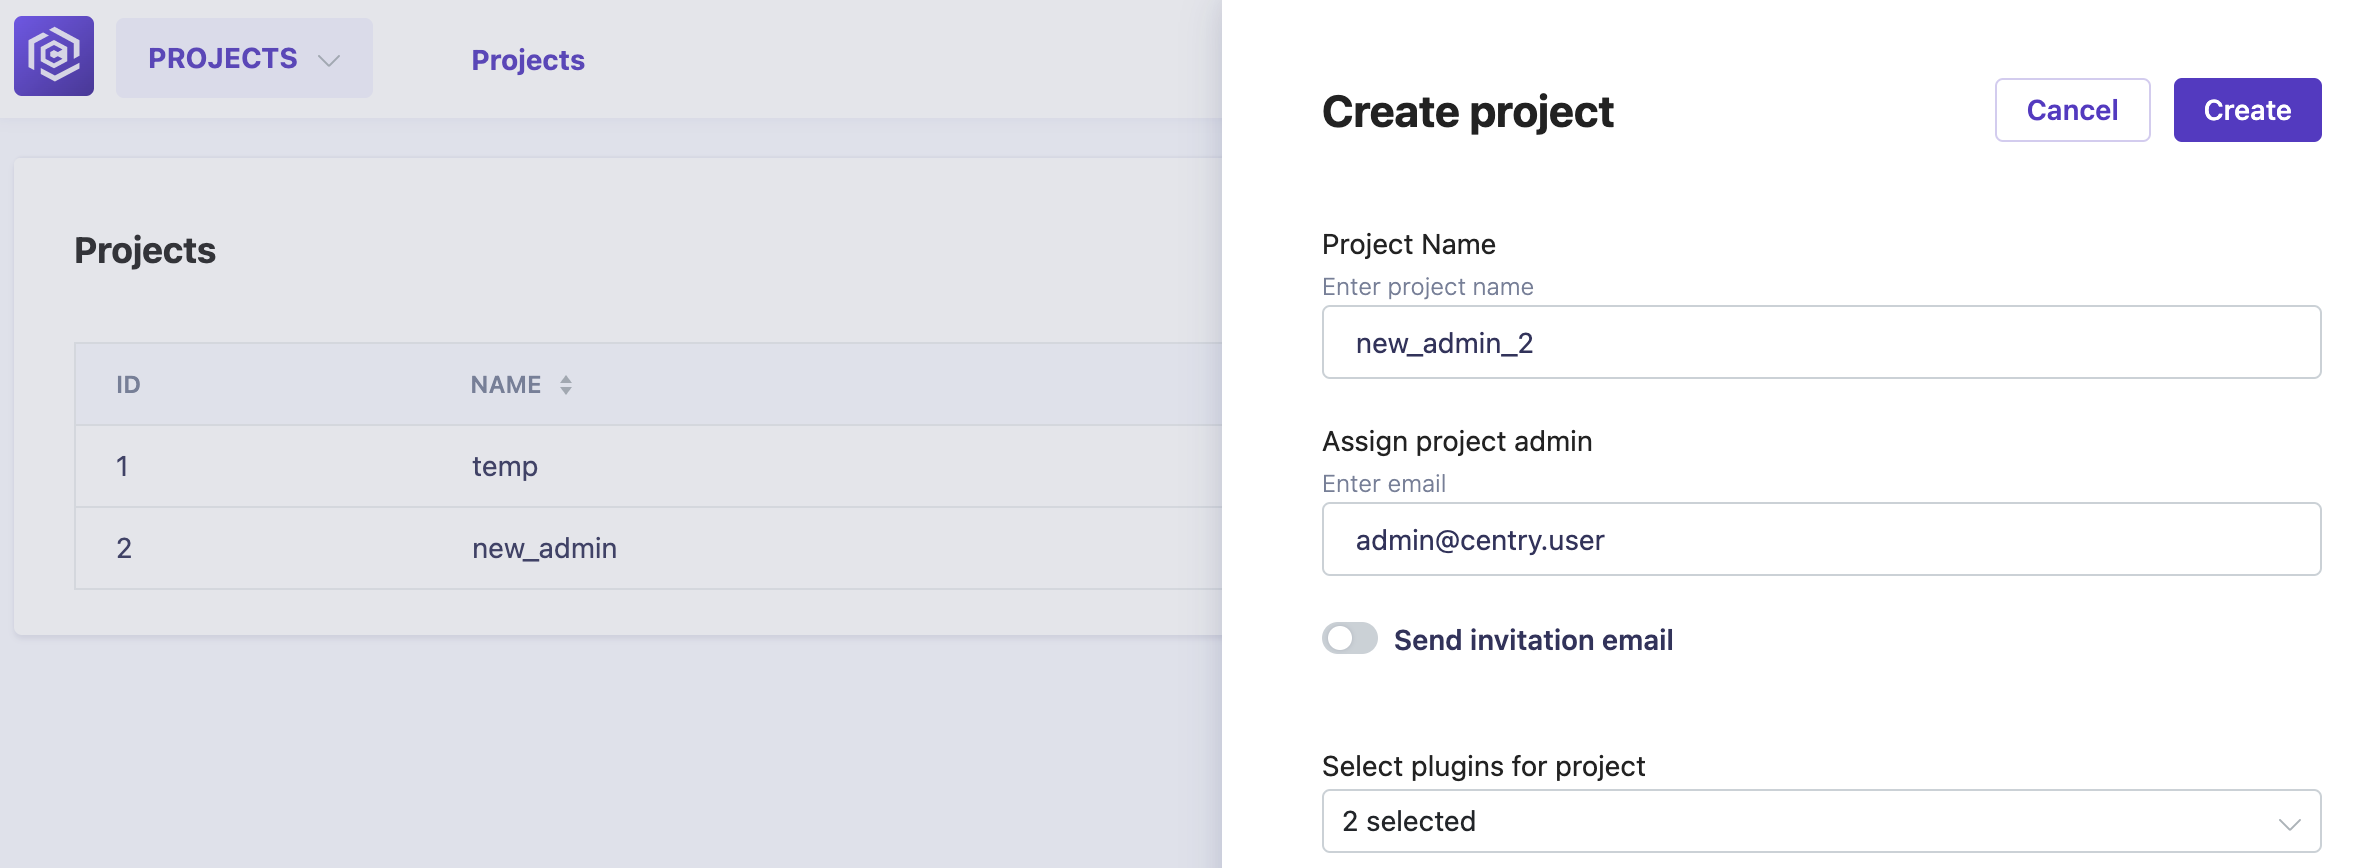
Additional: Creating a Project for Carrier Admin User
- Log in as the “admin” user.
- Create a new project and set the email
as “admin@centry.user” (the default admin email).
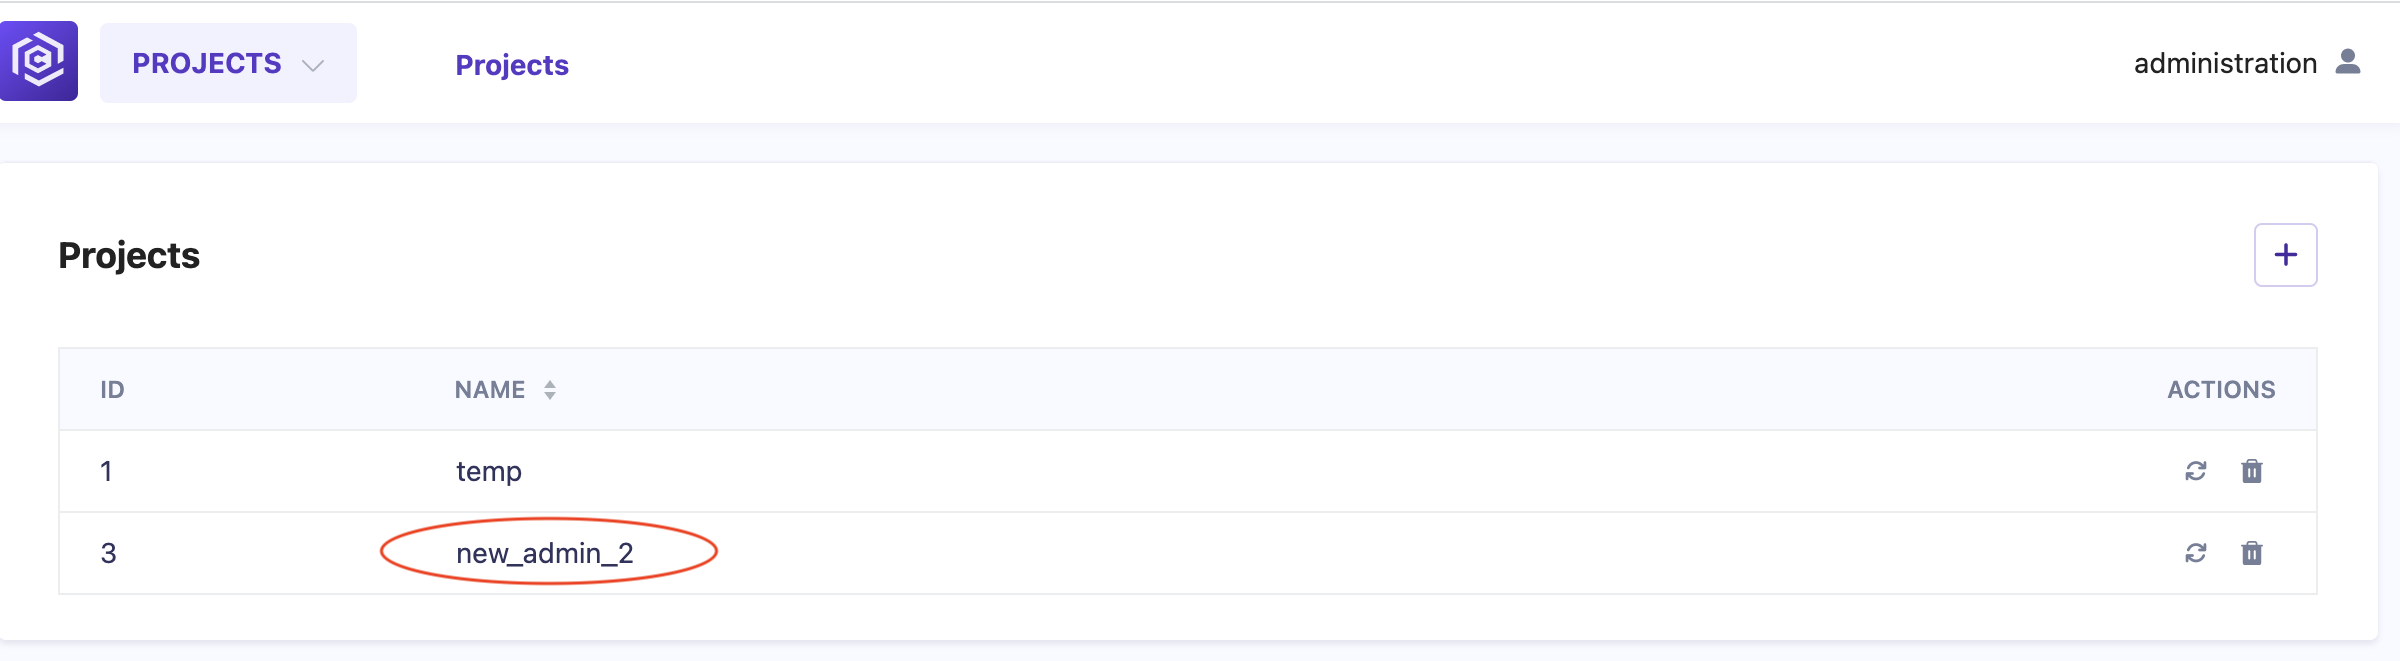
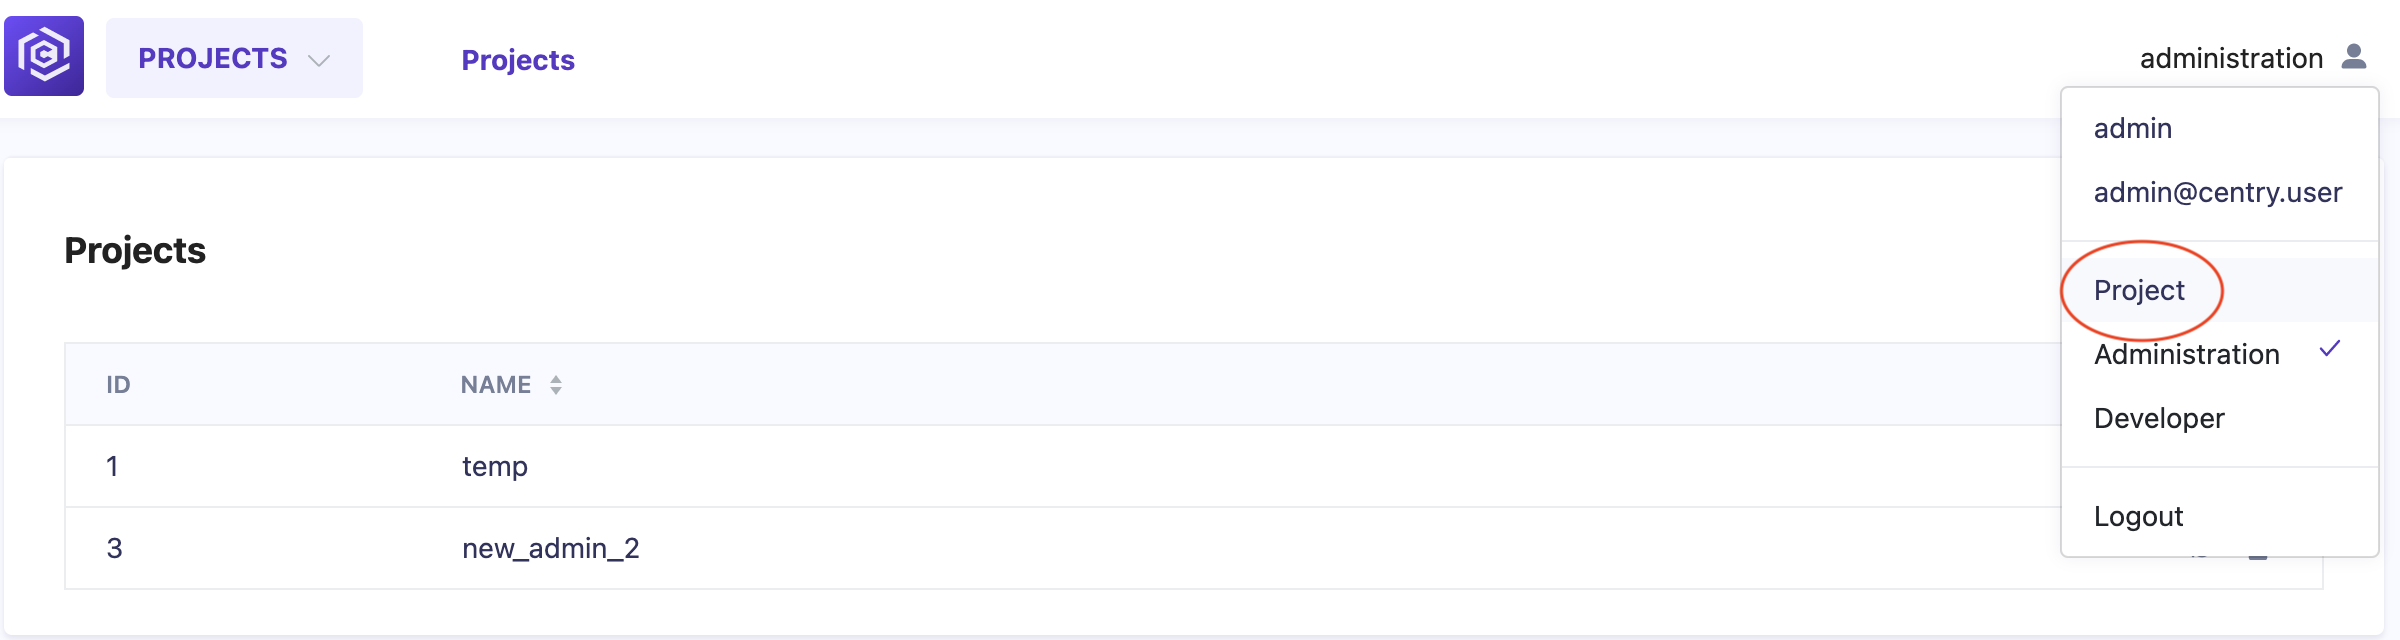
Once the project is created, switch to “Project” mode.
![Switch to Project Mode]()
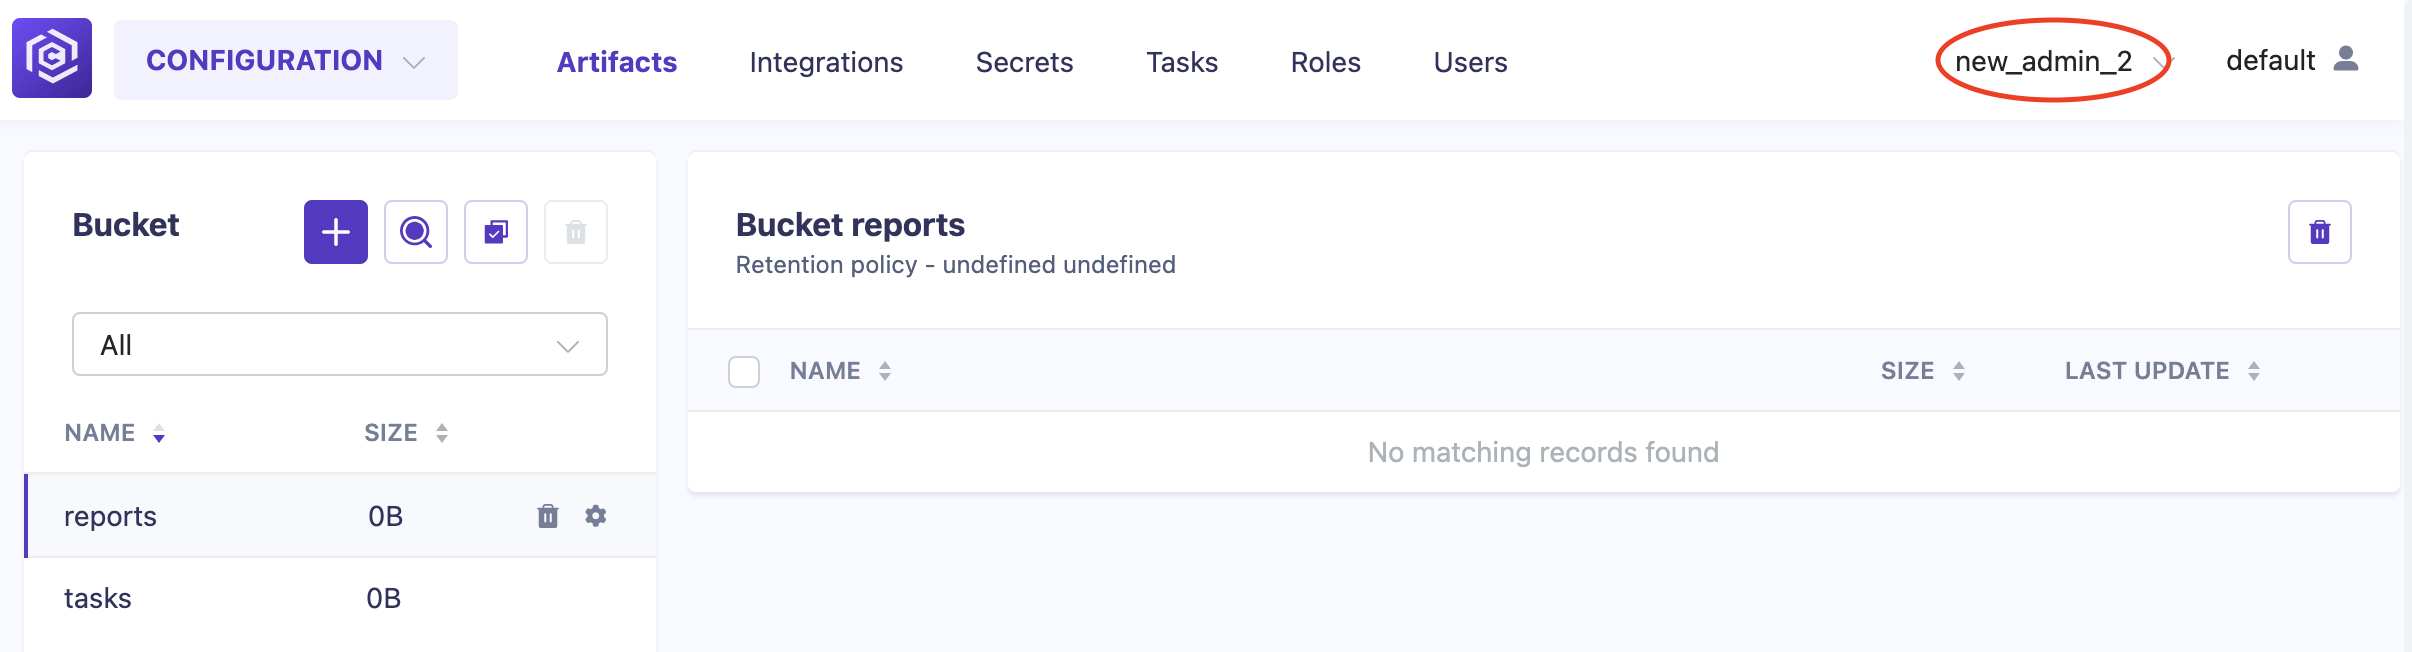
You will be redirected to the project configuration page.
![Admin Project Configuration]()