
Overview
This guide provides step-by-step instructions for setting the admin passwords for Carrier platform and Keycloak admin users. By following these steps, you can update the default credentials to enhance the security of your Carrier installation.
Please find the default
KEYCLOAK_USERandKEYCLOAK_PASSWORDvalues in the.envfile.
1
cat /opt/centry/.env | grep KEYCLOAK
Updating Carrier Admin
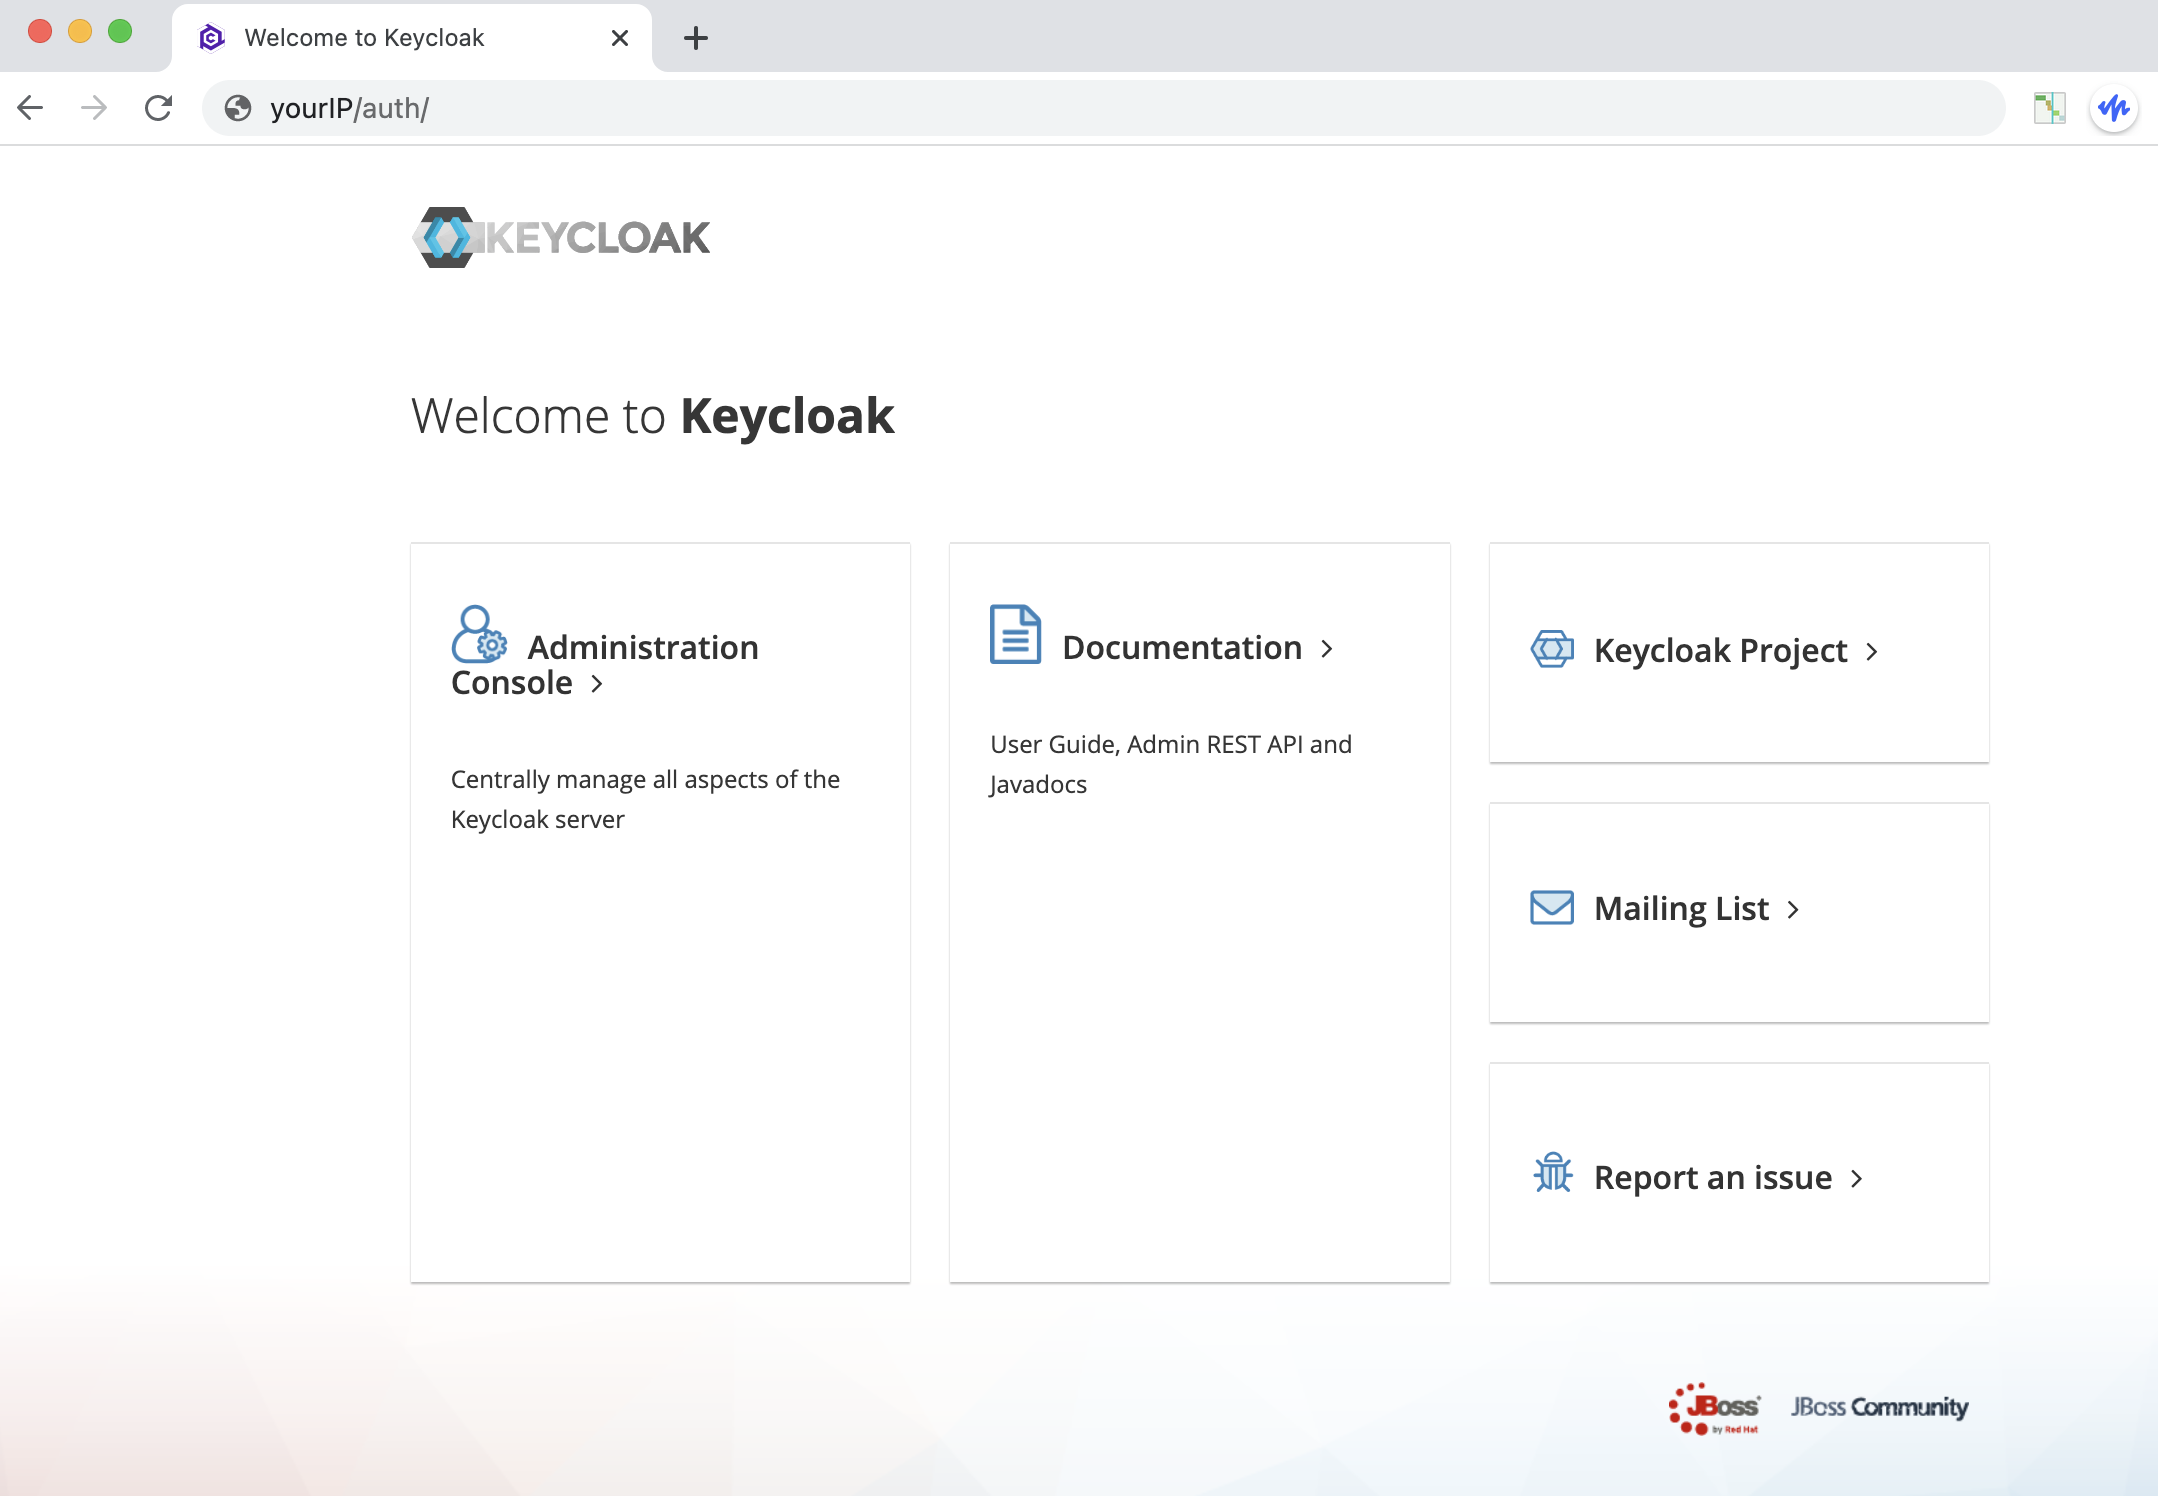
Open a web browser and navigate to the following URL:
http://<public DNS or IP>/auth![Keycloak Login]()
Click on “Administration Console”.
![Keycloak Admin Console Login]()
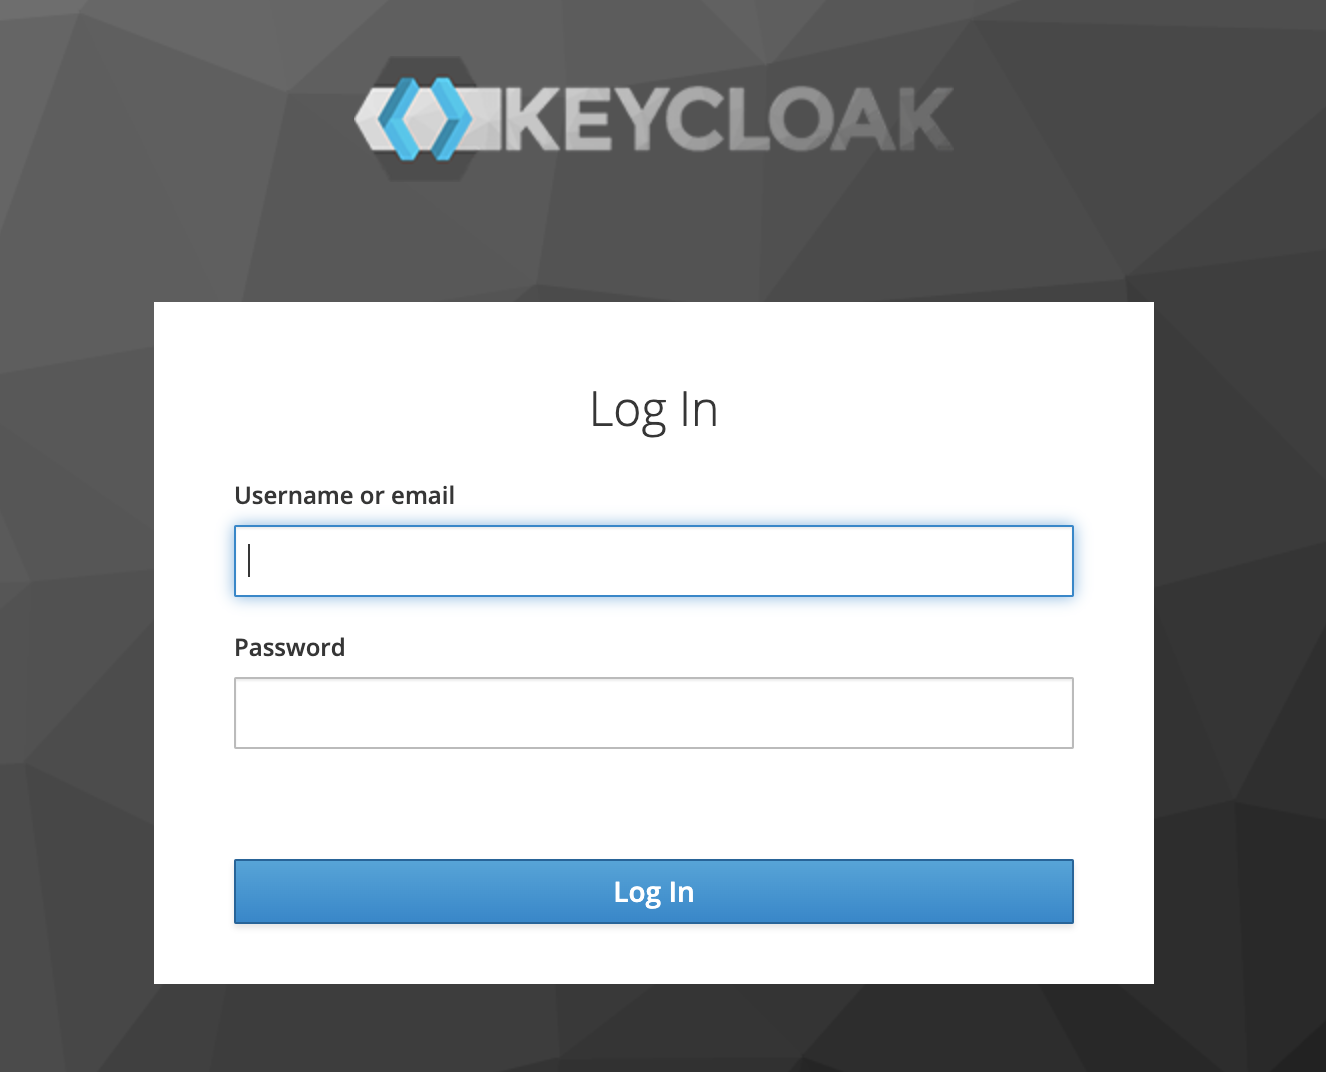
Log in to the Keycloak application using the
KEYCLOAK_USERaccount.![Keycloak Admin Console]()
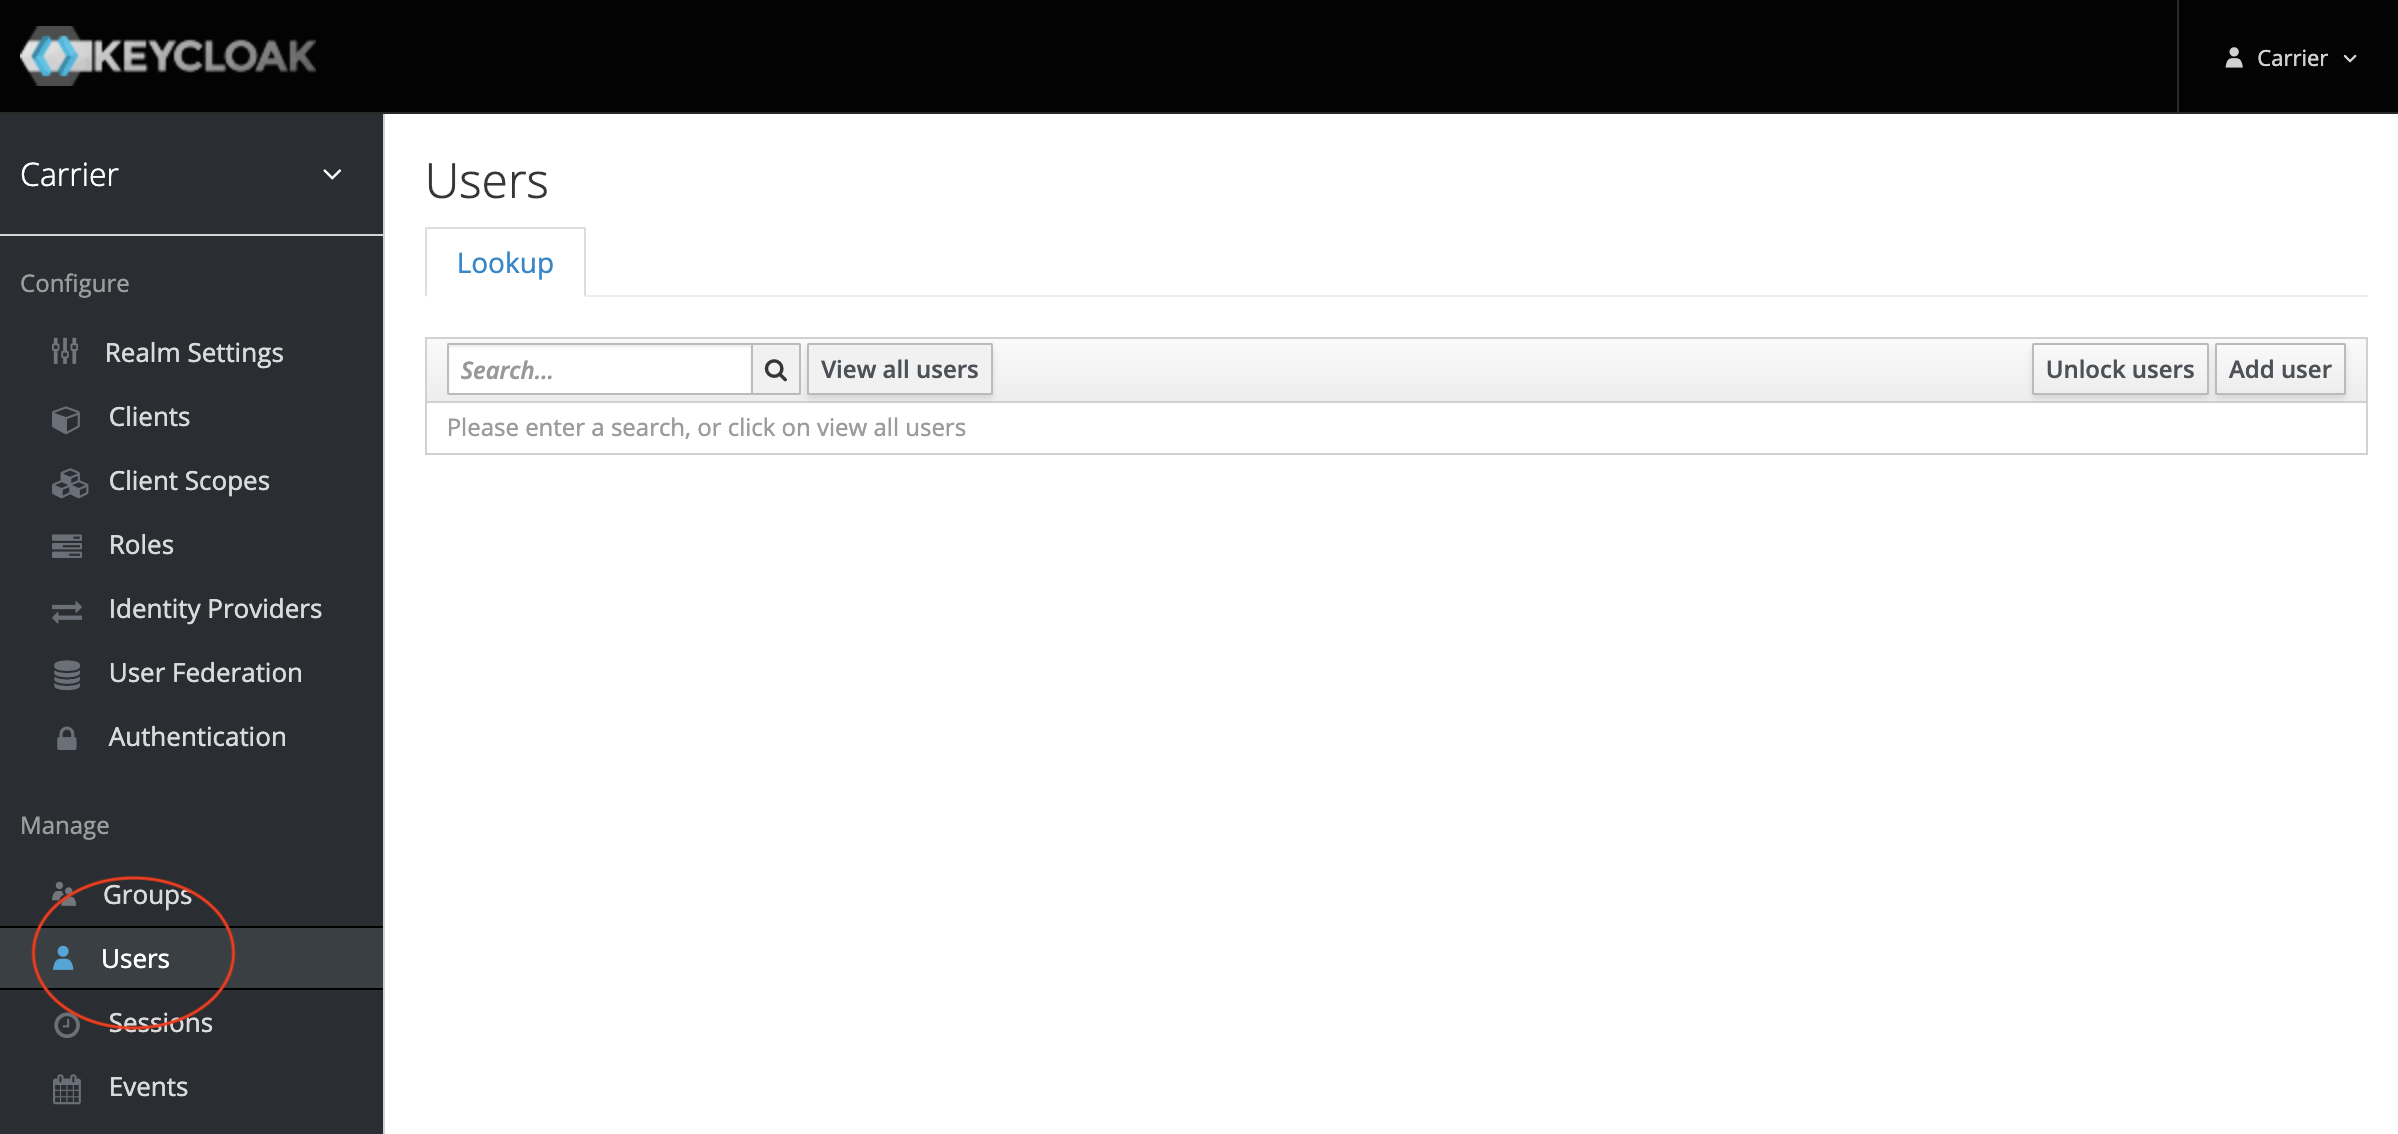
Select “Users” from the sidebar menu.
![Keycloak Users]()
Click on “View all users”.
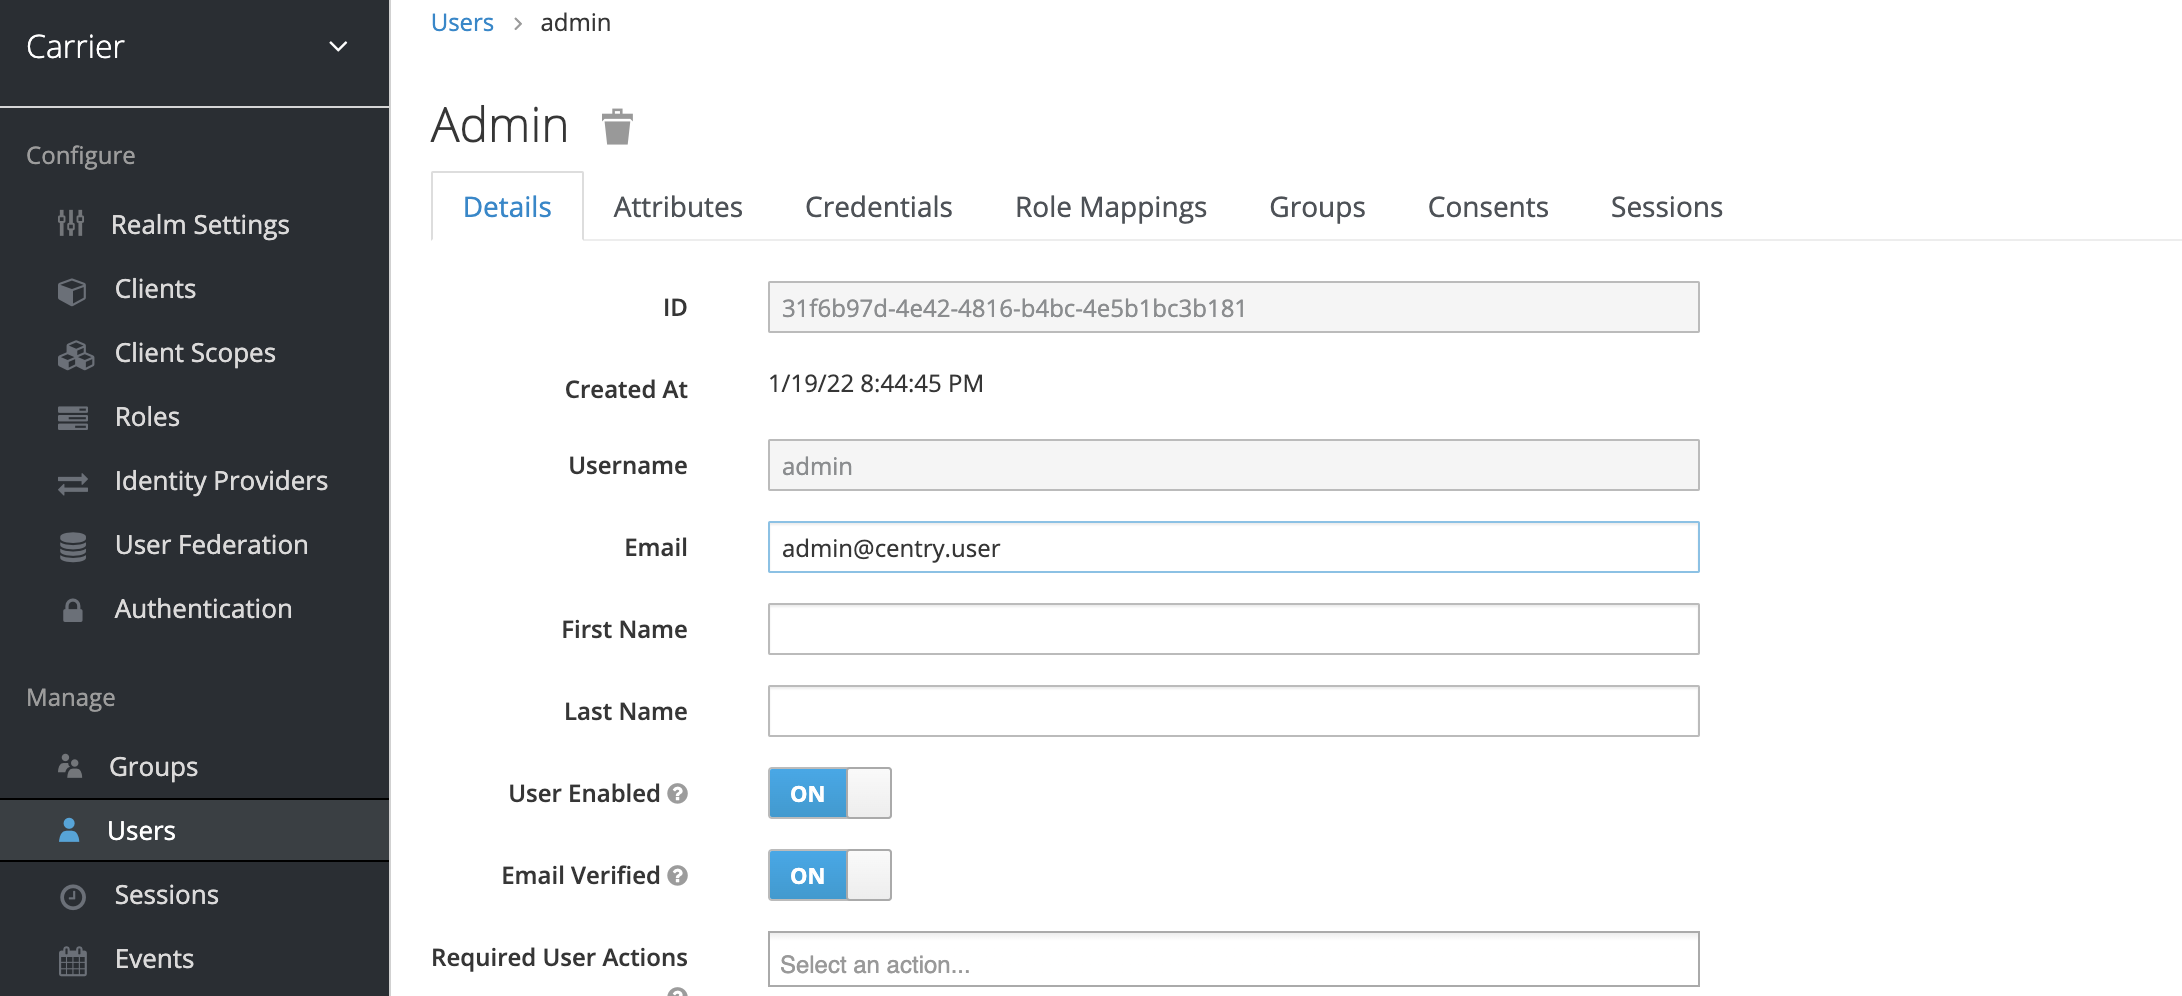
Select the “Edit” button for the “admin” user.
![Keycloak Edit User]()
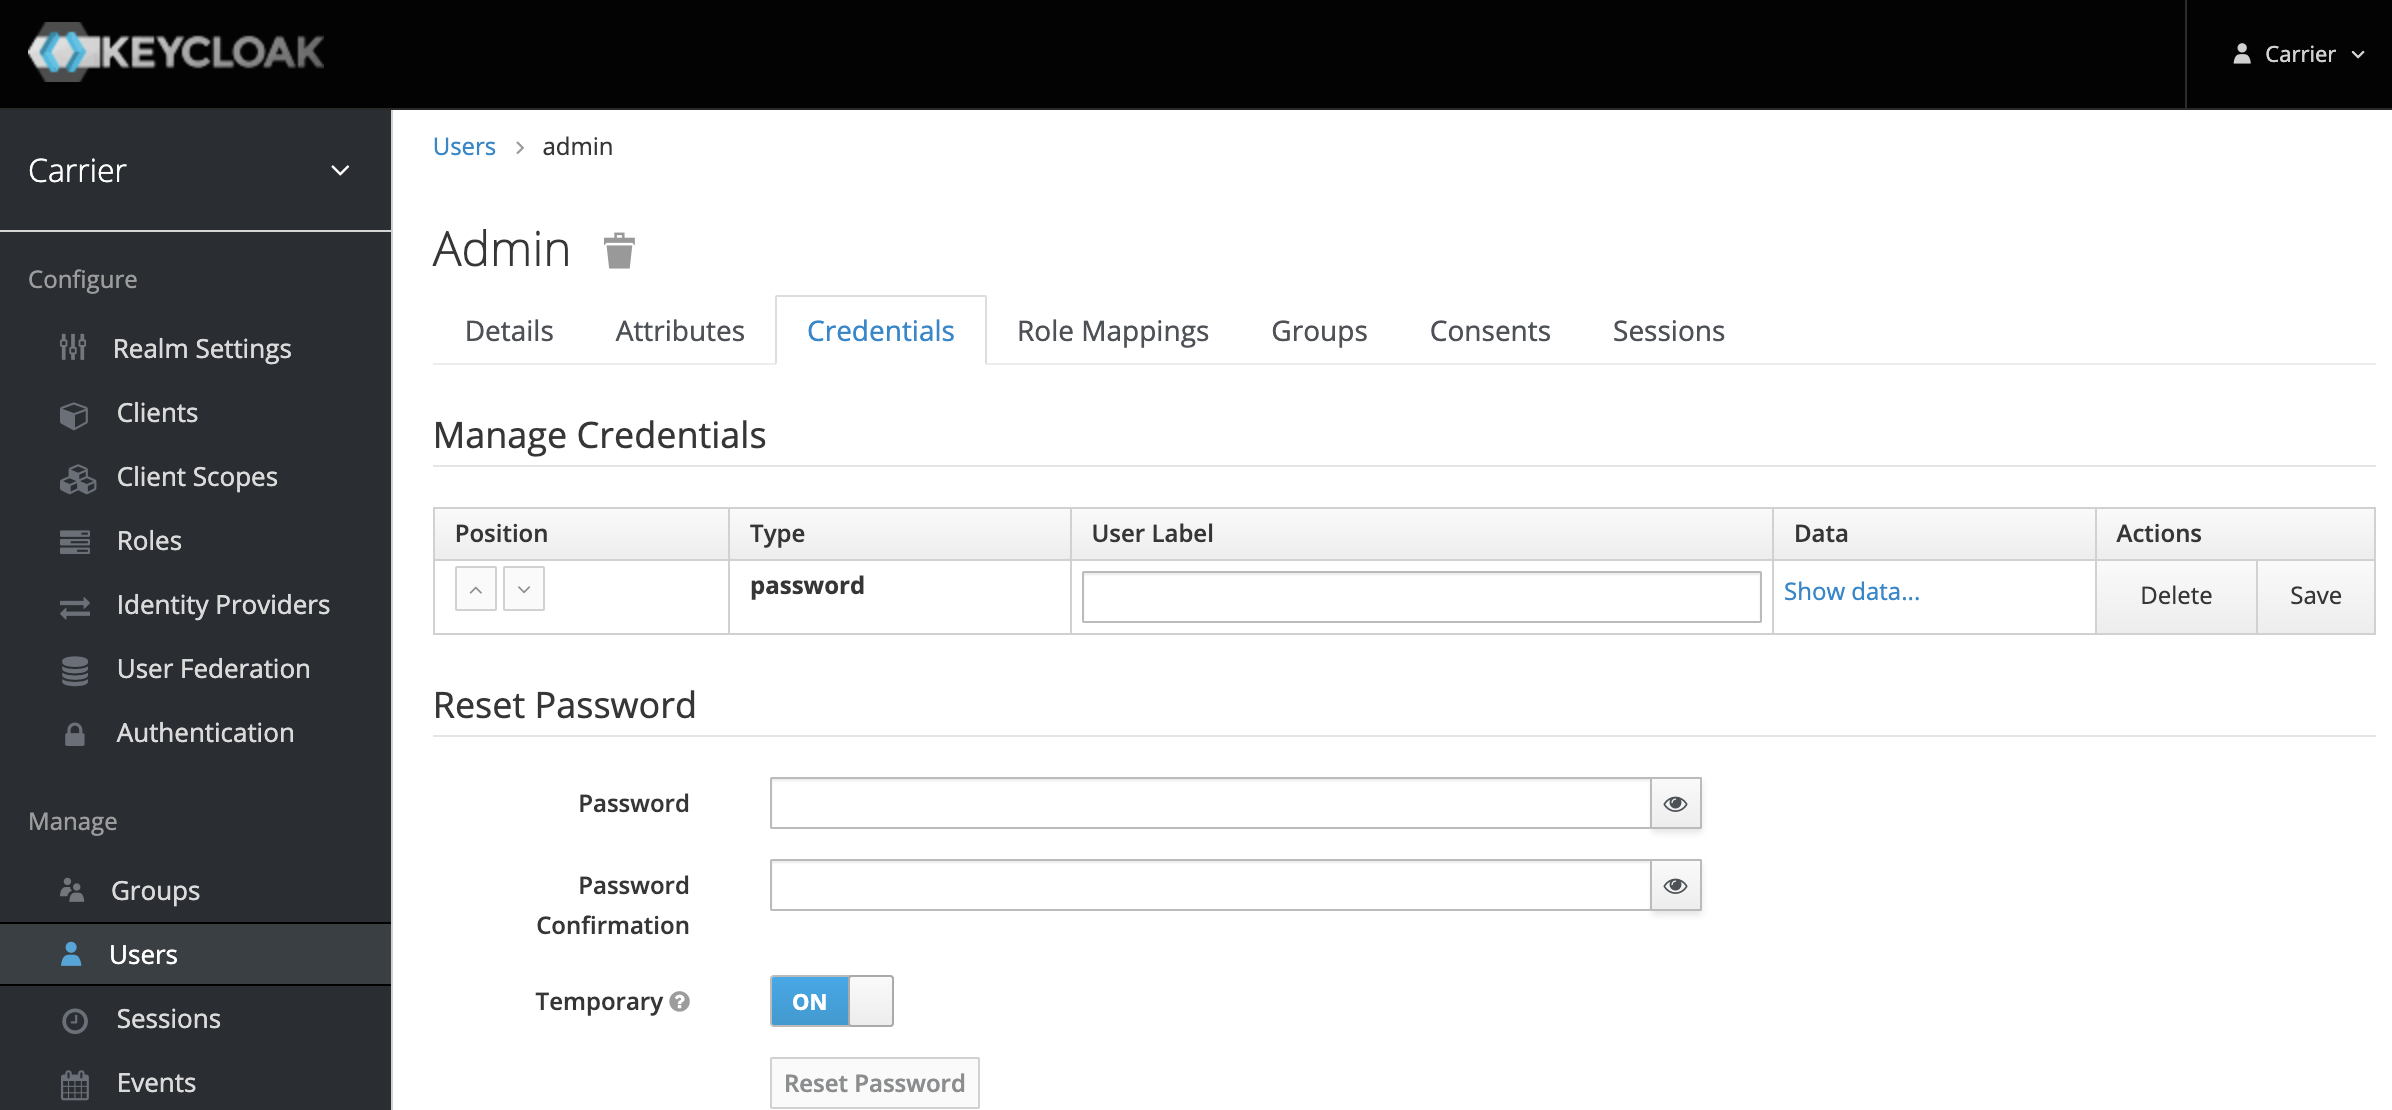
Navigate to the “Credentials” tab.
![Keycloak Credentials]()
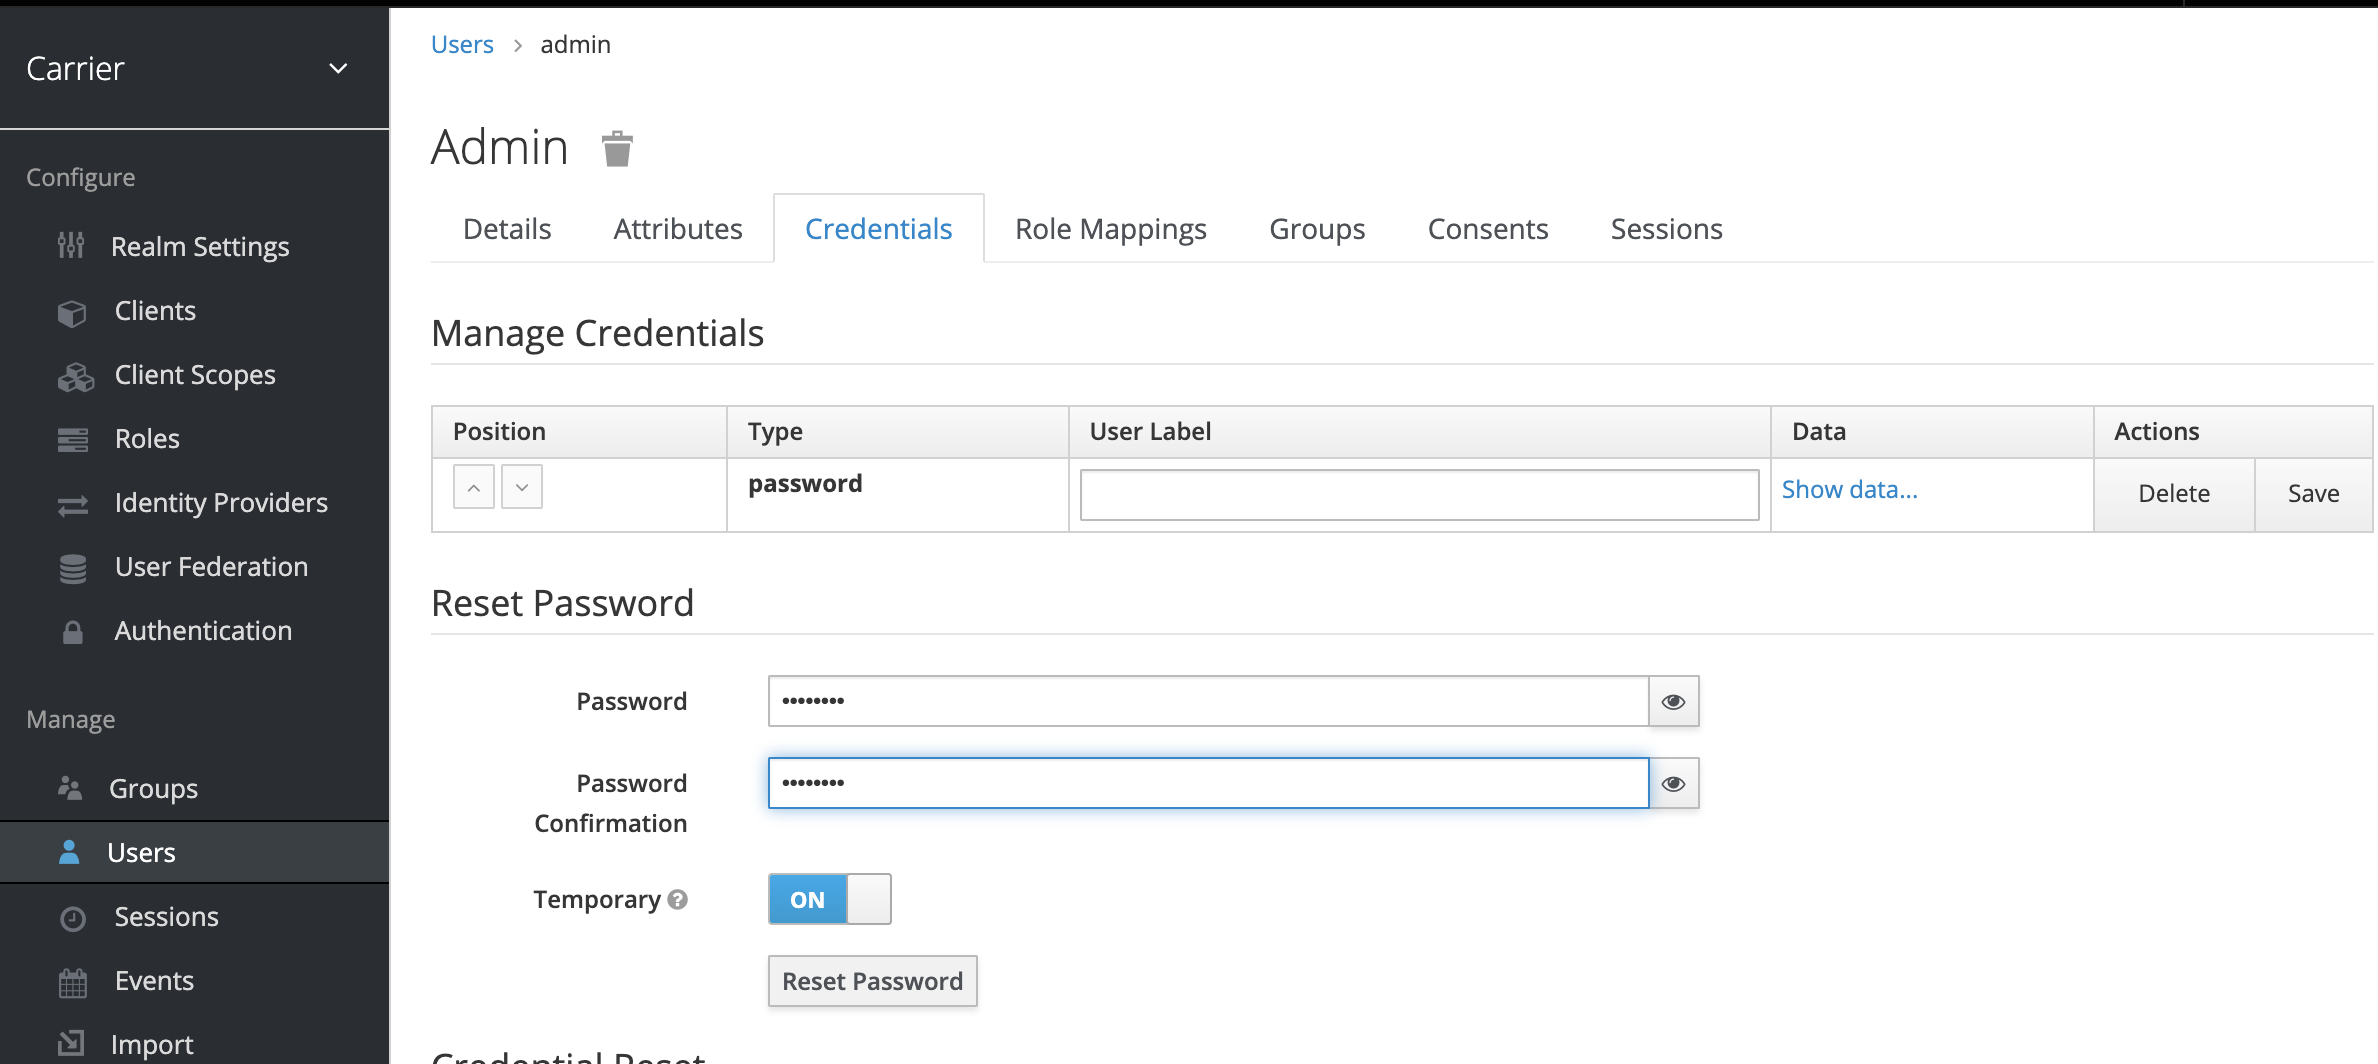
Set a strong and secure password for the admin account and click “Reset Password”.
![Keycloak Reset Password]()
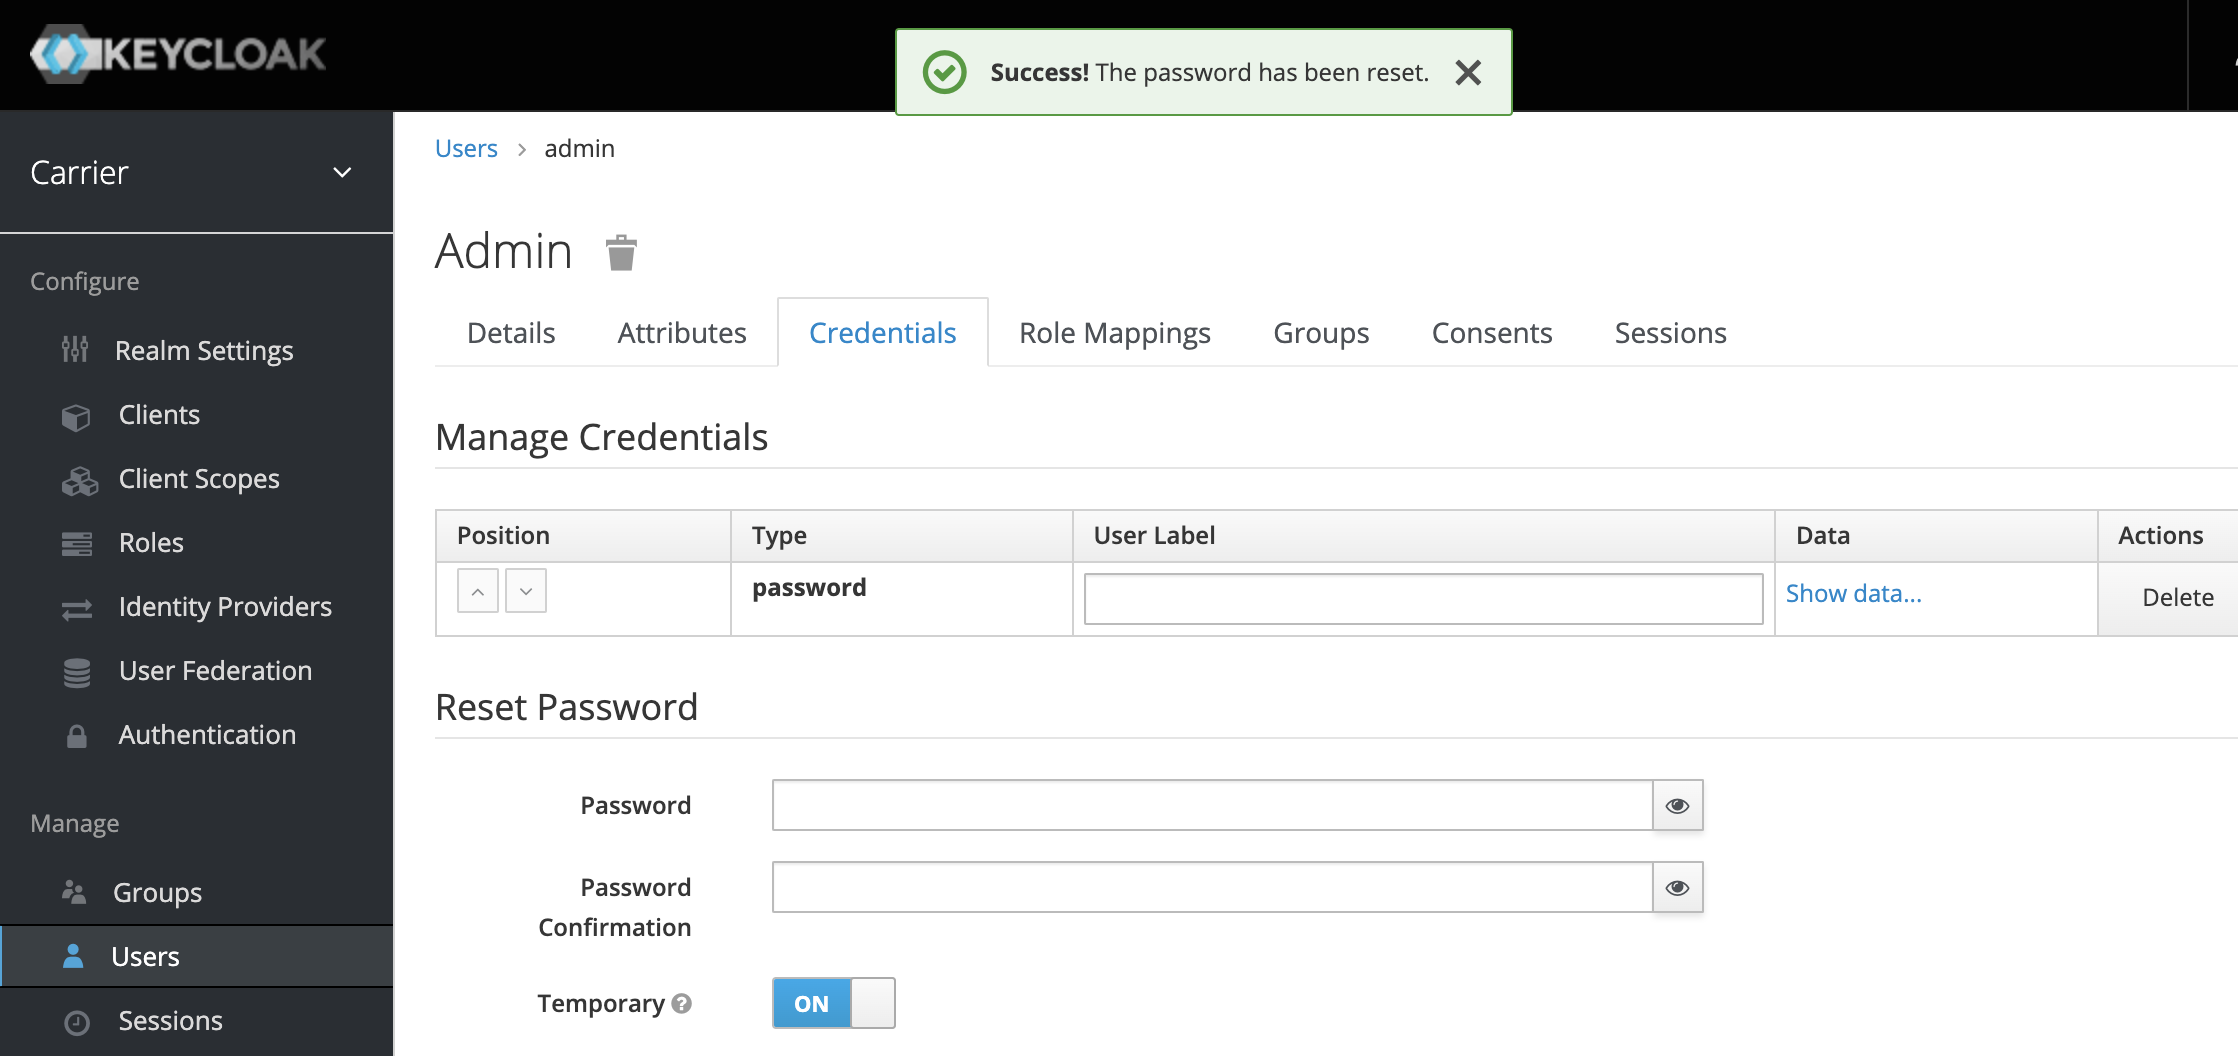
Ensure it is updated successfully.
![Keycloak Password Updated]()

Updating Keycloak Admin
Access the Keycloak admin console using the
KEYCLOAK_USERaccount.Navigate to the admin user profile.
![Keycloak Admin User Profile]()
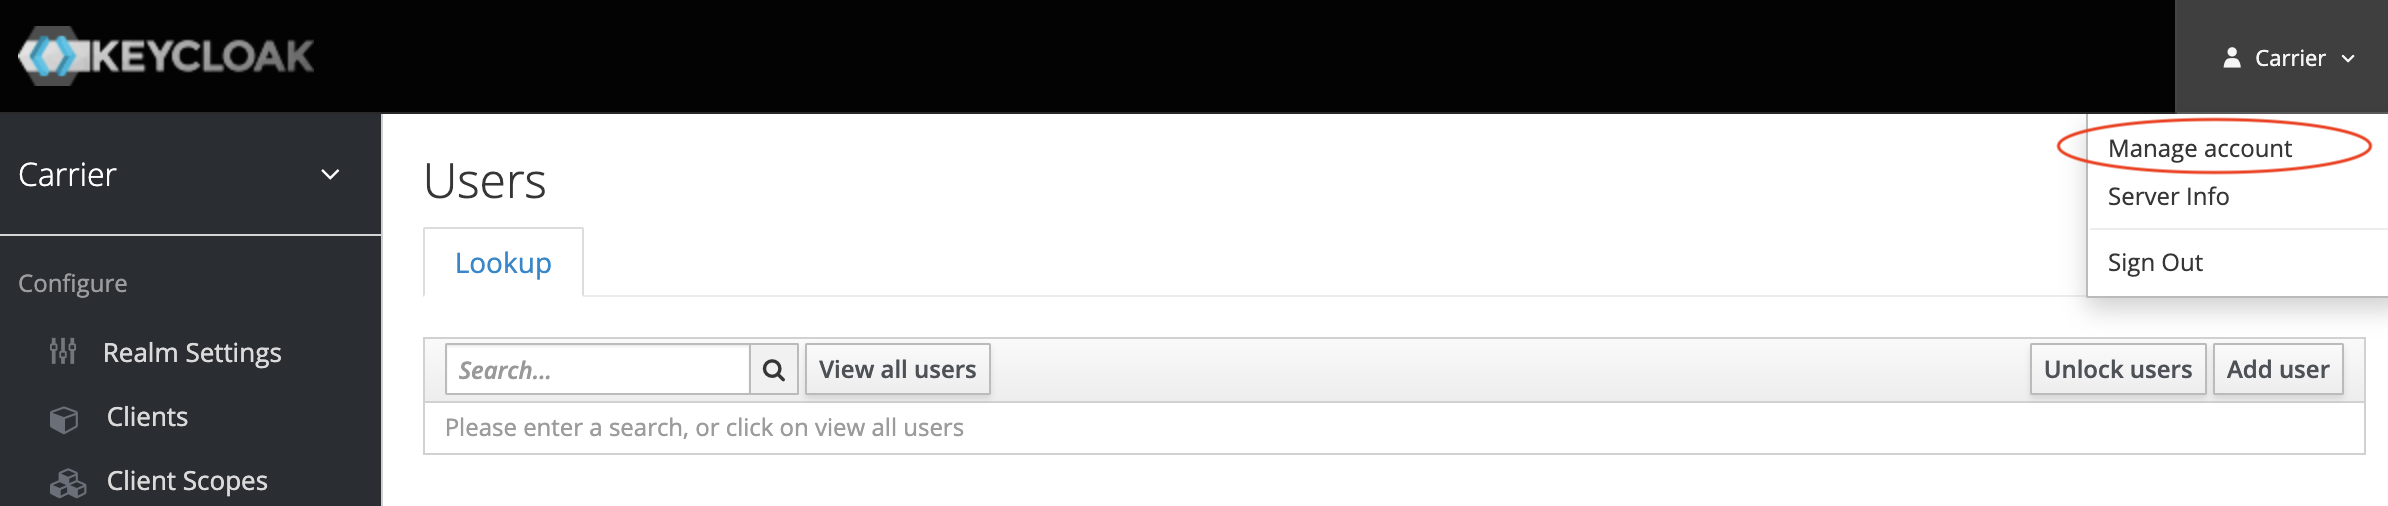
Select “Manage Account” to update the password and click on it.
![Keycloak Admin User Menu]()
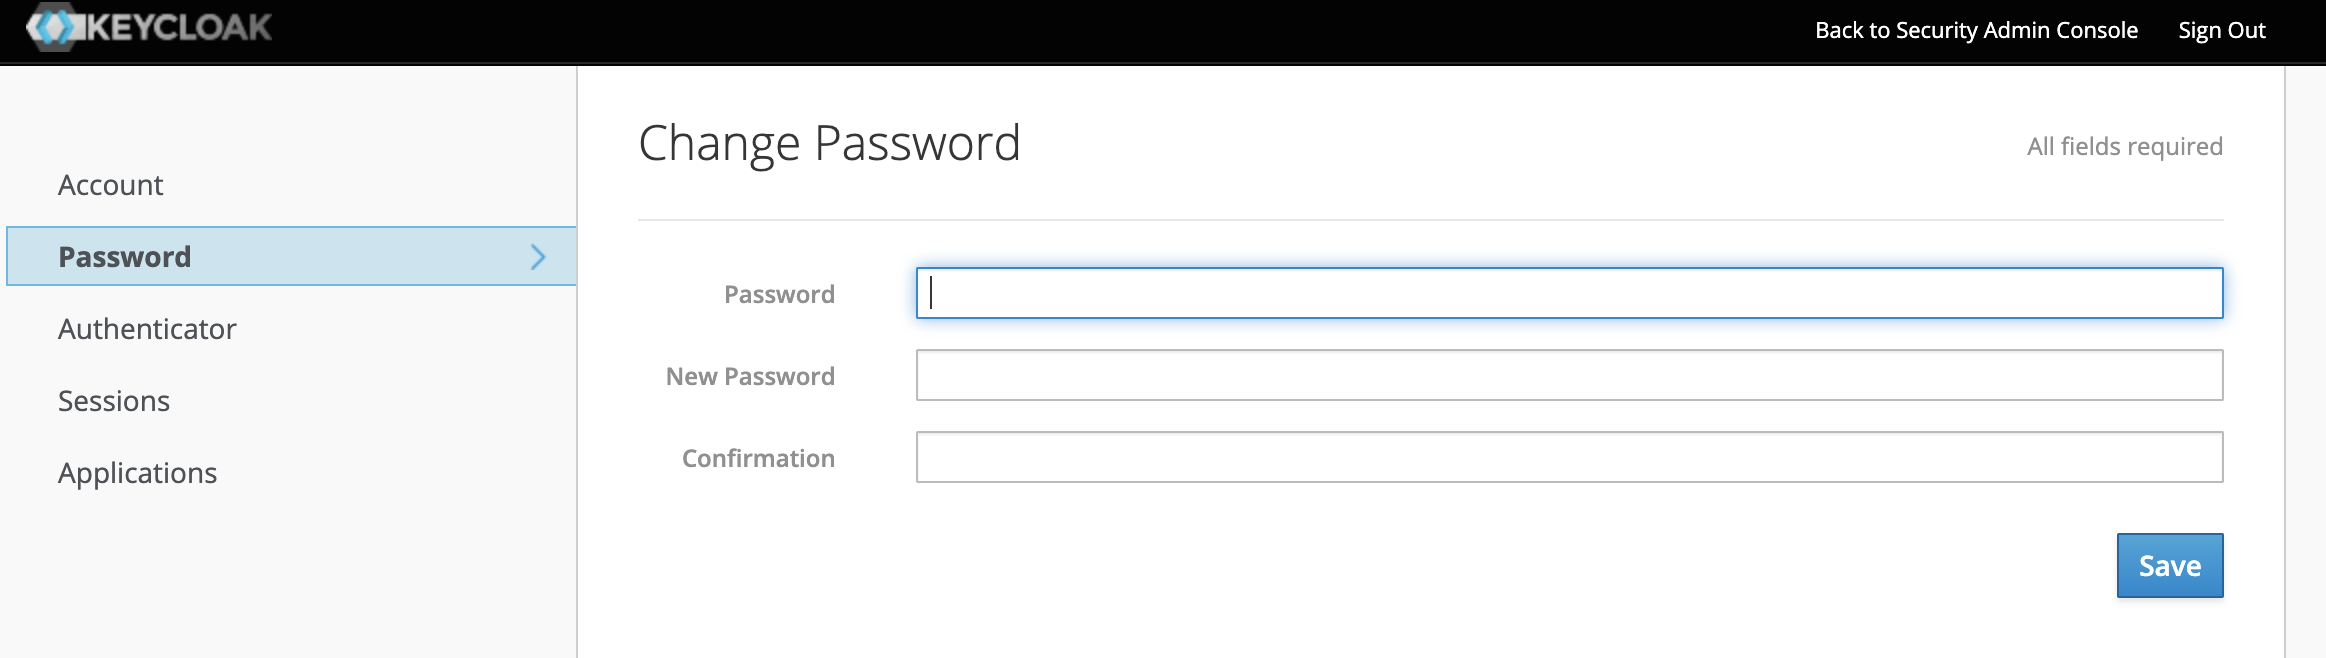
Select “Passwords”.
![Keycloak Change Password]()
Set a new password for the admin account.
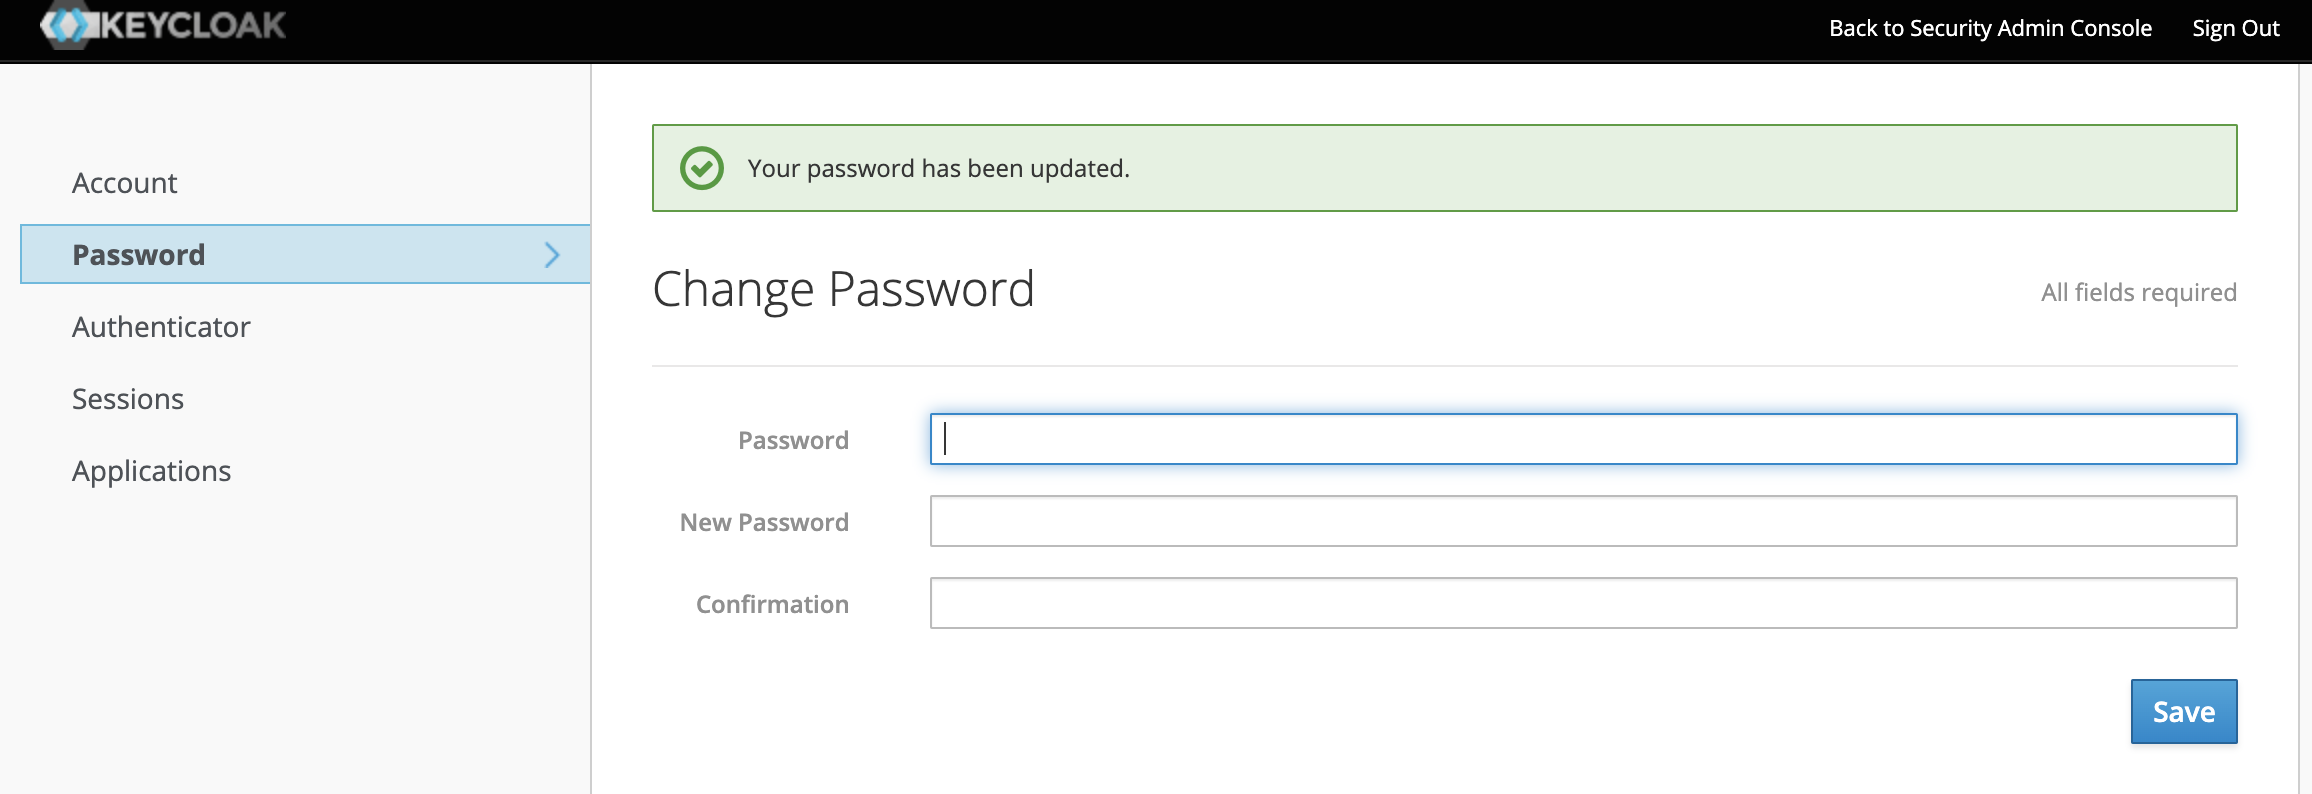
Save the changes and verify that the admin password is successfully updated.
![Keycloak Admin Password Changed]()

Congratulations! You have successfully changed the default passwords!