
Configuring schedules for tests - Step-by-Step Guide
This guide provides step-by-step instructions for configuring schedules for test in Carrier. Scheduled tests for performance testing allow us to simulate peak user load during specific times, providing insights on how the system responds and behaves under pressure, thus ensuring it can handle real-world conditions.
Prerequisites
Before you begin configuring a Backend test in Carrier, ensure that you have completed the following:
- Installed and set up Carrier successfully
- Created a project in Carrier
- Configured UI or Beckend test (Please find useful guides about it here: Performance Tutorial)
Steps
Follow the steps below to configure schedules for tests in Carrier:
Step 1: Log in to Carrier
- Open a web browser and enter the URL of your Carrier installation.
- Log in to the Carrier web interface using your credentials.
Note: Make sure you have logged in using the appropriate user account that has access to the project where you want to configure schedule for performance test.
Step 2: Select the Project
- From the project dropdown menu, select the desired project where you want to configure schedule for performance test.
- Click “Go!” to navigate to the project’s configuration page.
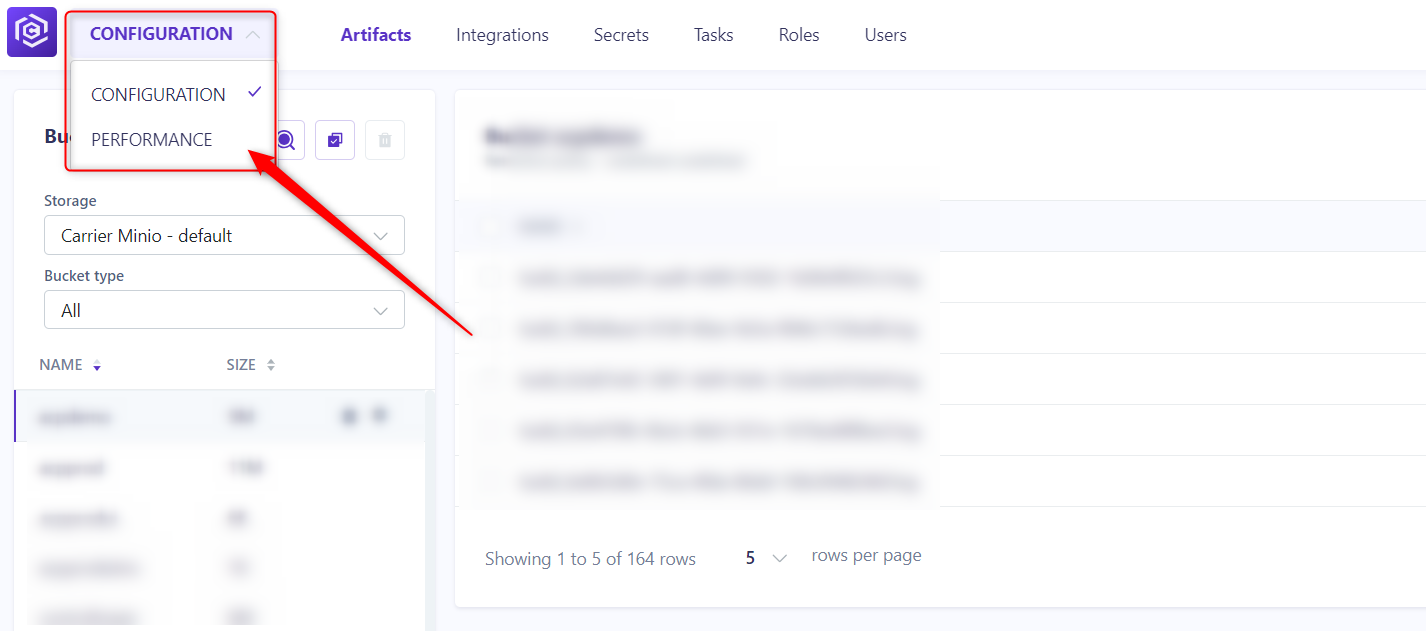
Step 3: Navigate to the “Performance” Tab
- In the project configuration page, click on the “Performance” tab located in the left menu.
![Performance Dropdown]()
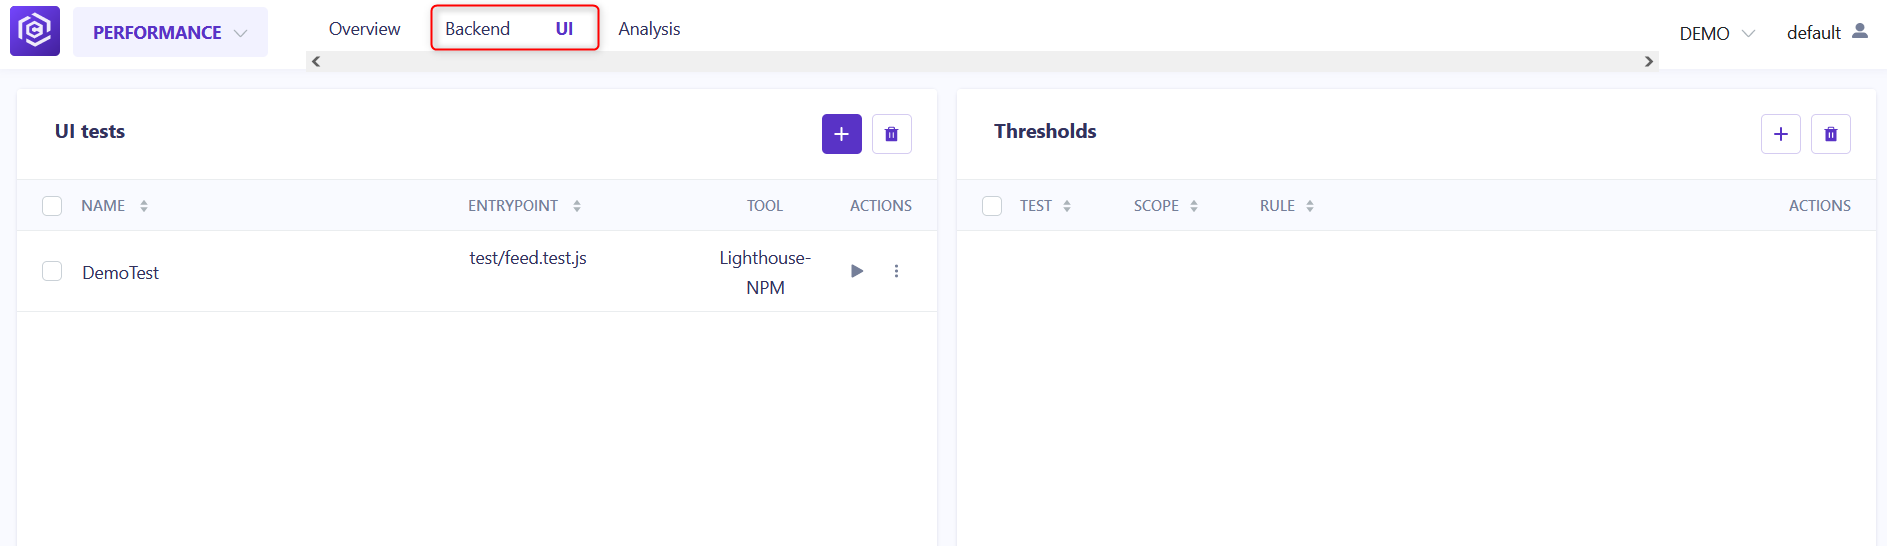
- Select test type tab (
BackendorUI, depends on which test you configured before).![Navigate to Performance]()
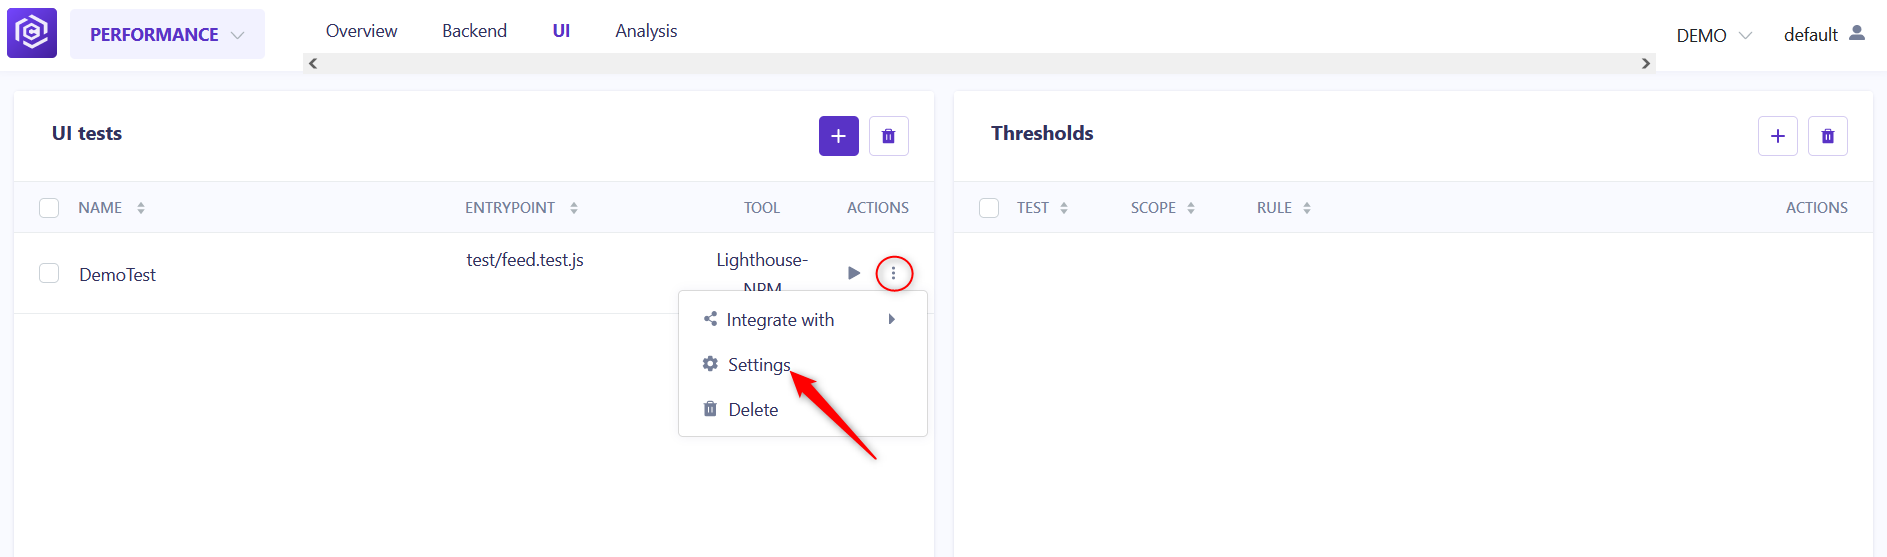
Step 4: Configure schedule for Performance Test
- Open test settings, click on the 3 dotted icon and next click “Settings” tab.
![Test settng]()
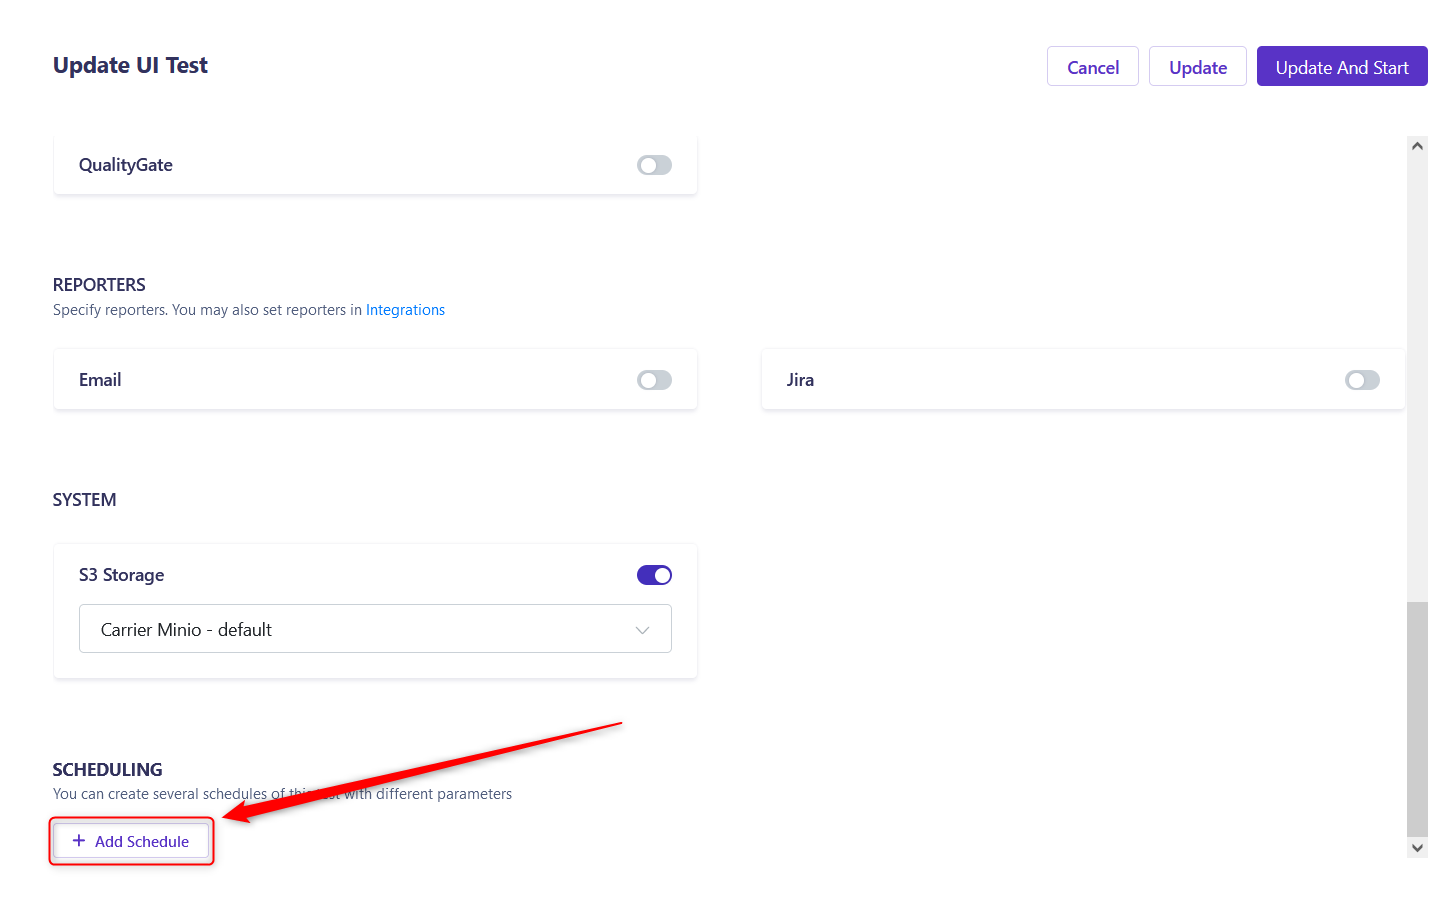
- In the Update Test menu, scroll down to the bottom of the page and press the
Add schedulebutton.![Add schedule button]()
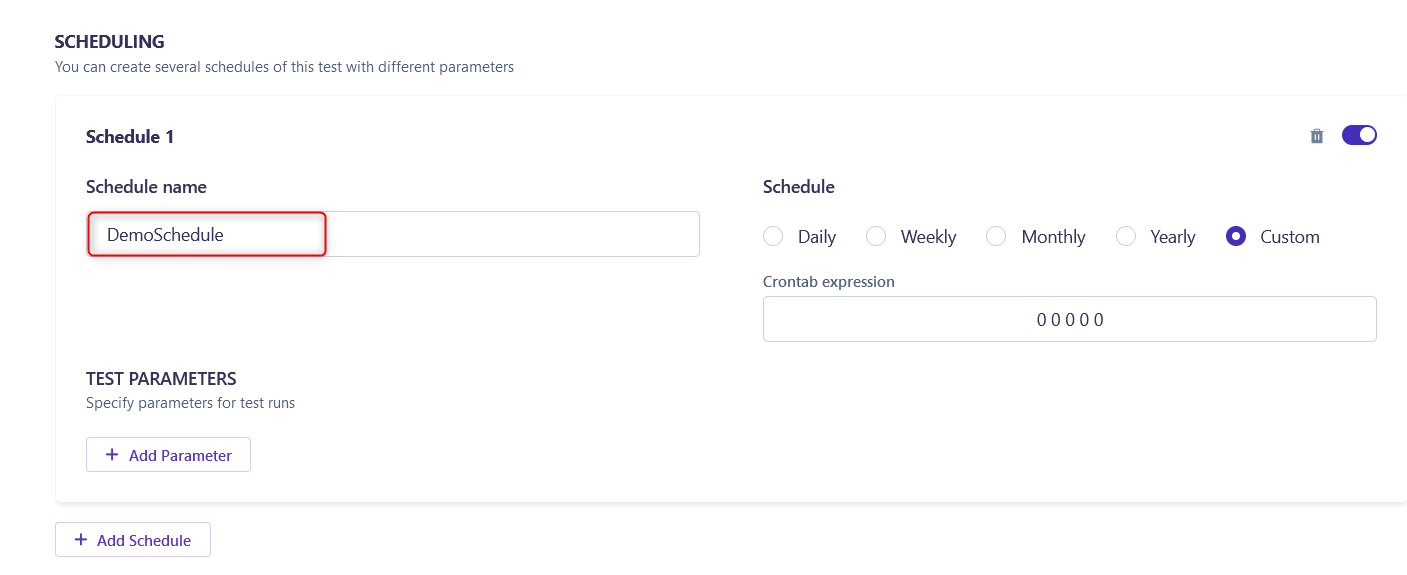
- In the menu that appears, enter the name of the schedule, for example
DemoSchedule![Demo Schedule]()
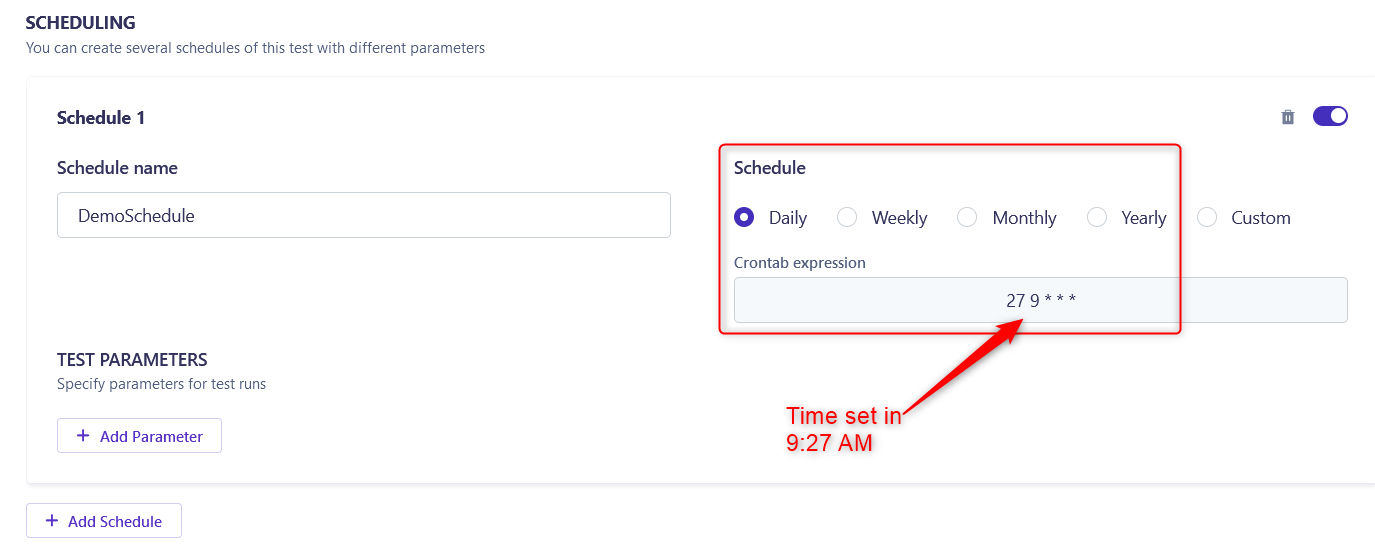
- You can set when tests will run using 4 ready-made options: Daily, Weekly, Monthly, Yearly. In this case, your current time will be selected as the test start time.
![Time set]()
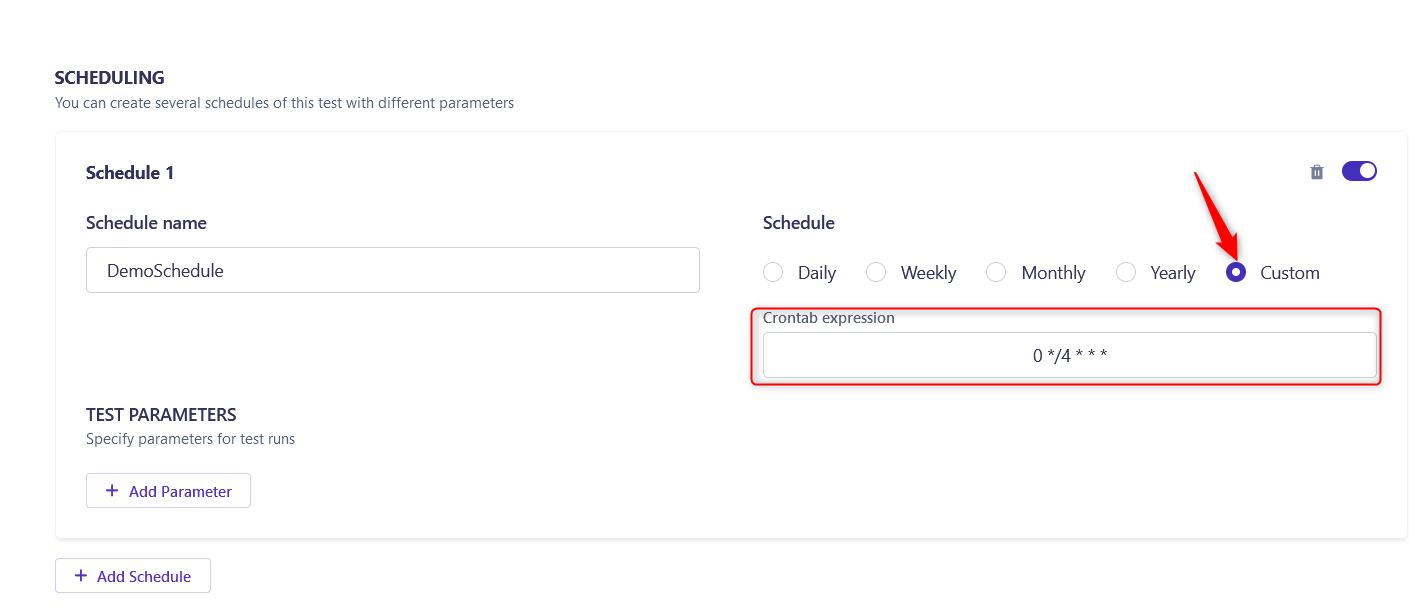
- If you want to configure the test with a different schedule, you need to choose Custom option and use the crontab expression. For example, if you want to run tests every 4 hours, you should use
0 */4 * * *crontab expression. You can learn more about the crontab expressions by the link.![Crontab expression]()
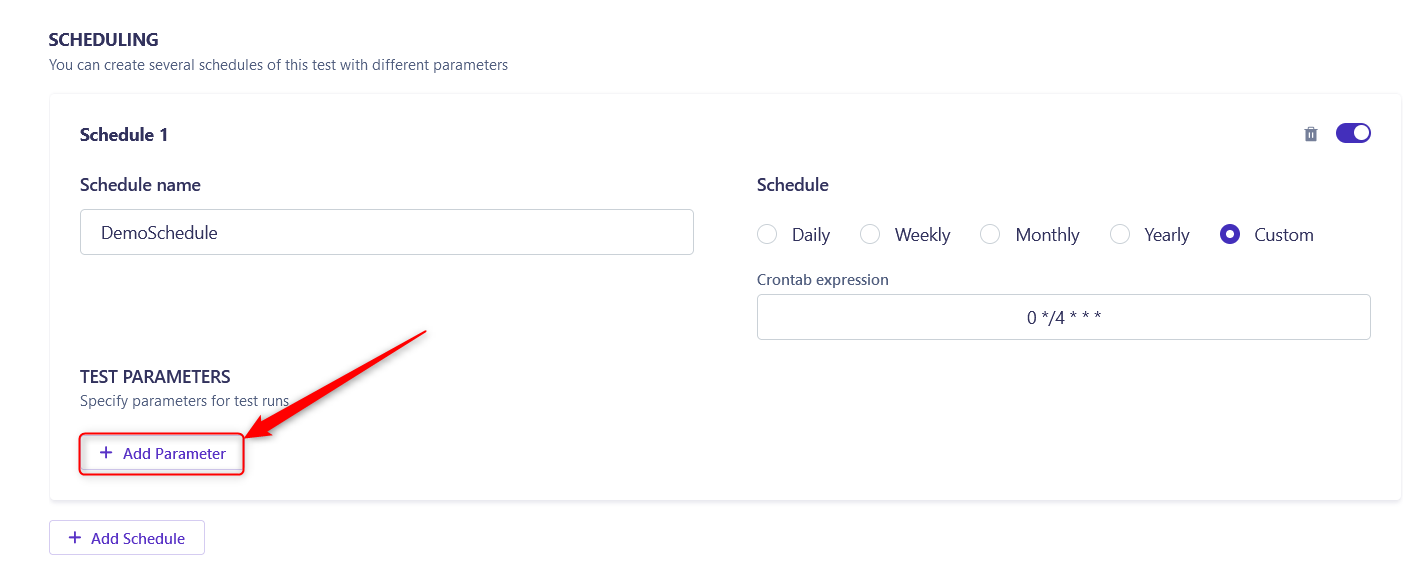
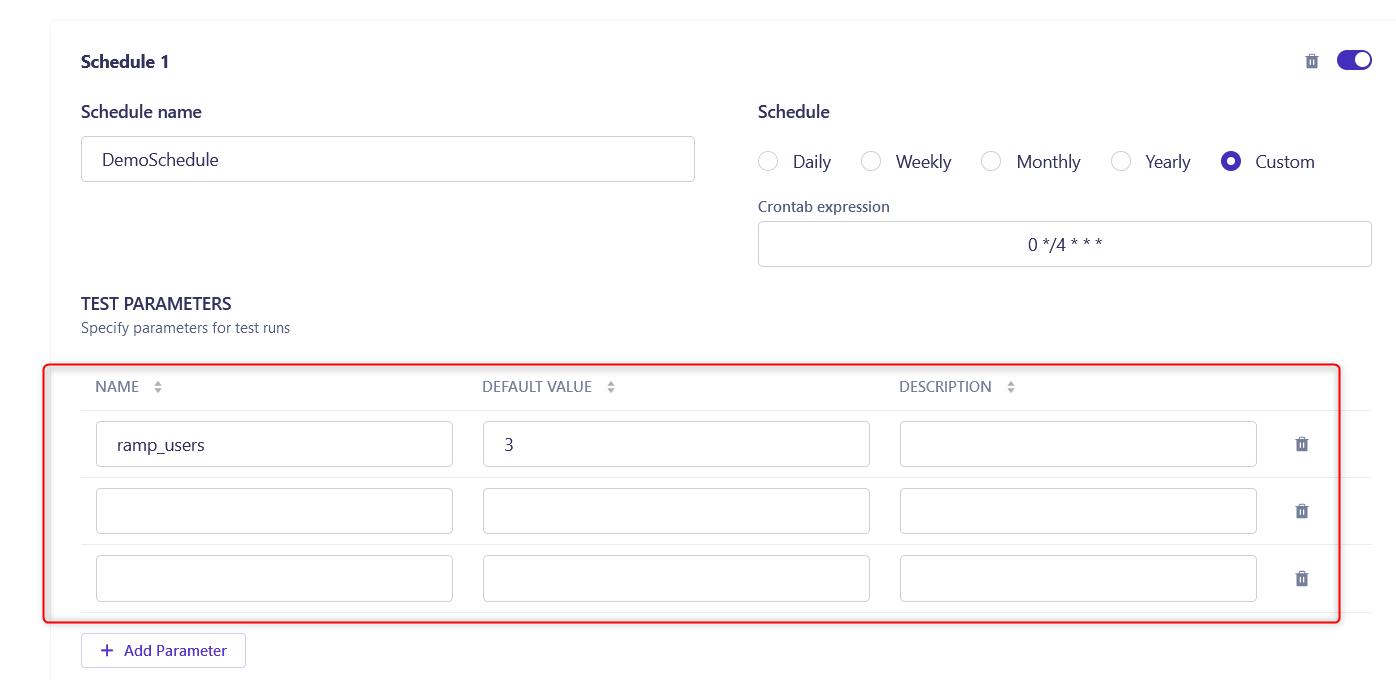
- To add parameters to a scheduled test, click the Add parameters button.
![Add schedule parameter]()
![Test parameters schedlue]()
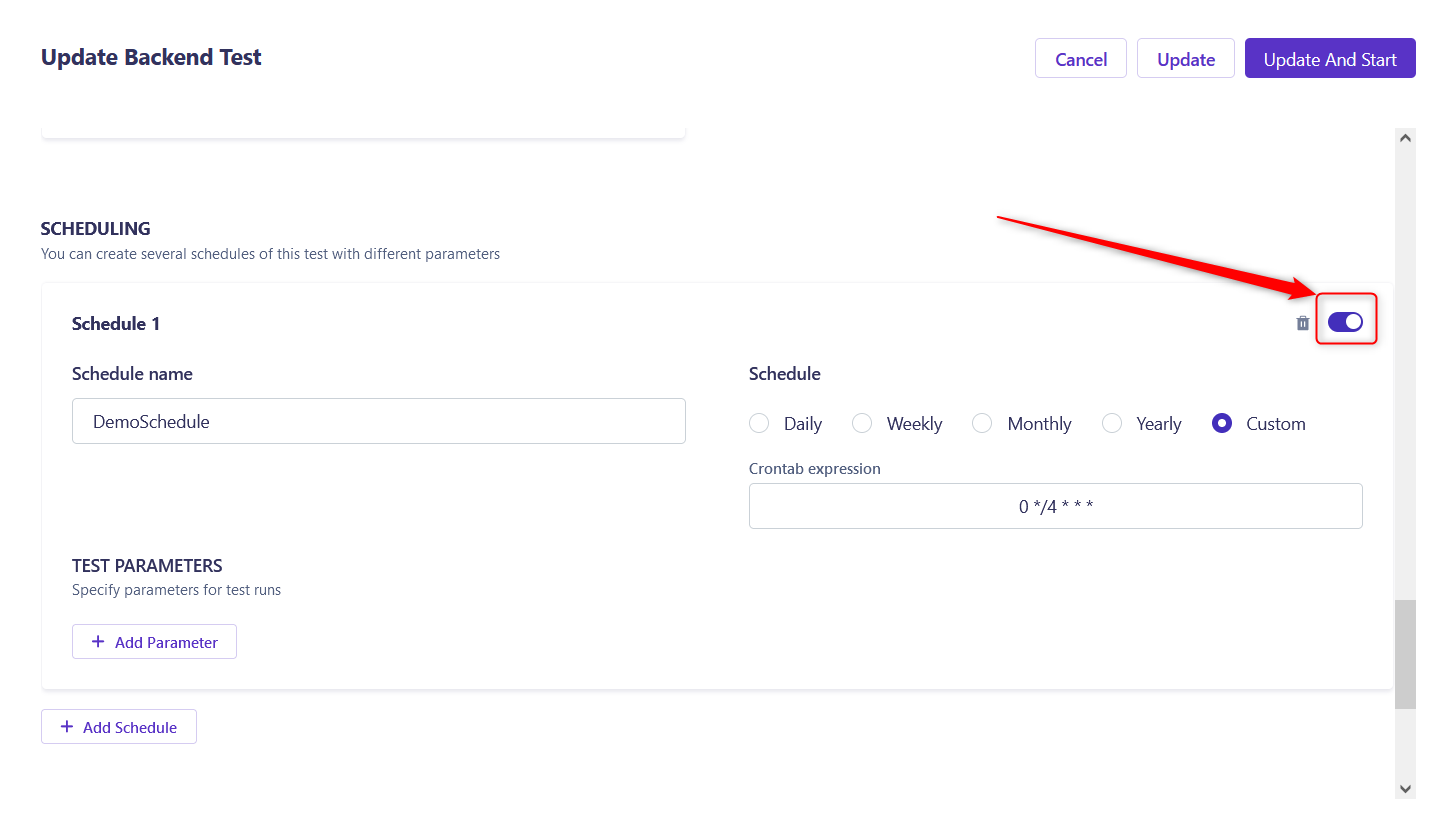
- To disable running scheduled tests, click on the slider in the upper right corner.
![Slider disables schedule]()
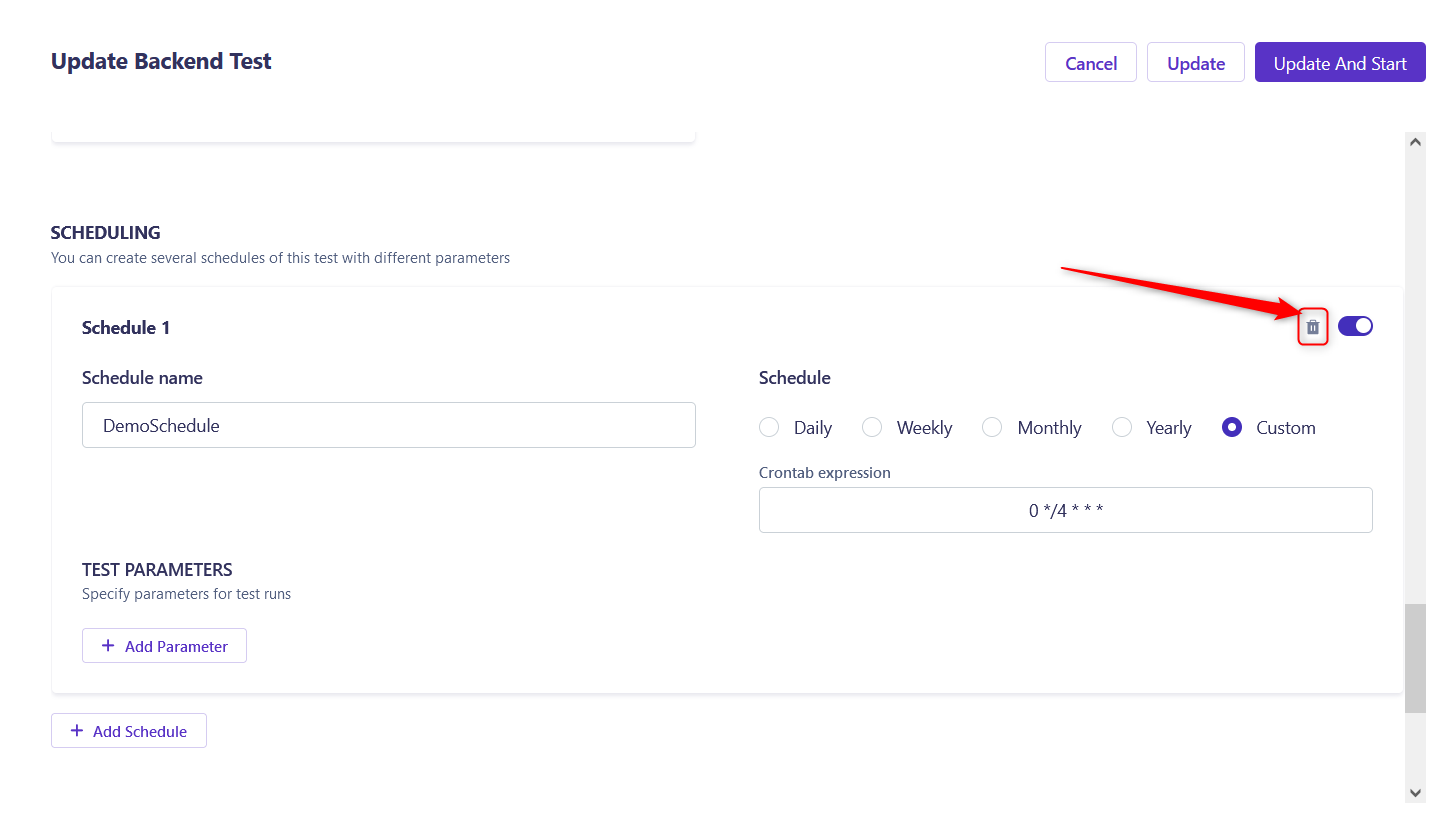
- If you want to delete the test schedule you can click the recycle bin icon.
![Delete test schedule]()
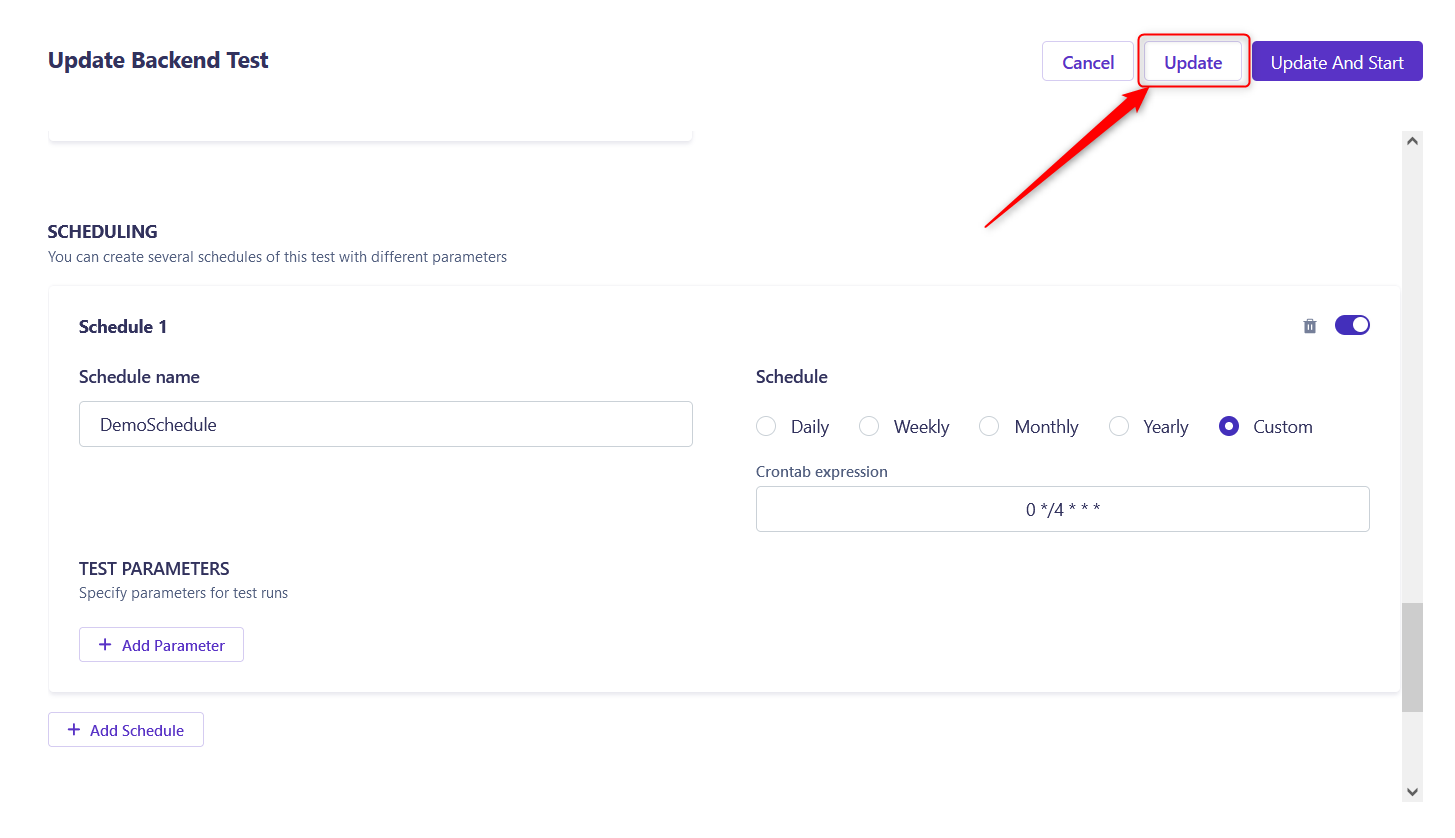
- If you want to save the test schedule you can click the Update button.
![Update schedule test]()
Congratulations! You have successfully configured scheduled performance test in Carrier.