Overview
This guide provides step-by-step instructions for configuration Test Suites in Carrier. Test Suites help to make several simultaneous test runs with different parameters. This can be useful for example for testing under different load or different load generators.
Prerequisites
Before you begin working with Suites, ensure that you have completed the following:
- Installed and set up Carrier successfully.
- Created a project in Carrier.
- Configured Backend and/or UI test.
Note: You can find out how to create project in Carrier in the following guide
Steps
Follow the steps below to know how to use Suites in Carrier:
Step 1: Access the Carrier Web Interface
- Open a web browser and enter the URL of your Carrier installation.
- Log in to the Carrier web interface using your credentials.
Note: Make sure you have logged in using the appropriate user account that has all required accesses
Step 2: Select the Project
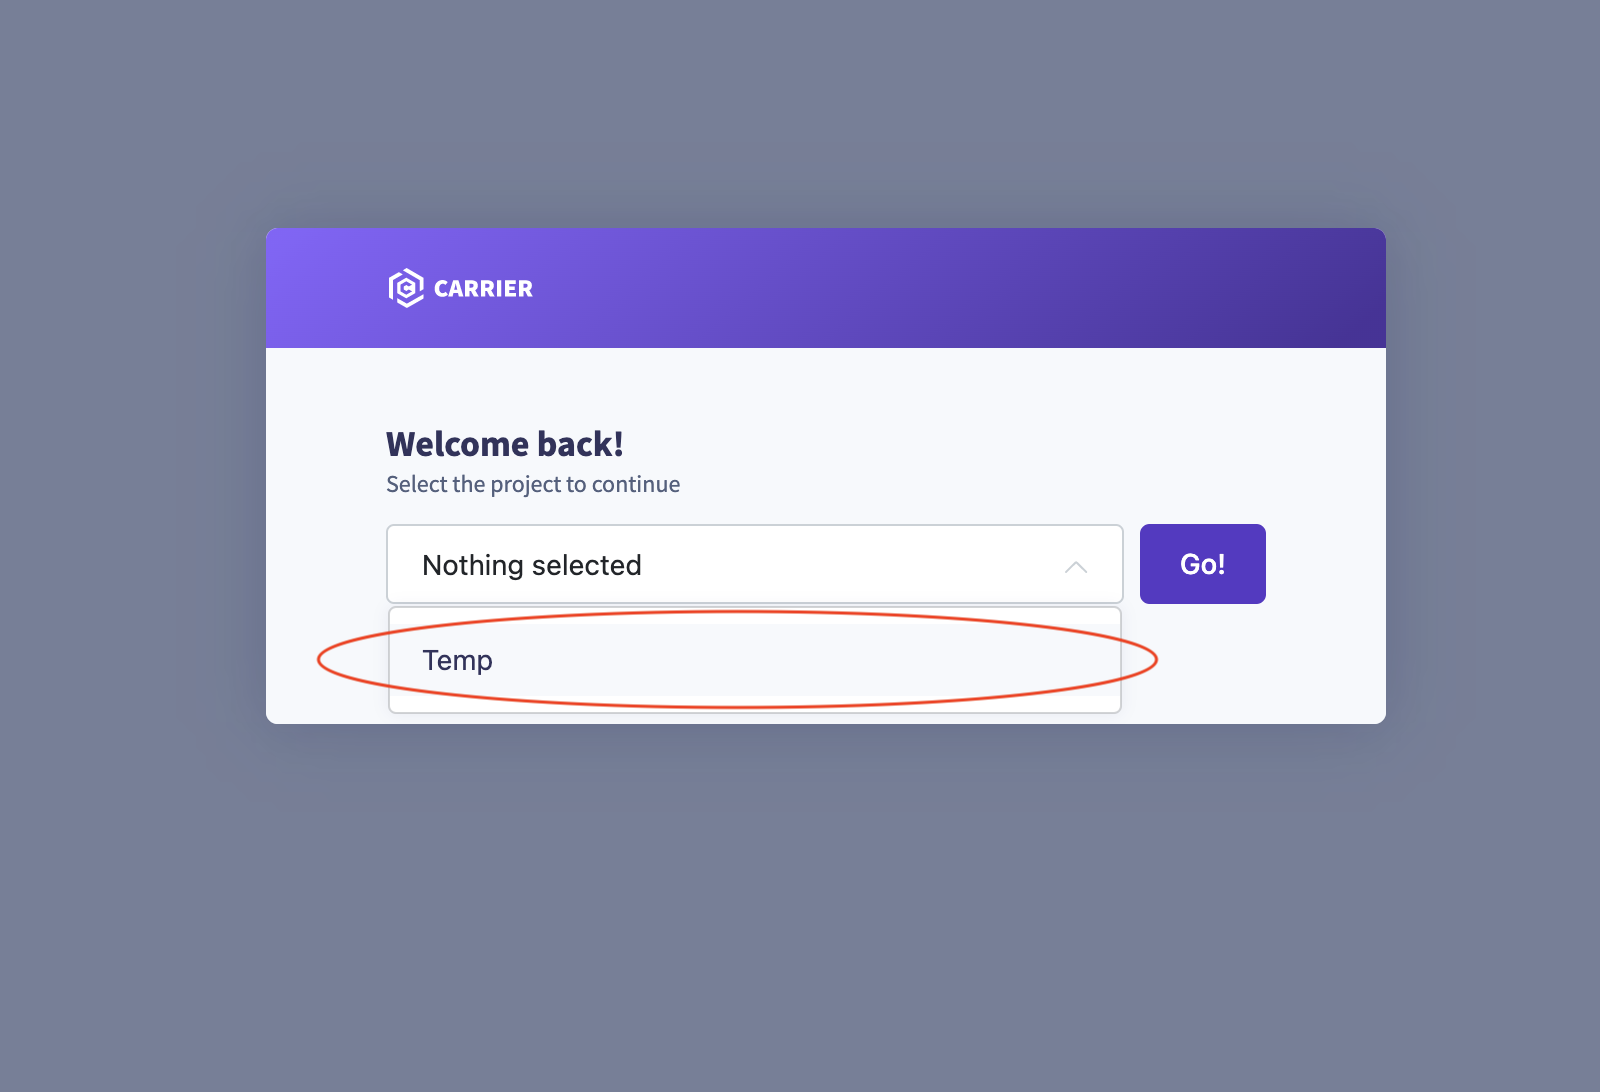
- From the project dropdown menu, select the desired project where you want to work with Suites.
![Select Project]()
- Click “Go!” to navigate to the project’s configuration page.
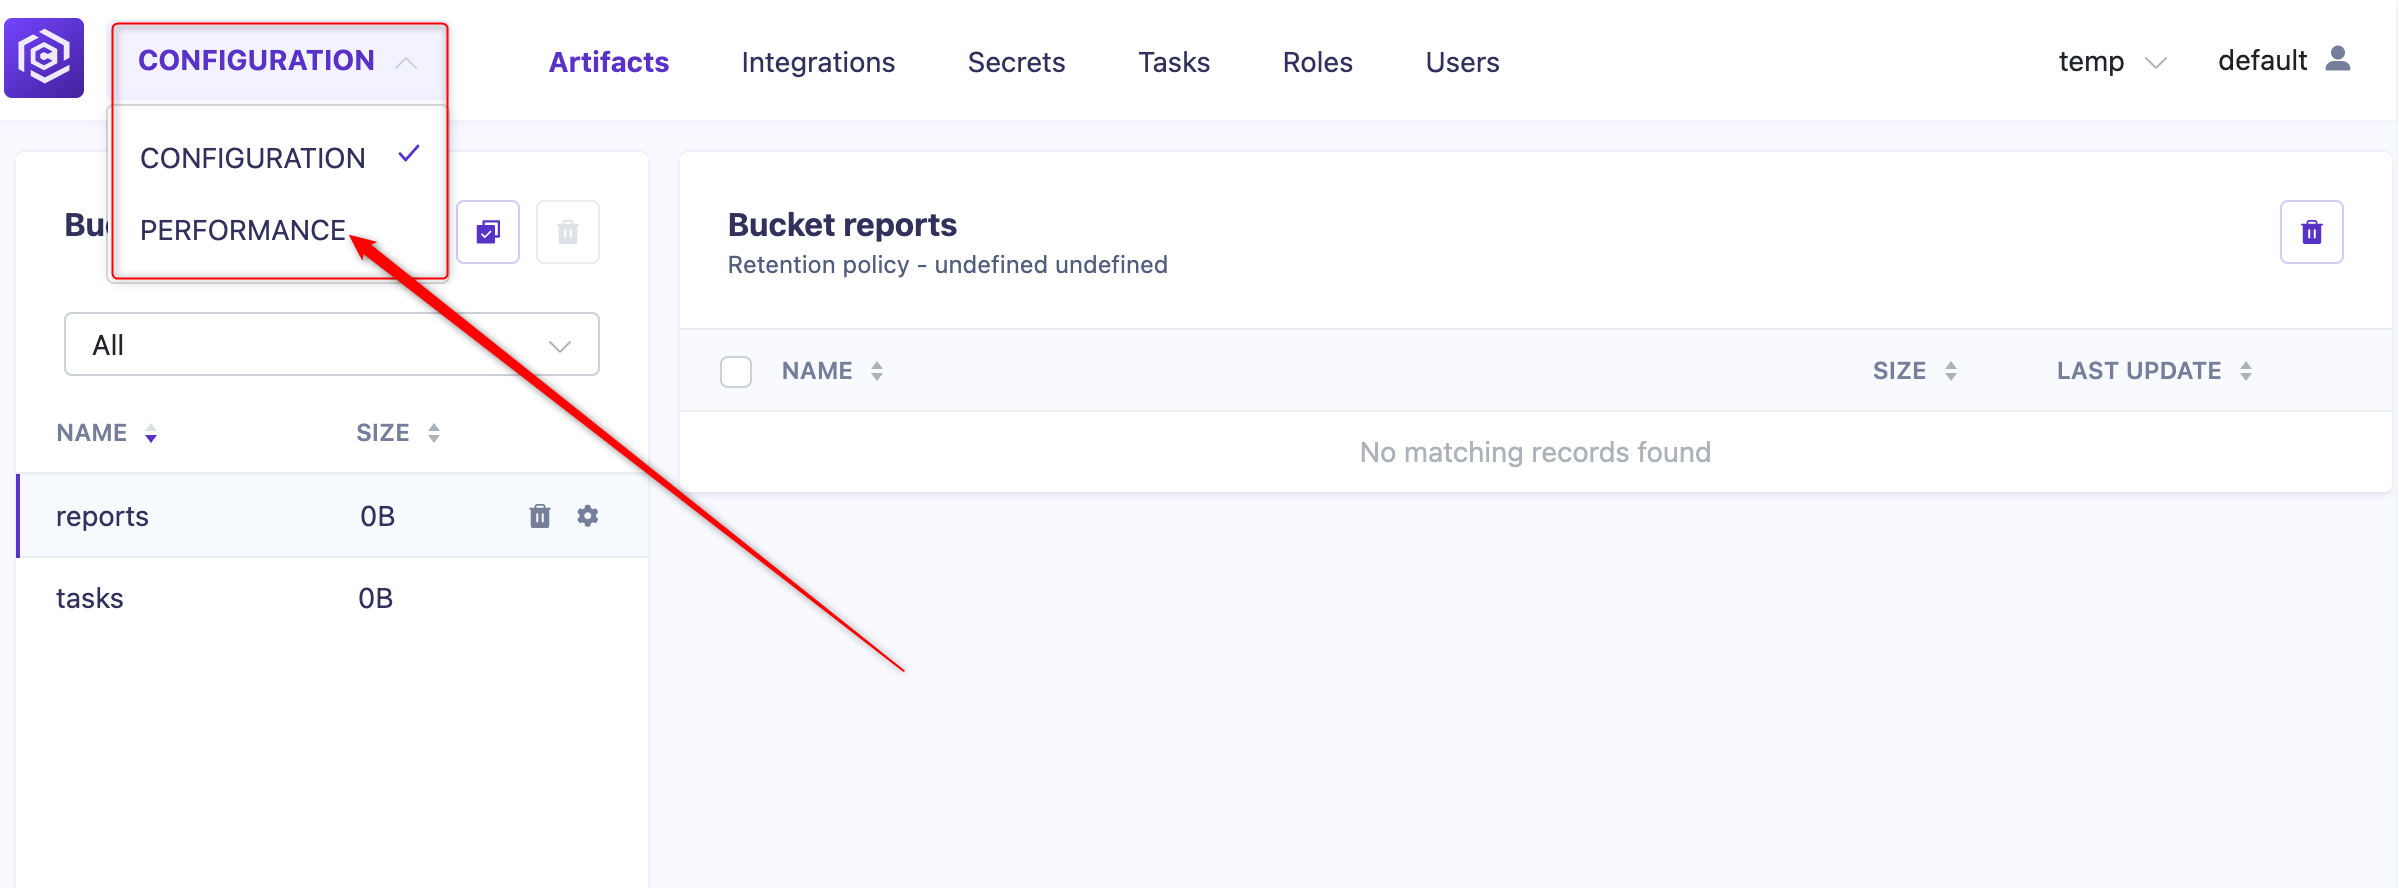
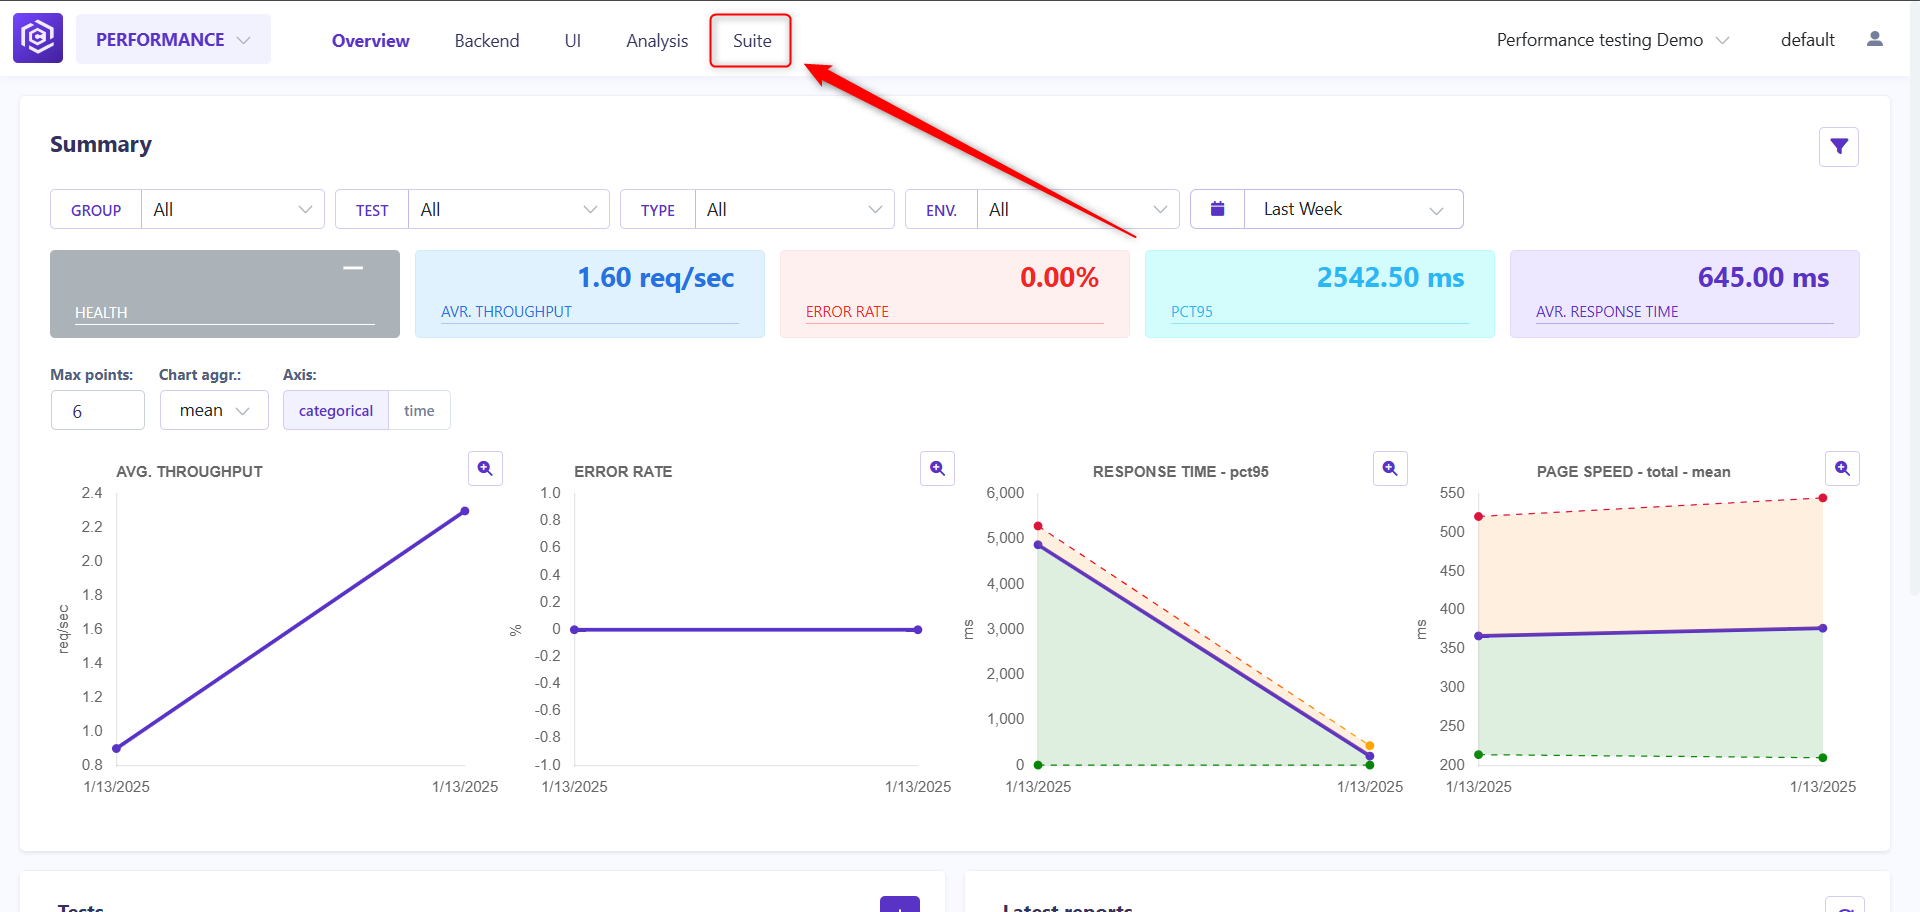
Step 3: Navigate to the Suite tab
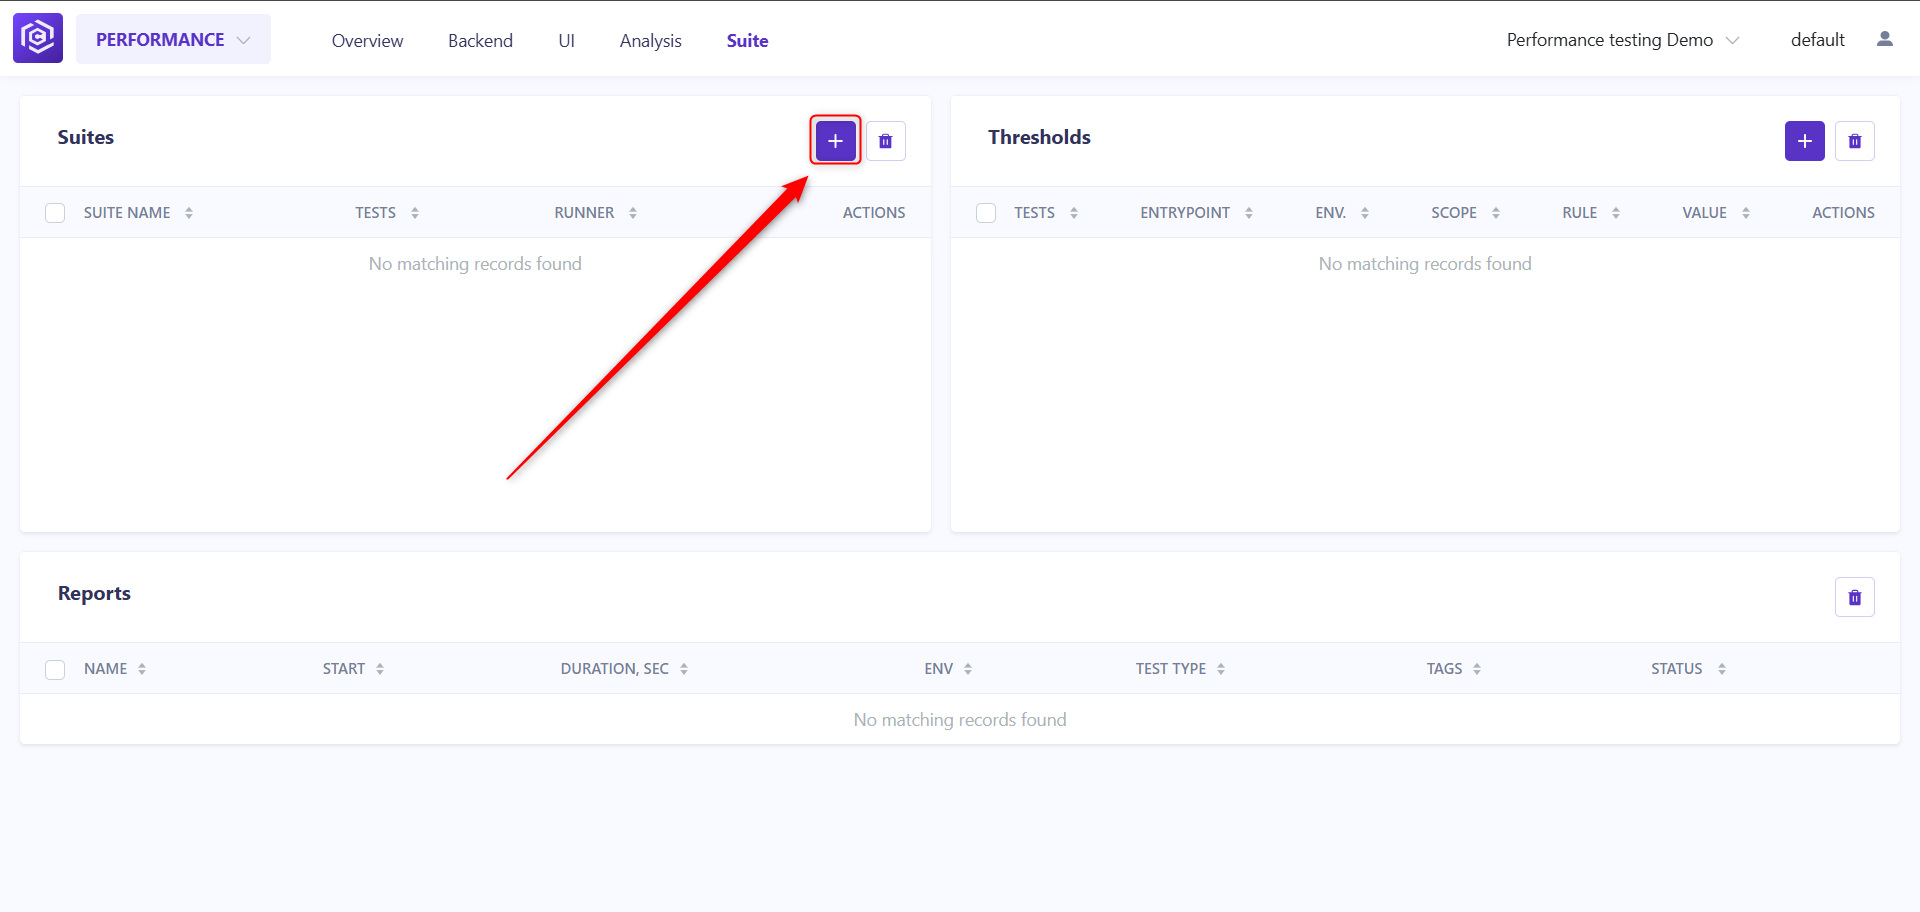
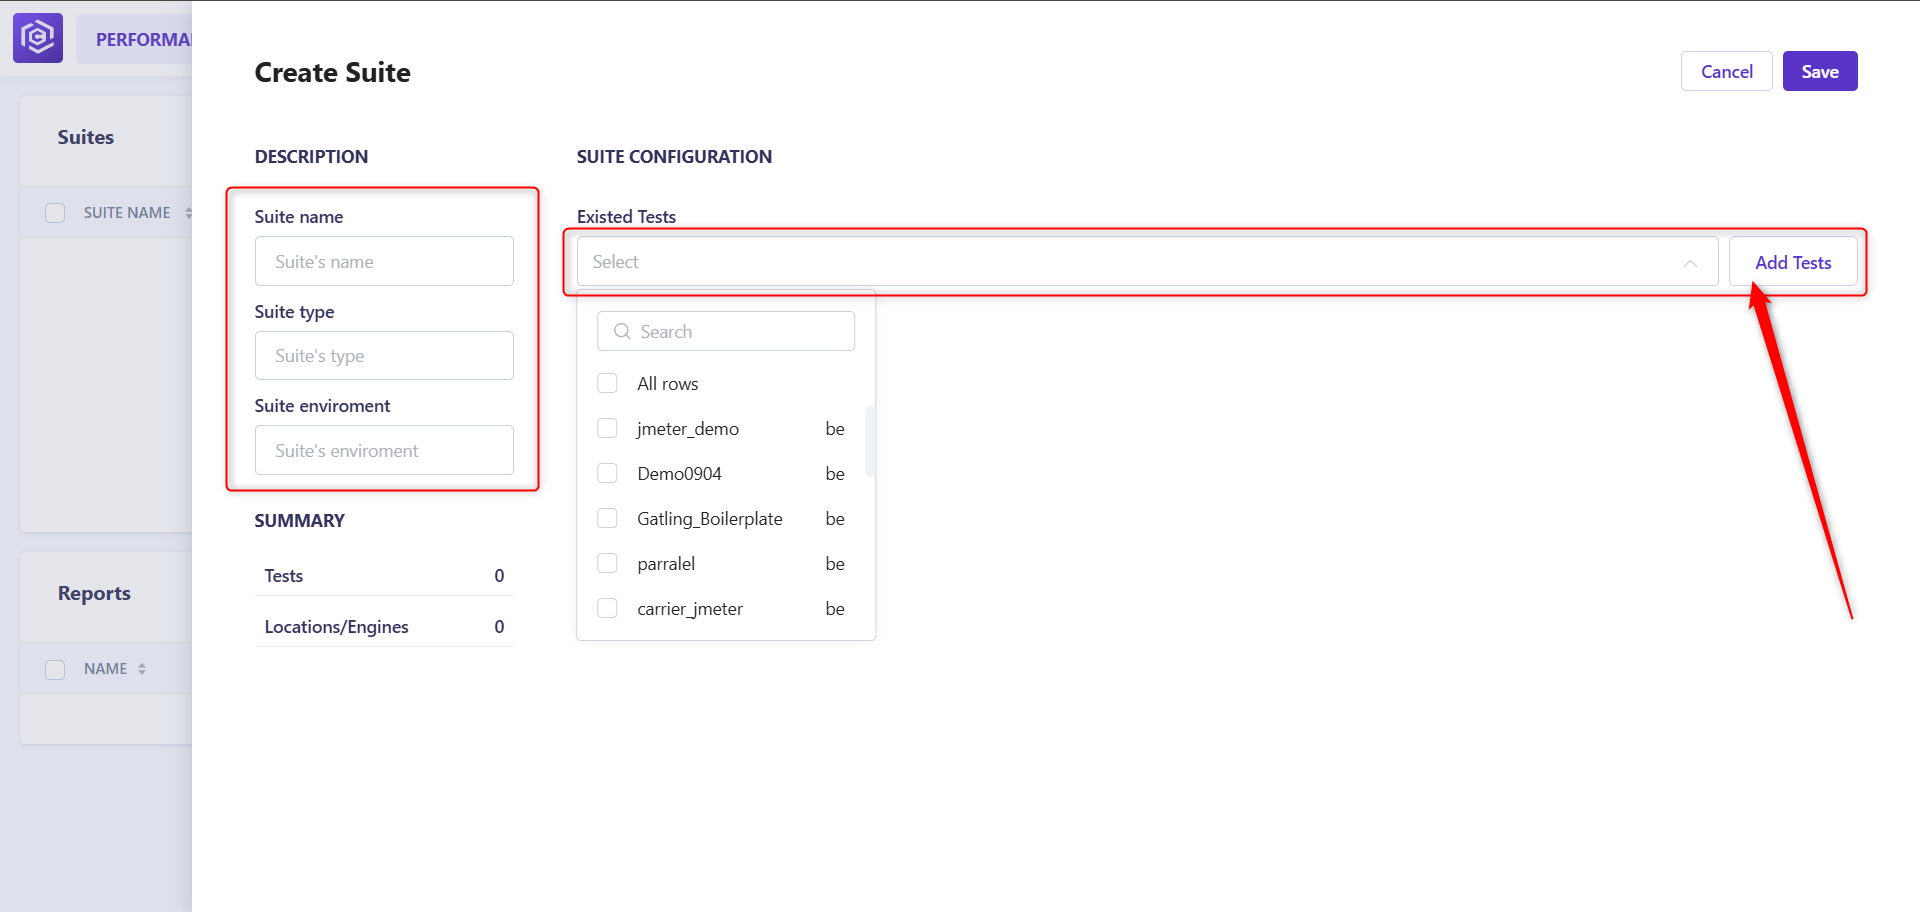
Step 4: Add new test Suite
Fill in the following fields, select tests, and press Add Tests button.
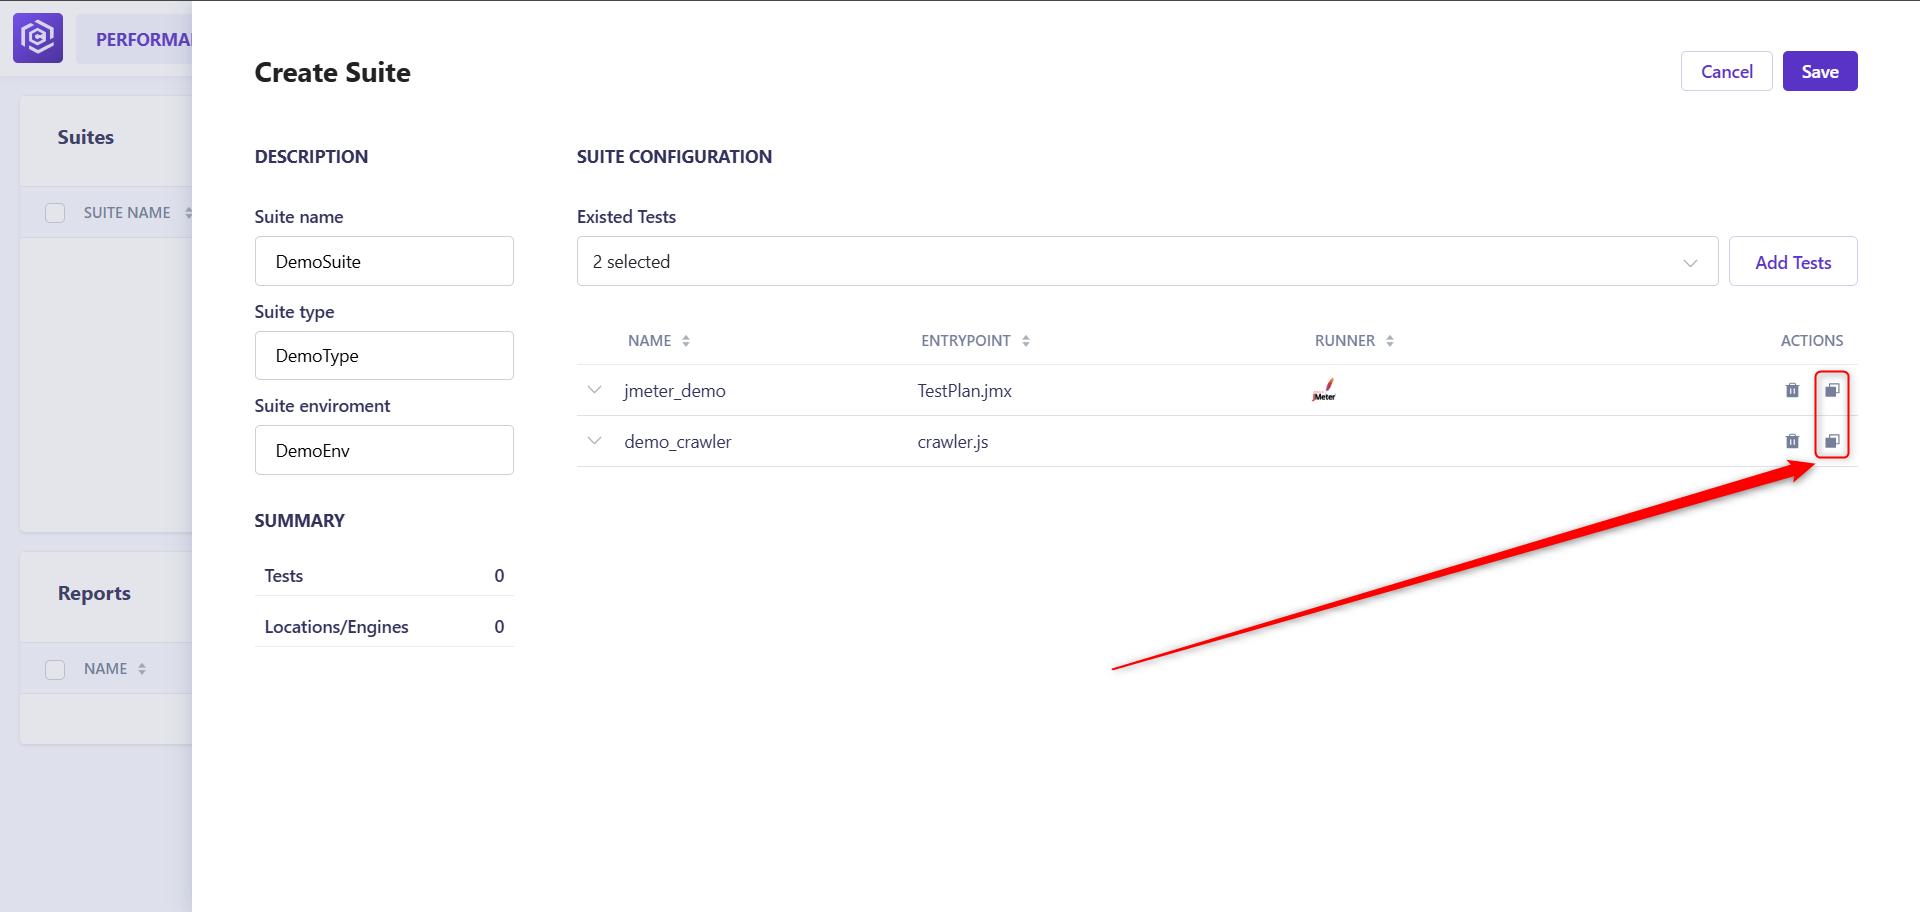
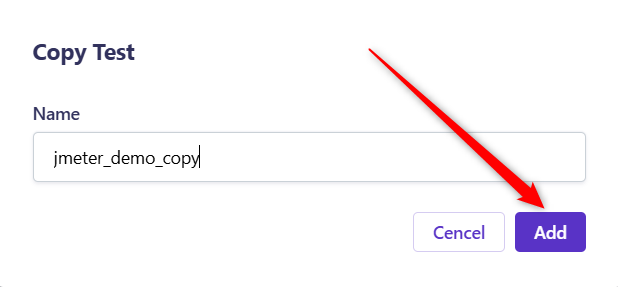
Step 5: How to copy test Suite
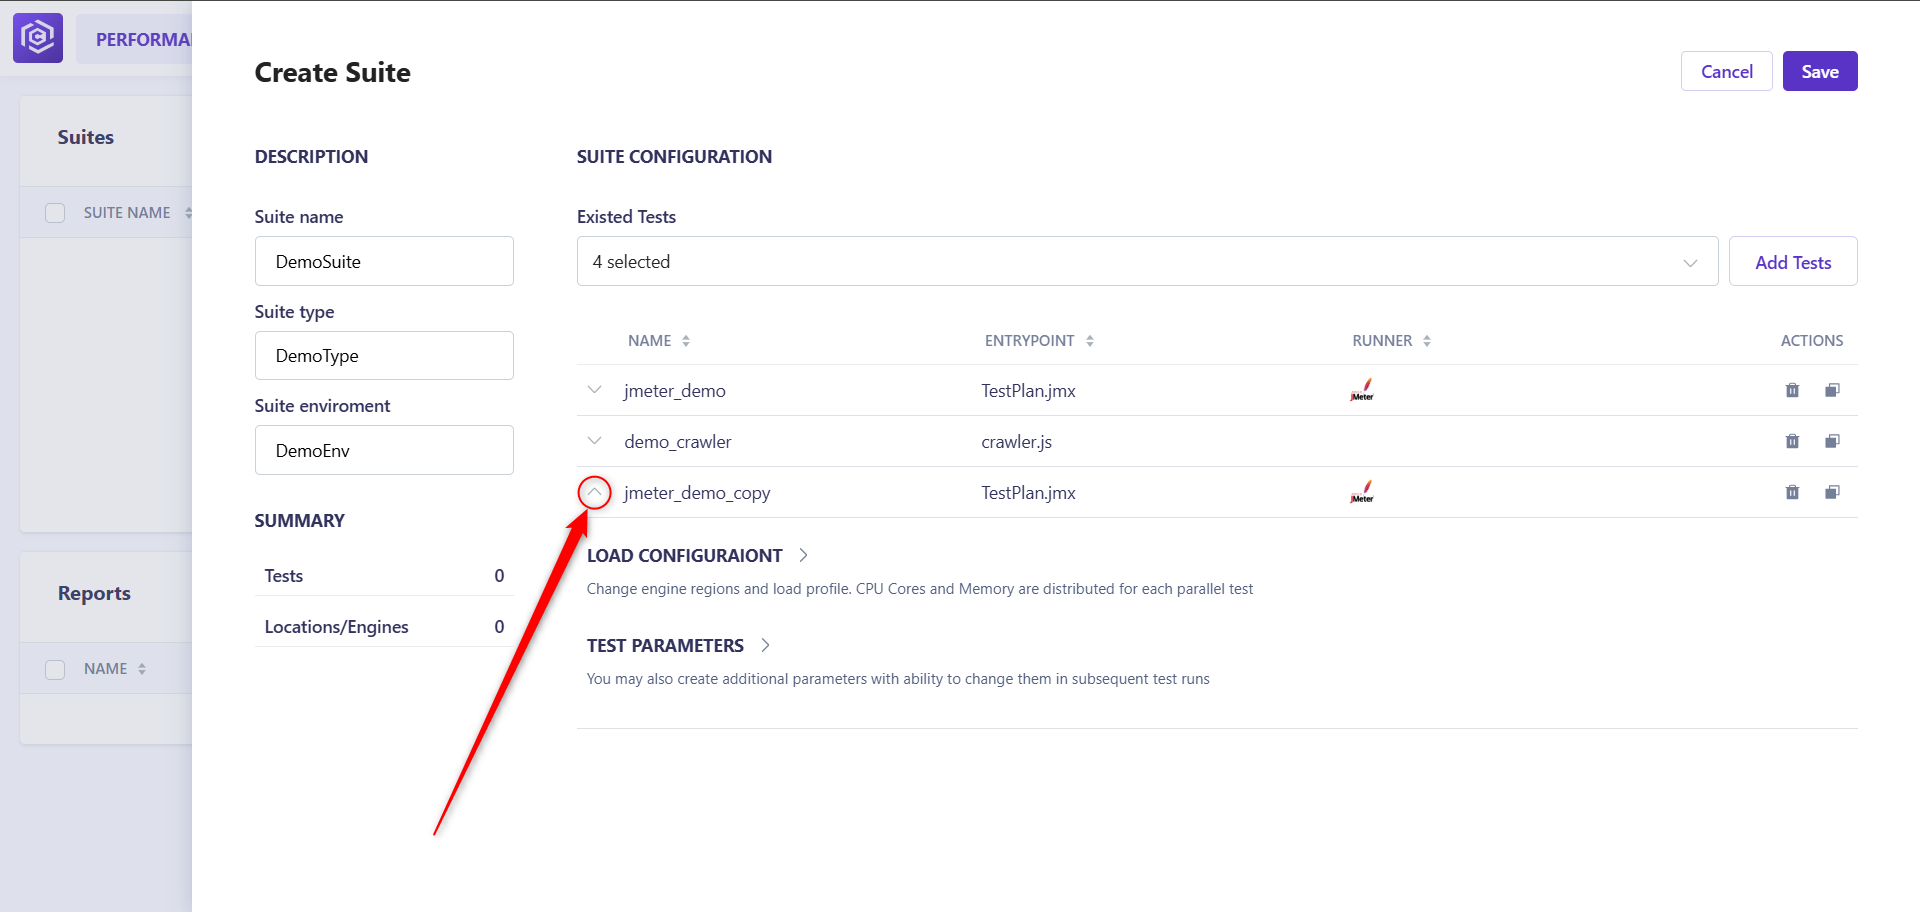
Step 6: How to config test Suite
You can edit the load configuration and test parameters by pressing the button to the left of the test name.
![Suite Configuration]()
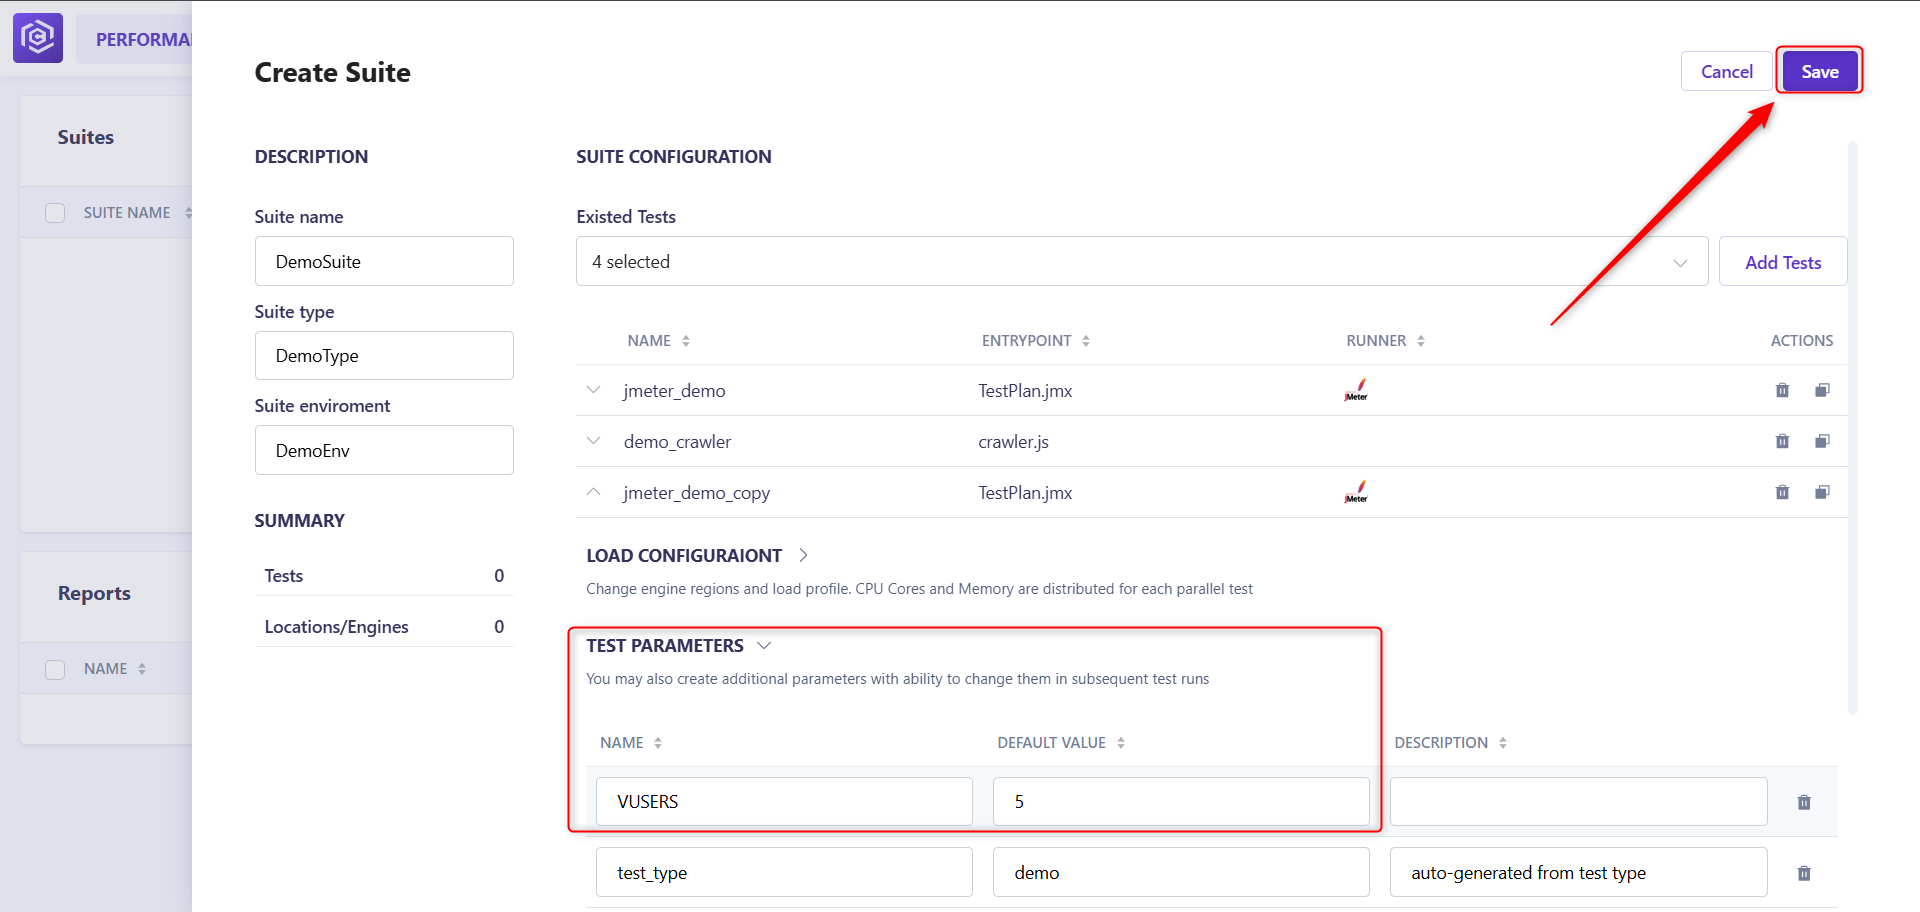
In the following example we added test parameter VUSERS and set it to 5. Also don’t forget to click Save button, to save test Suite.
![Change Suite Parameters]()
Step 7: Execute test Suite
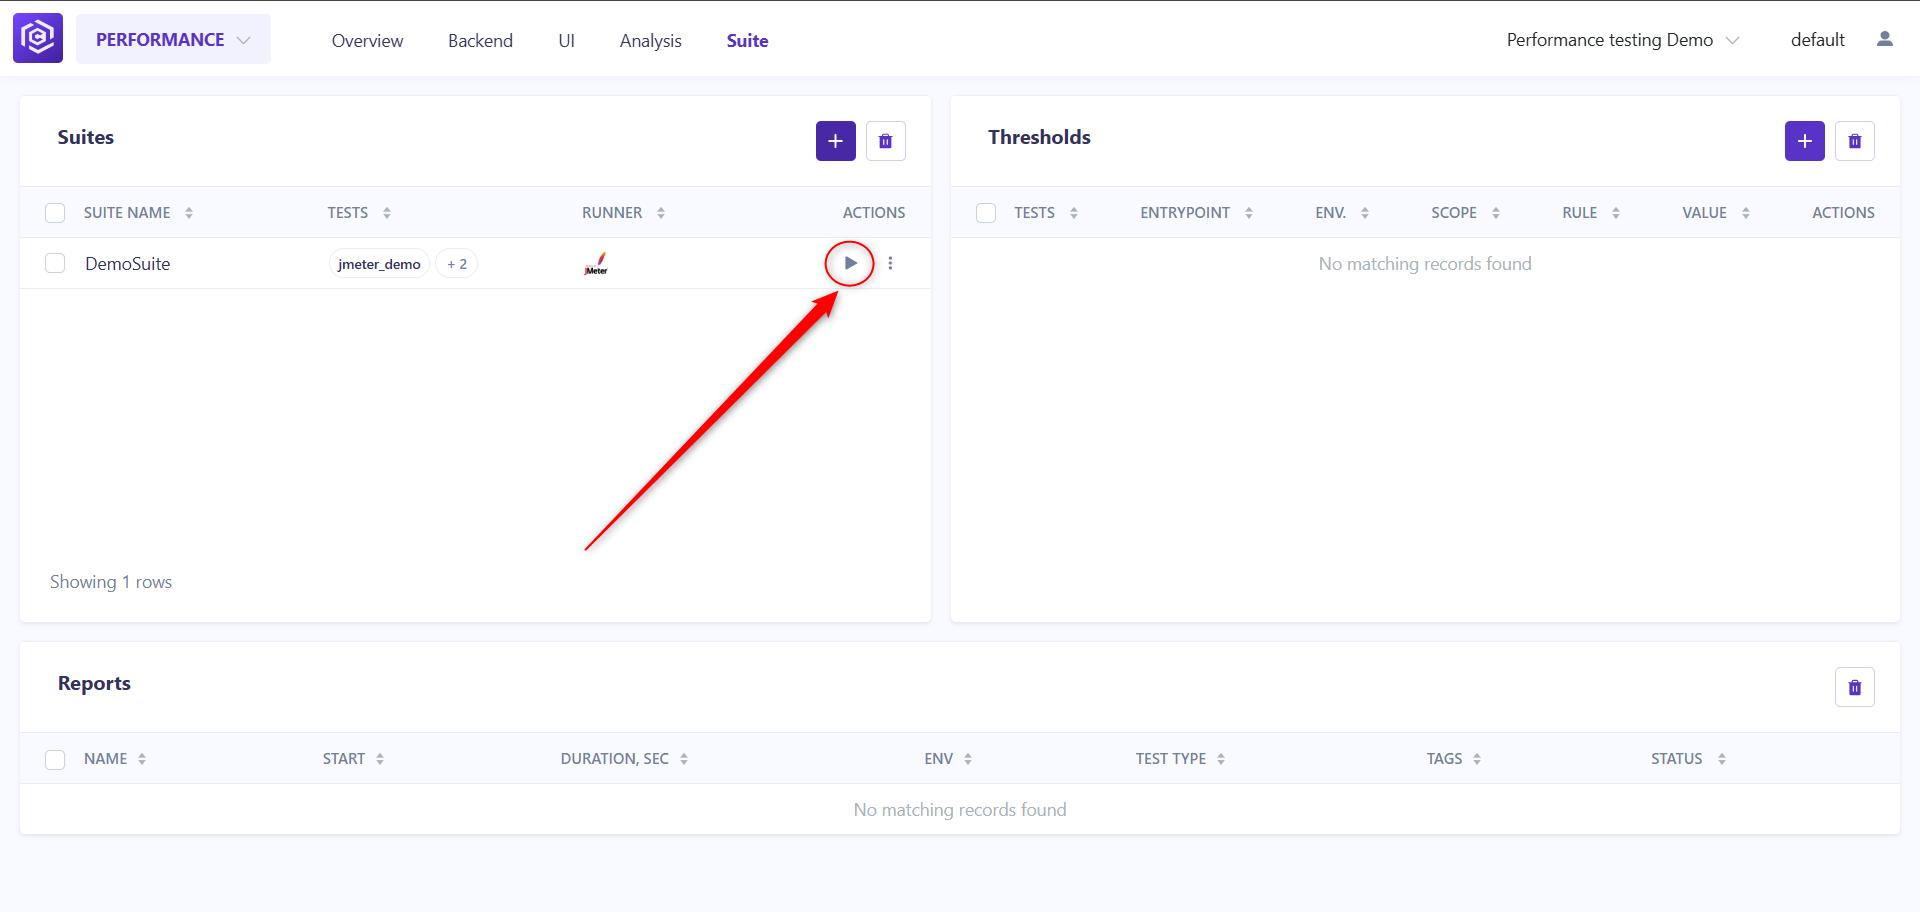
To execute your test Suite click on the triangle button on the Suite page.
![Execute Test Suite]()
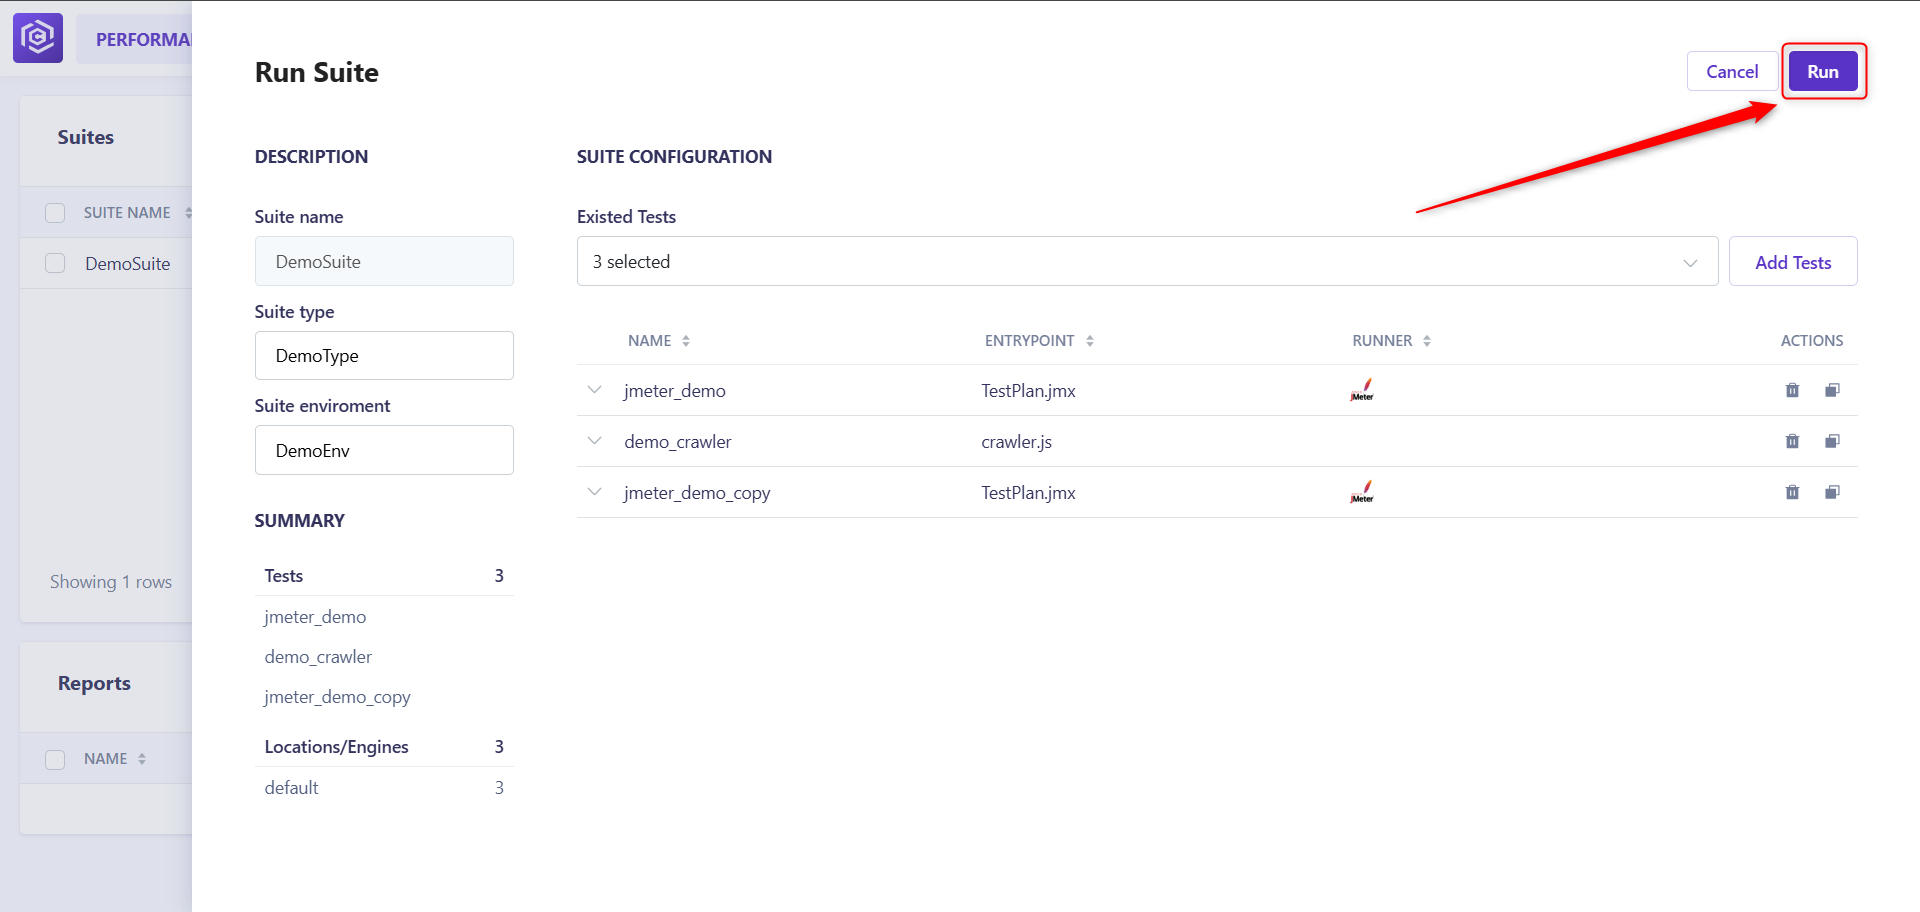
You could also change your test configuration before test run. If all parameters are correct - just click Run button.
![Test suite config before run]()
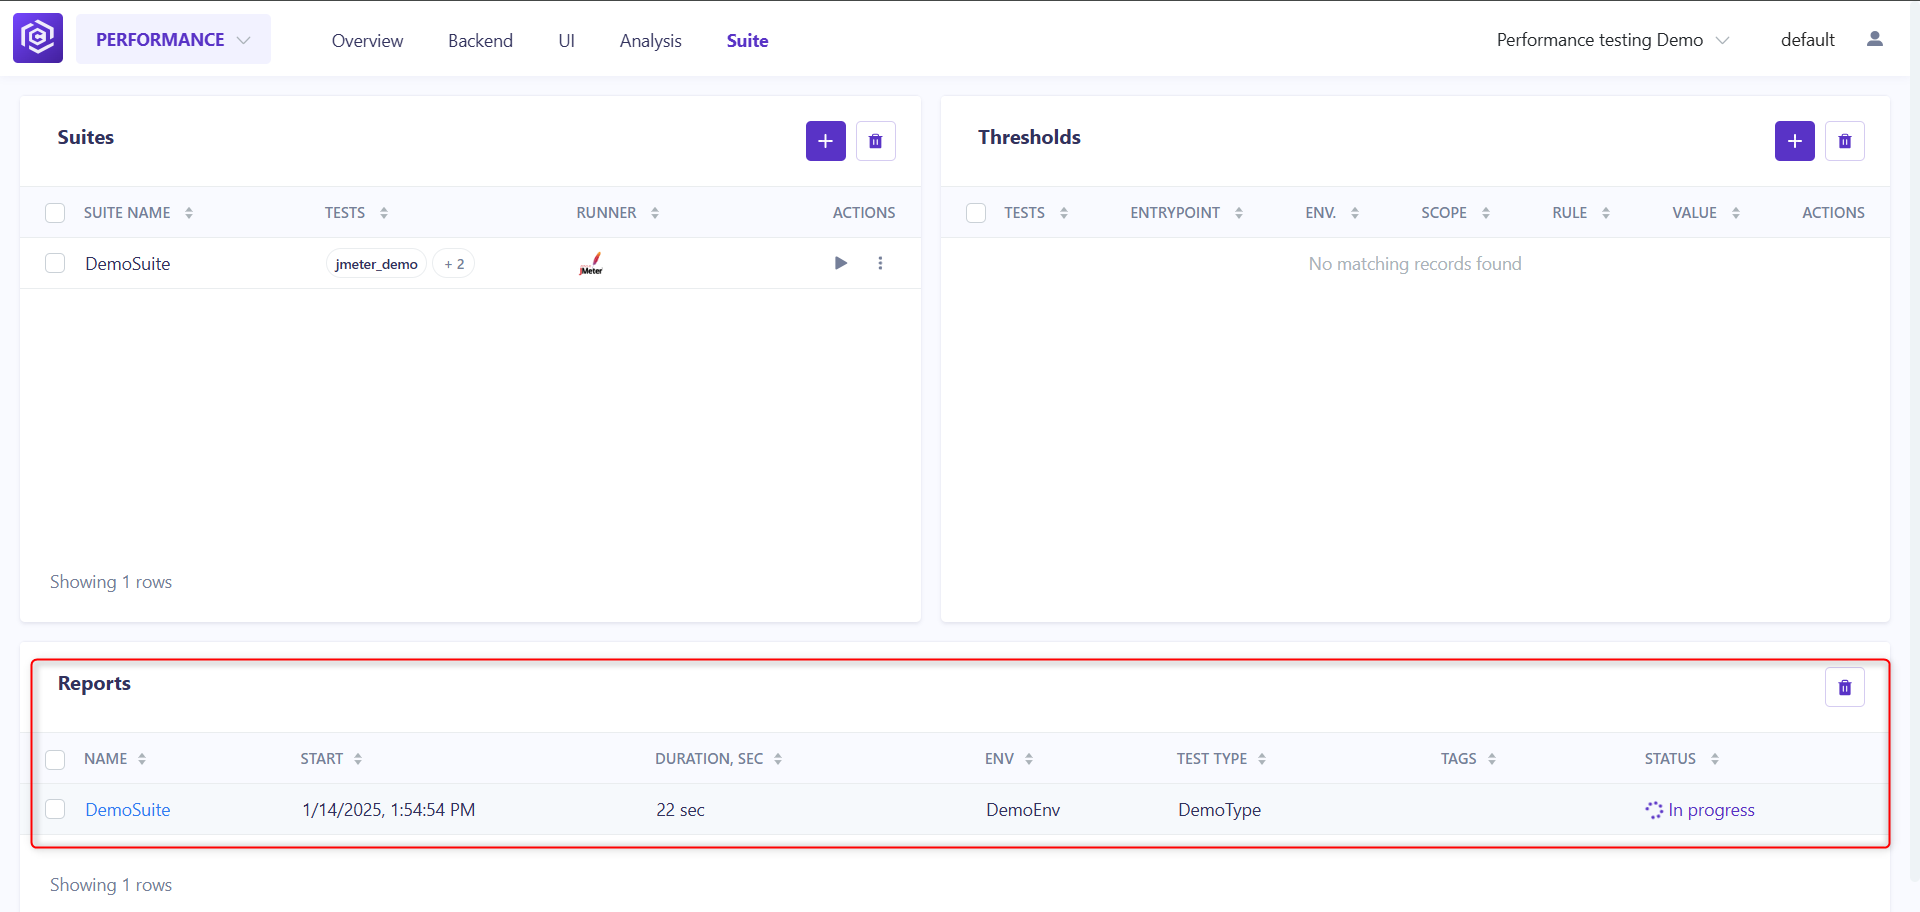
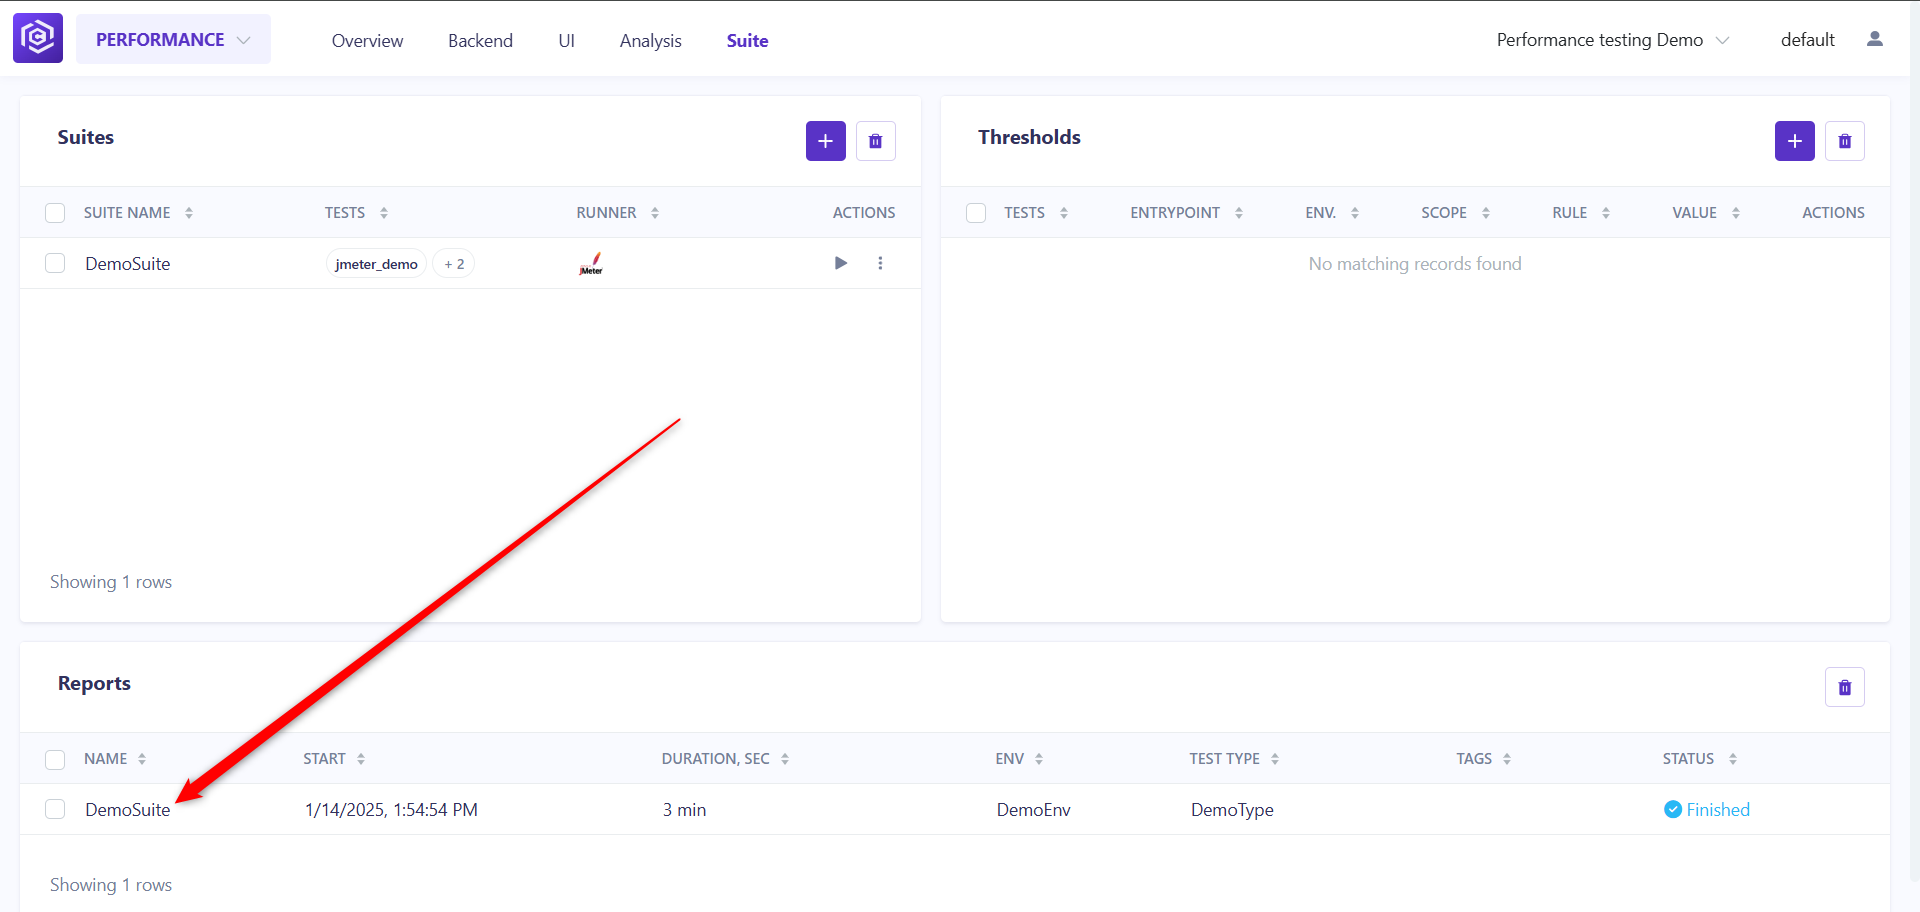
The suite execution status will appear in the Reports section.
![Suite Status]()
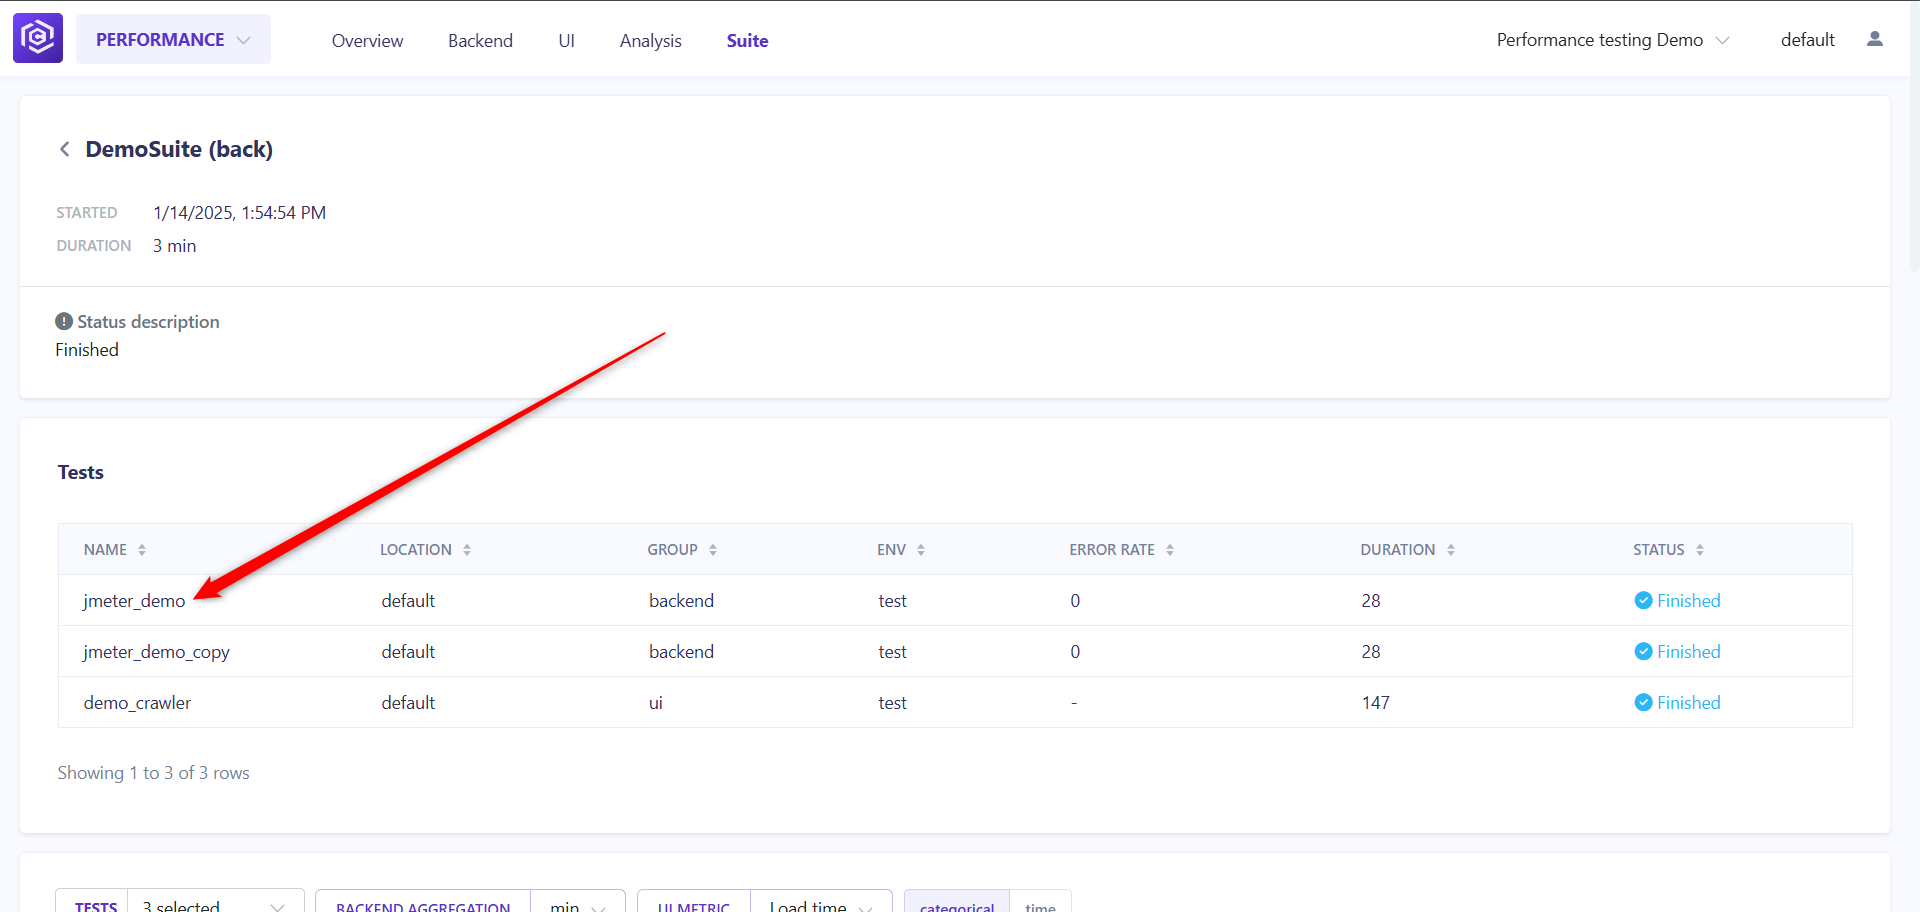
Step 8: Suite results
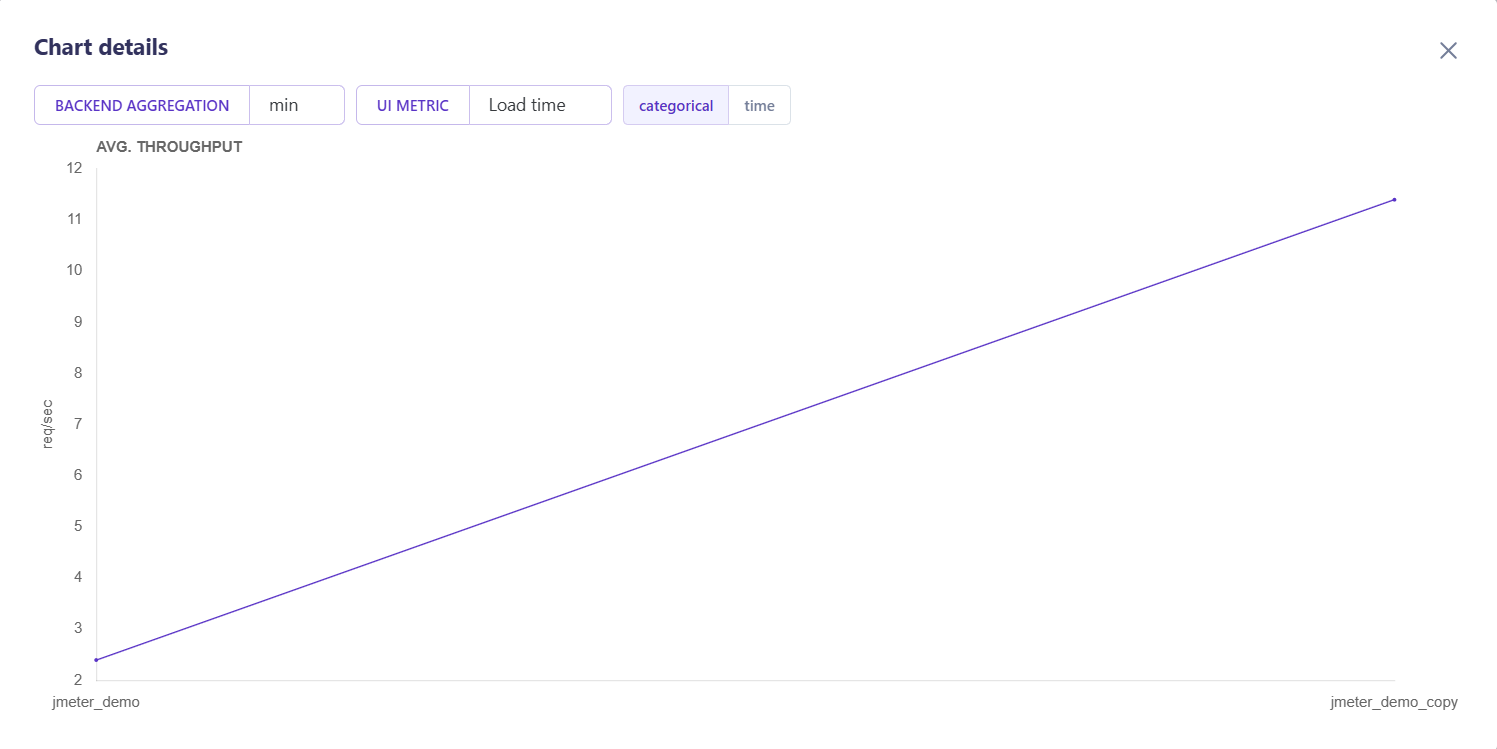
There are 4 charts below: Avg. throughput, Error rate, Responce time and Page speed. You could select tests for them, backend agregation and UI metric from a top dropdown. Also you could chose between categorical and time variations for graphs and zoom each of them using magnifying glass button.
![Suite Results Graphs]() Zoomed graph:
Zoomed graph: ![Suite Graphs Zoom]()
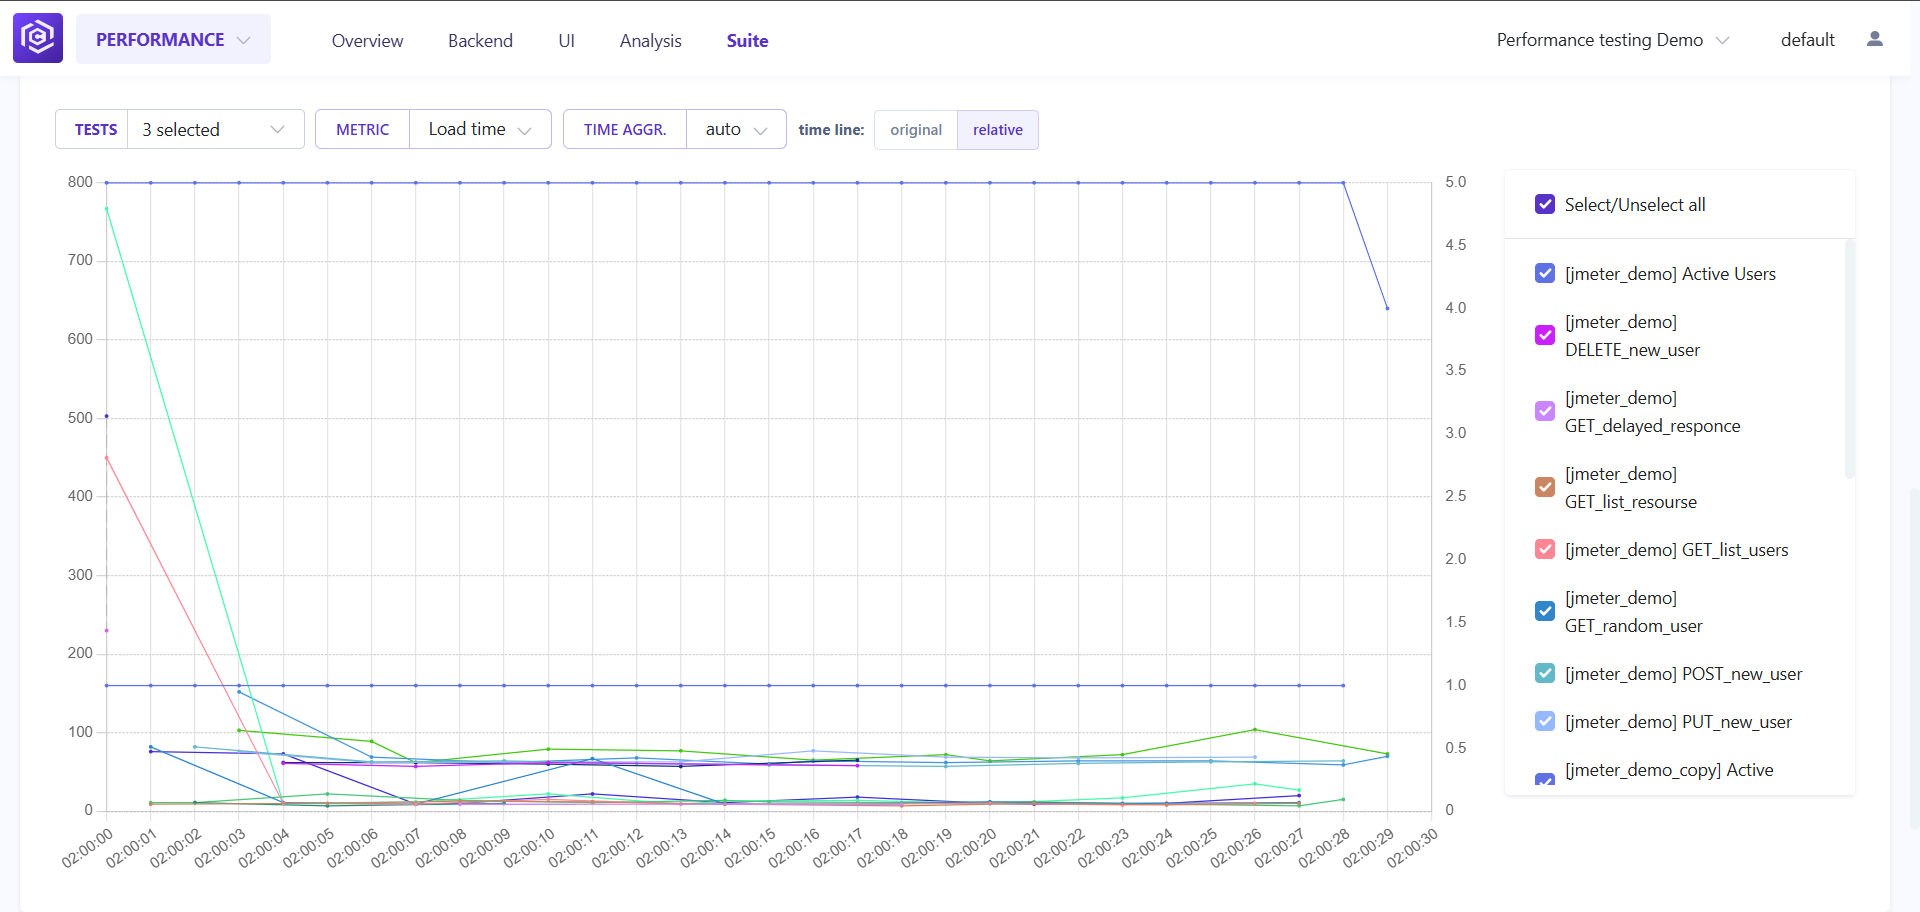
Next you could see a large graph with metrics from all tests from Suite.
![Suite Large Graph]()
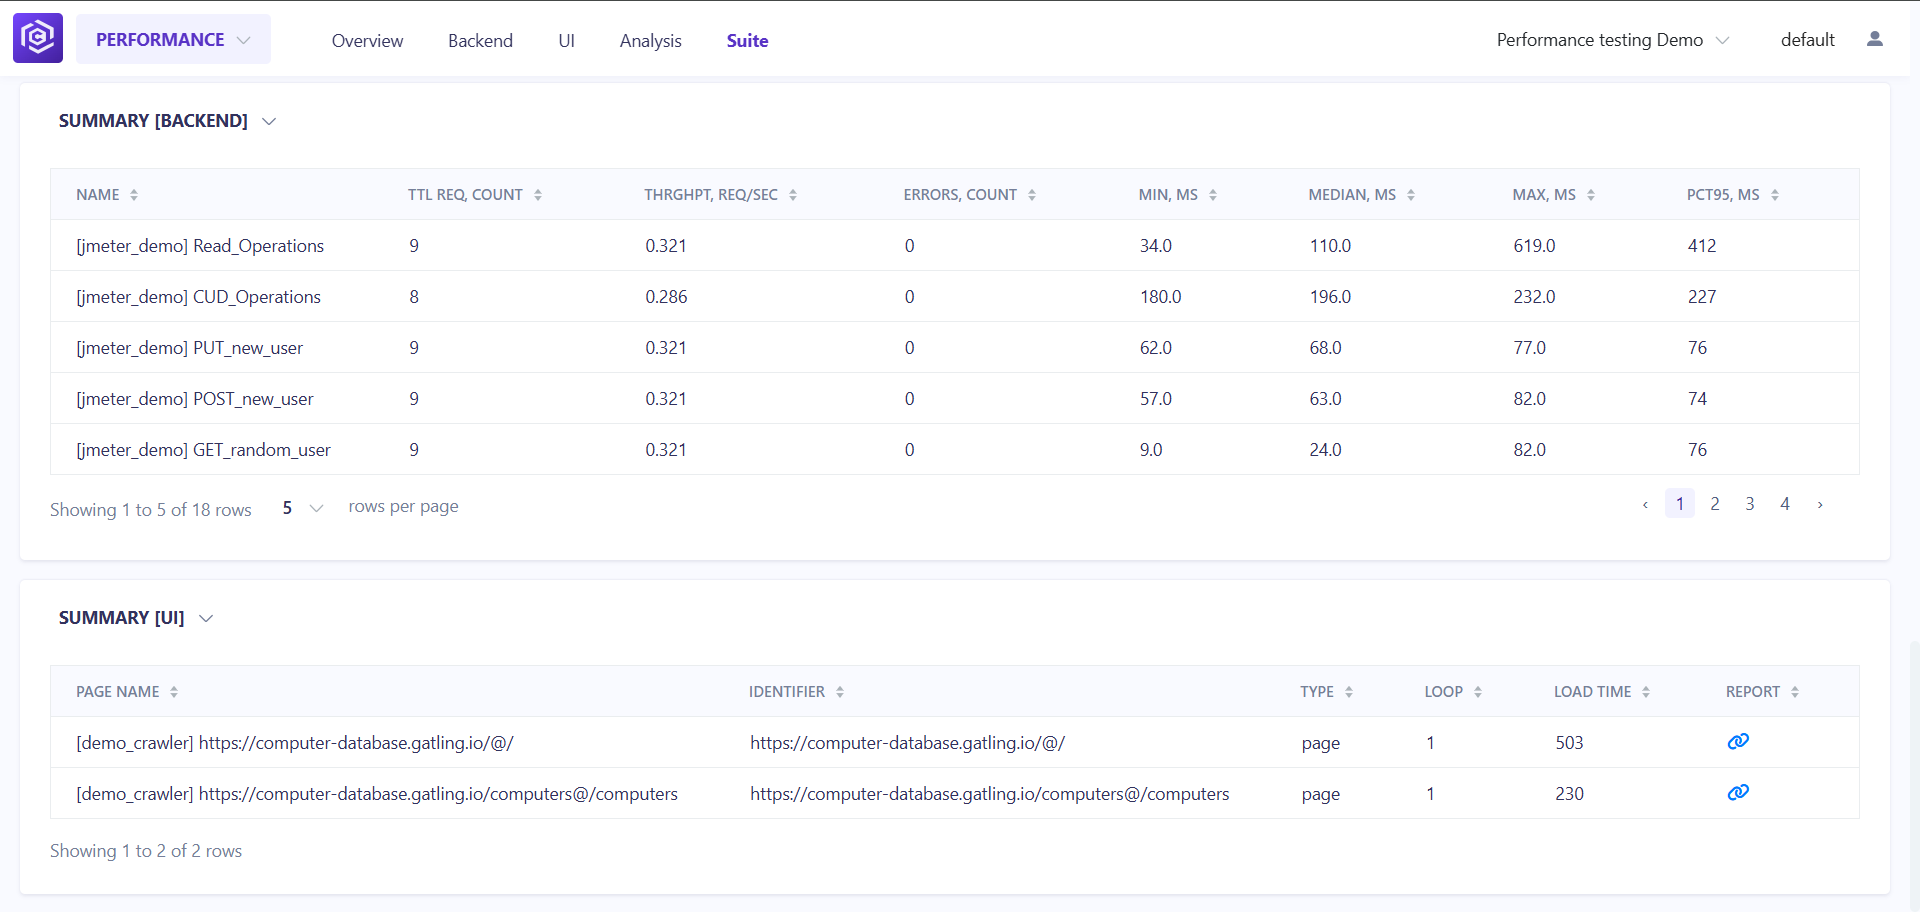
At the bottom of the page there are summary tables for backend and UI test results.
![Suite Summary]()

