Overview
This guide provides step-by-step instructions for executing Tasks for UI tests in Carrier. Tasks can extend test results processing capabilities, e.g. to generate reports in different formats or send emails. Tasks can be configured to suit your needs.
Prerequisites
Before you begin executing Tasks for UI tests in Carrier, ensure that you have completed the following:
- Installed and set up Carrier successfully
- Created a project in Carrier
- Configured UI test
- Executed UI test test and got a results
- Created Task
Note: You can find how to create a Task in the following guide.
Steps
Follow the steps below to execute Tasks for UI tests:
Step 1: Access the Carrier Web Interface
- Open a web browser and enter the URL of your Carrier installation.
- Log in to the Carrier web interface using your credentials.
Note: Make sure you have logged in using the appropriate user account that has all required accesses
Step 2: Select the Project
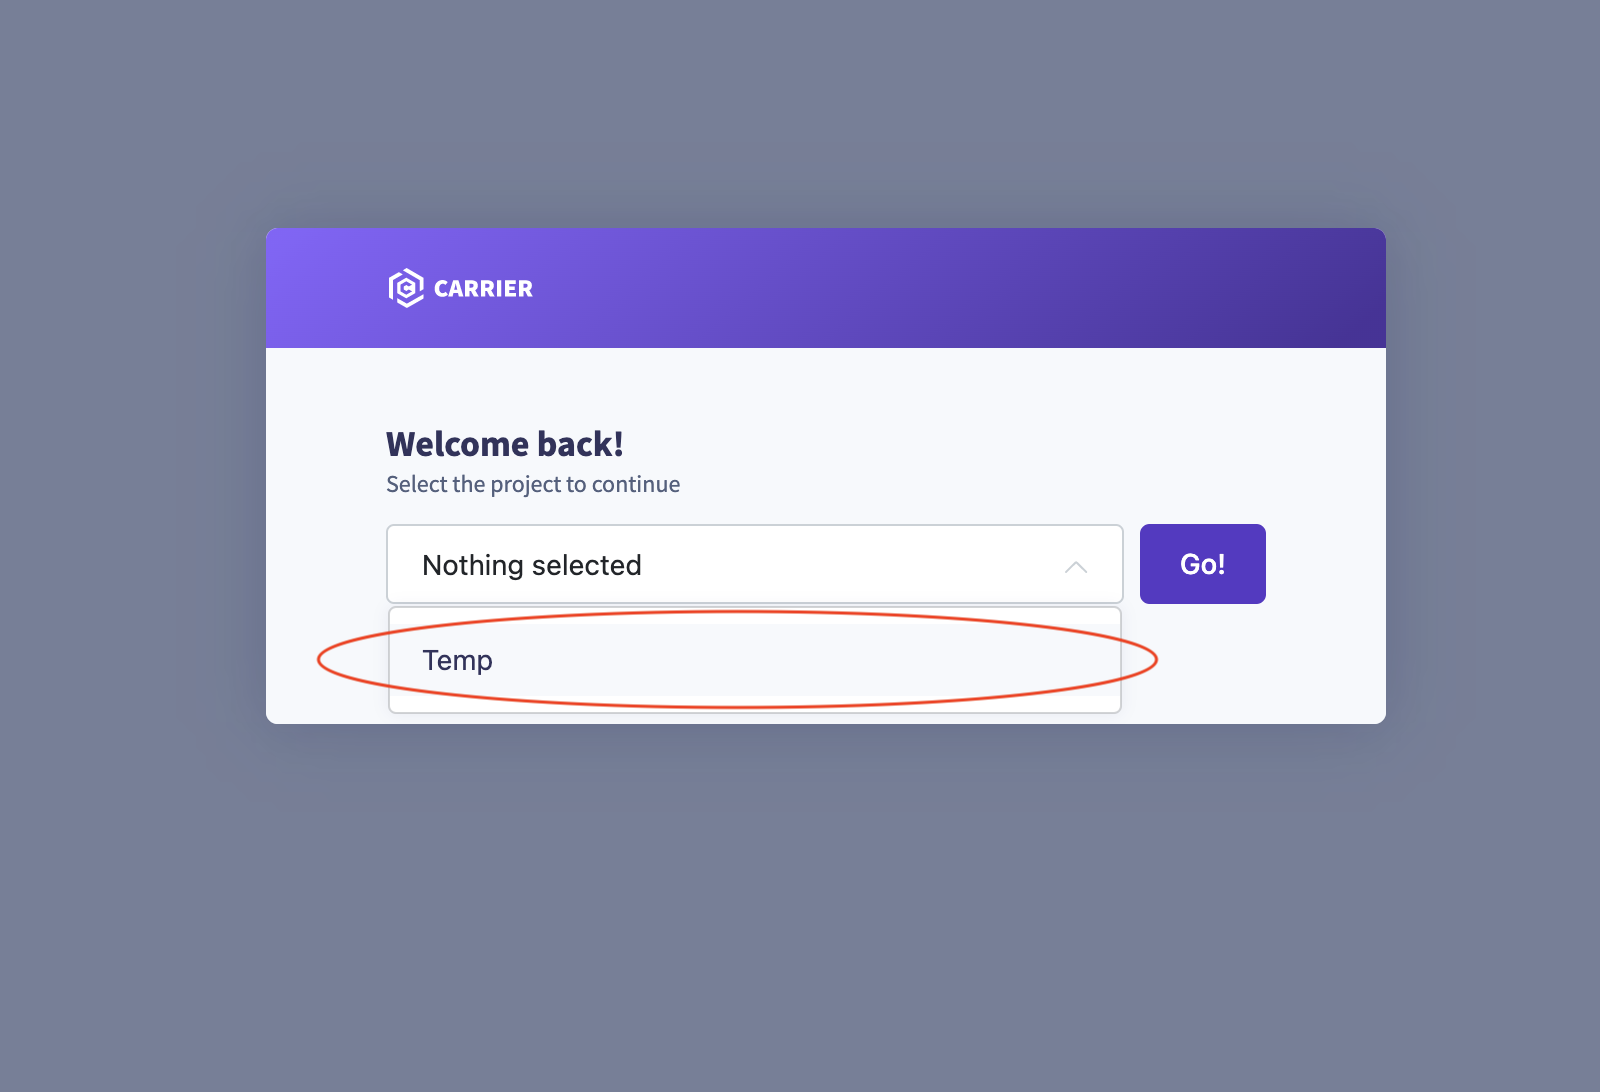
- From the project dropdown menu, select the desired project where you want to run AI Analysis task.
![Select Project]()
- Click “Go!” to navigate to the project’s configuration page.
Step 3: Navigate to the Performance Section
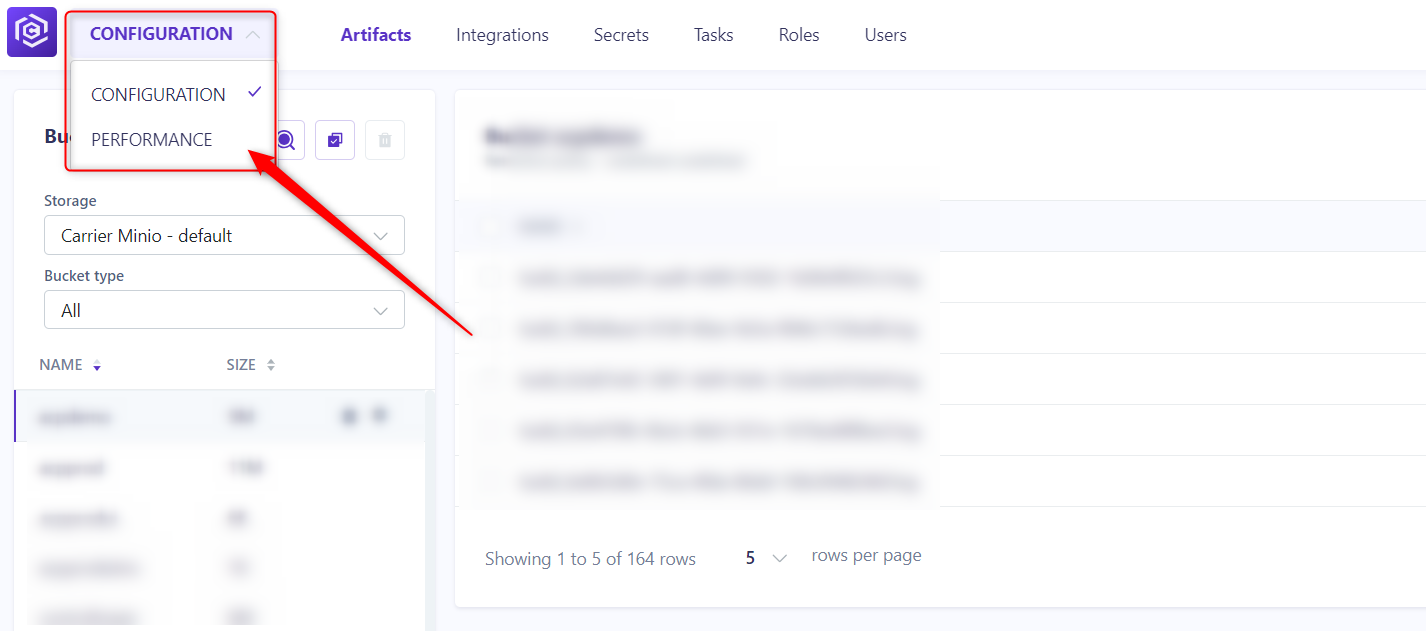
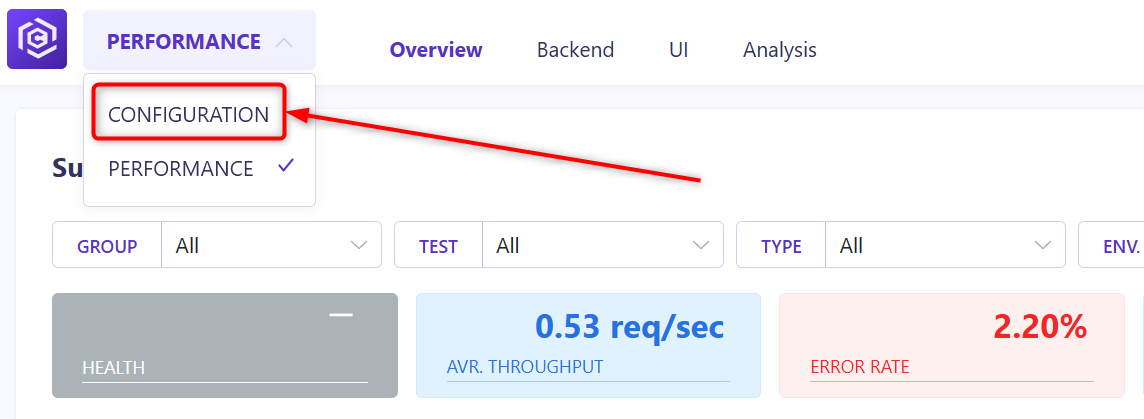
- In the project configuration page, click on the “Performance” tab located in the left menu.
![Performance Dropdown]()
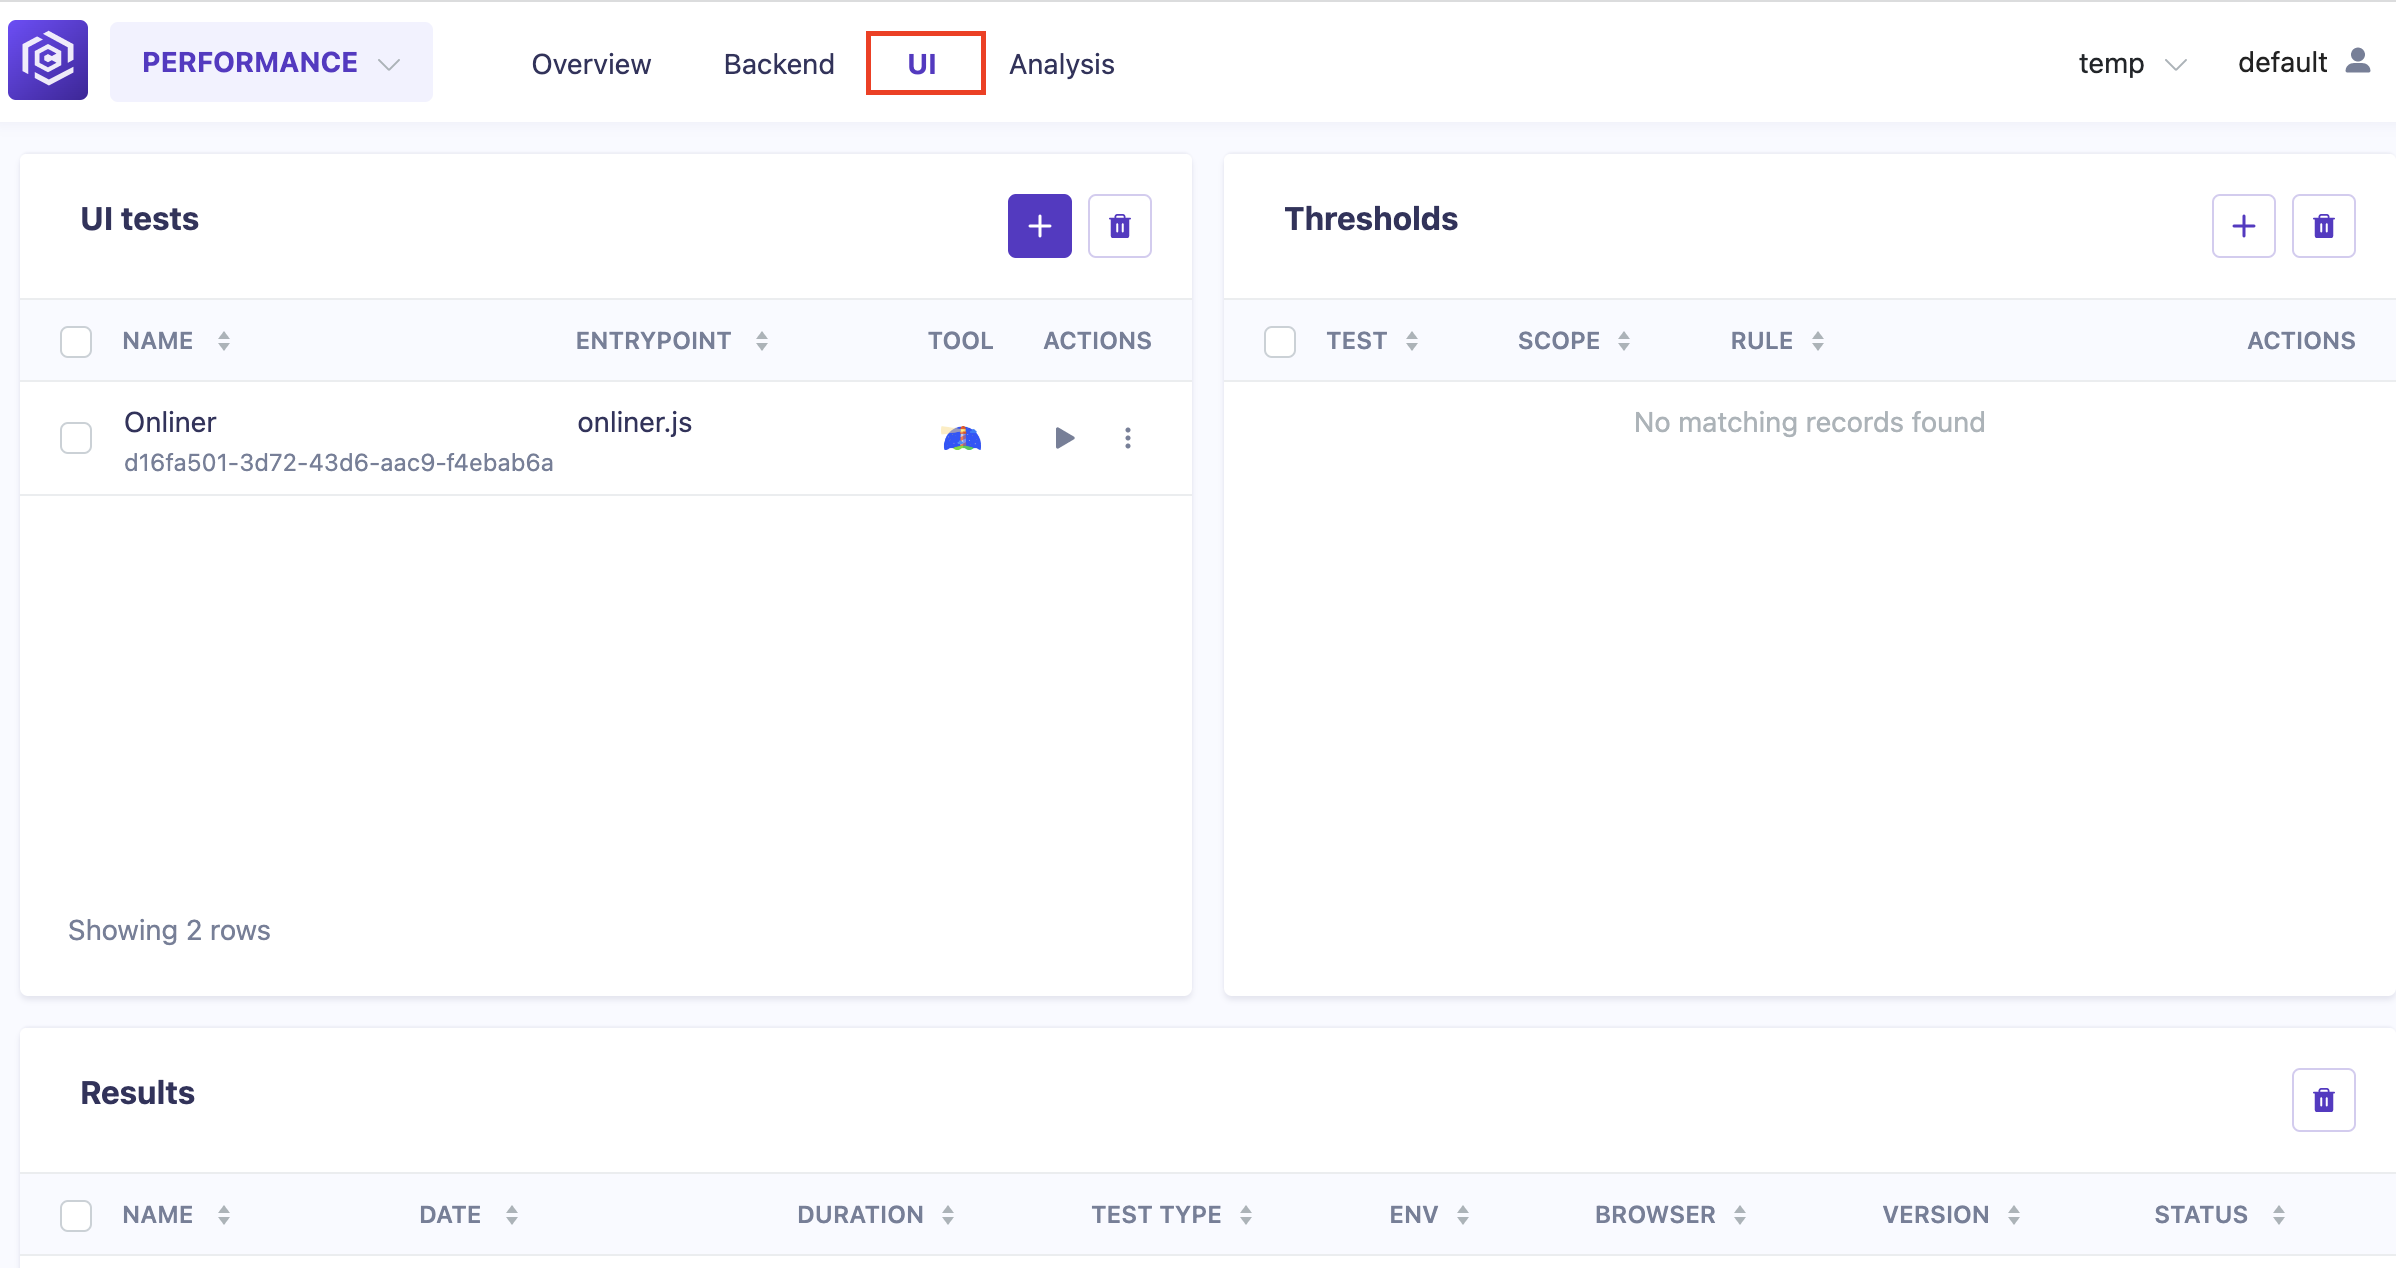
- This will open the Performance section where you can click UI tab to define and manage your UI tests.
![UI Page]()
Step 4: Open UI Test
- Click on the test name on the Results tab.
![UI Results Tab]()
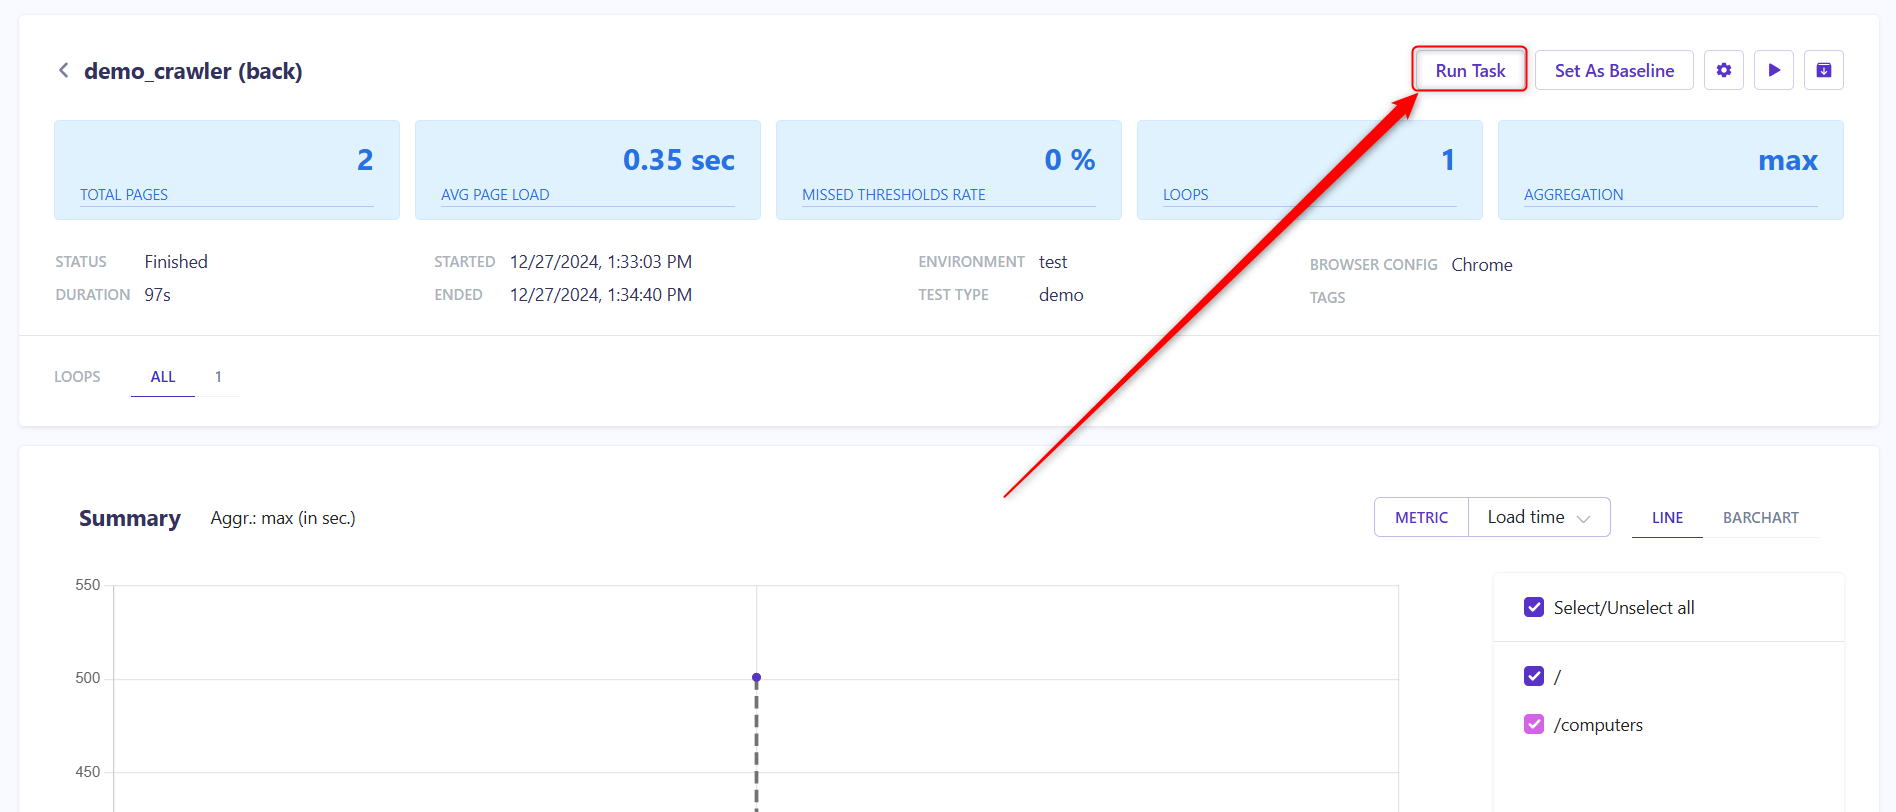
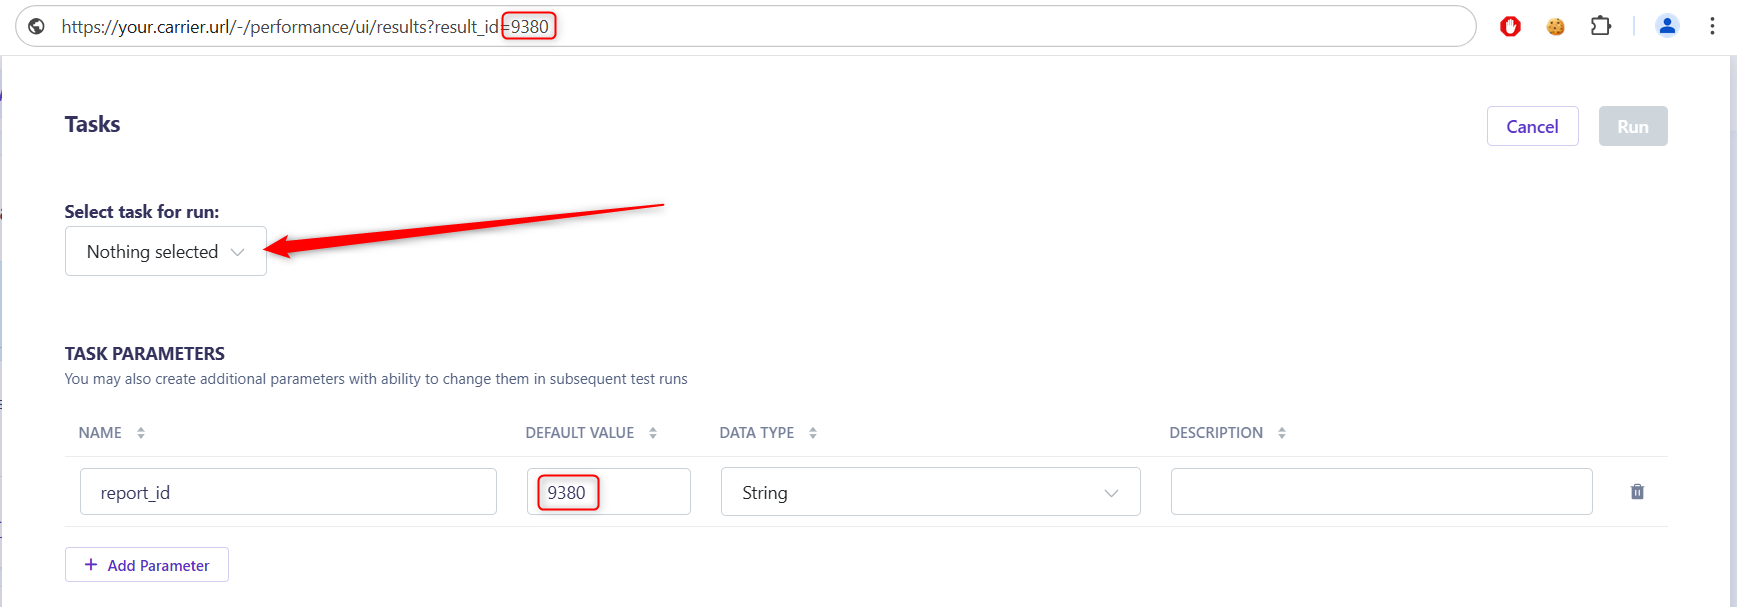
- In the opened test results, click on the Run Task button.
![Run Task Button]()
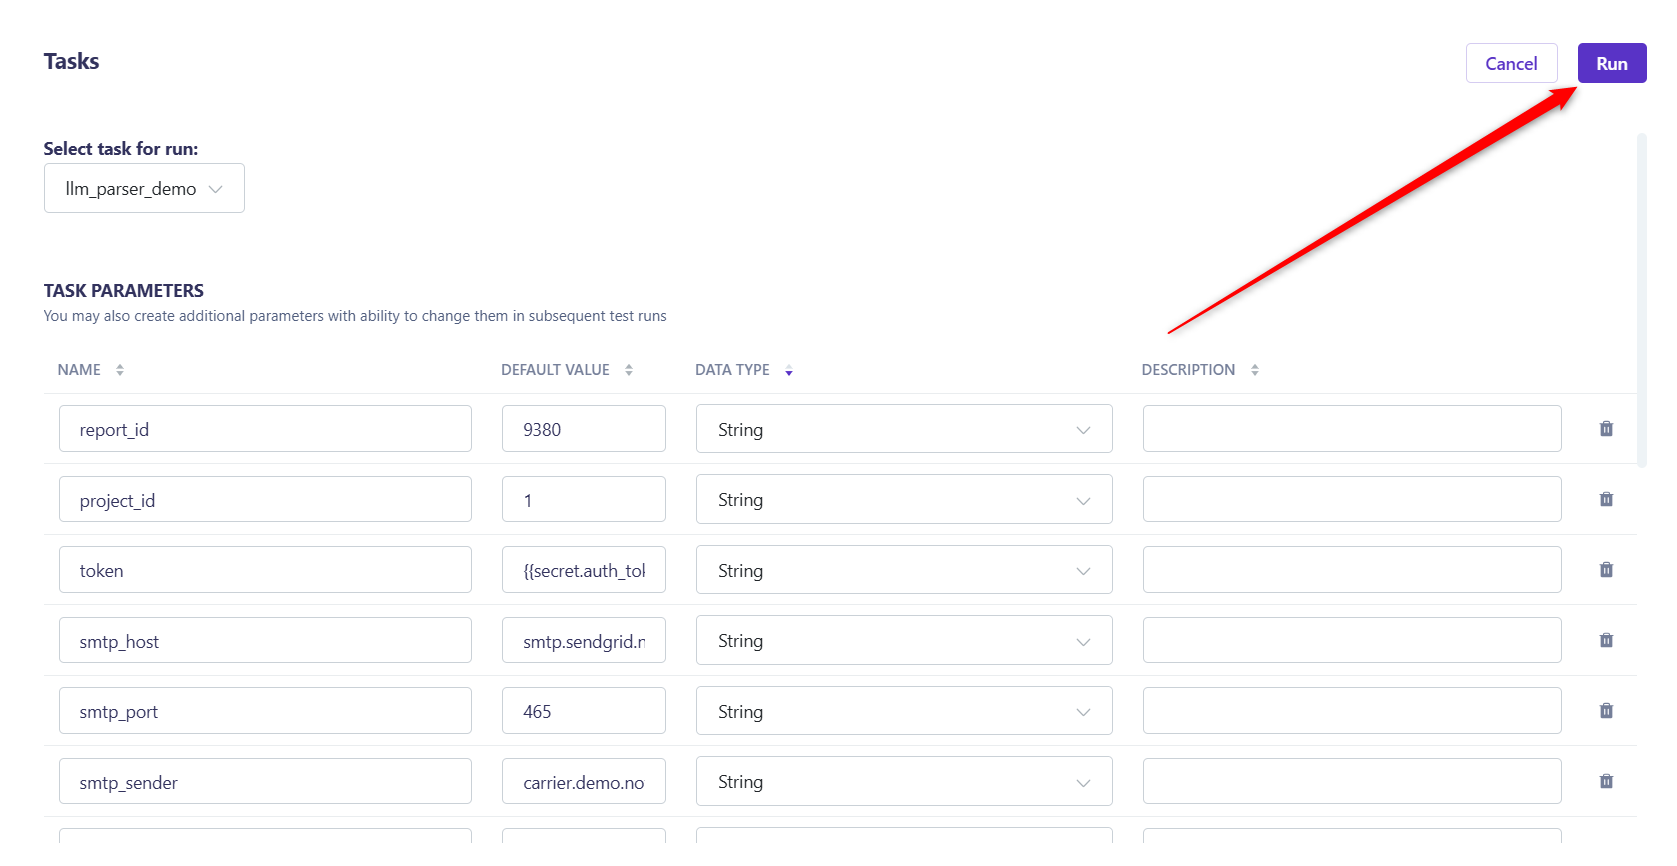
Step 5: Run Task
Note: Please keep in mind that parameter result_id will automatically taken from your test and pasted into report_id as a default value.

