Overview
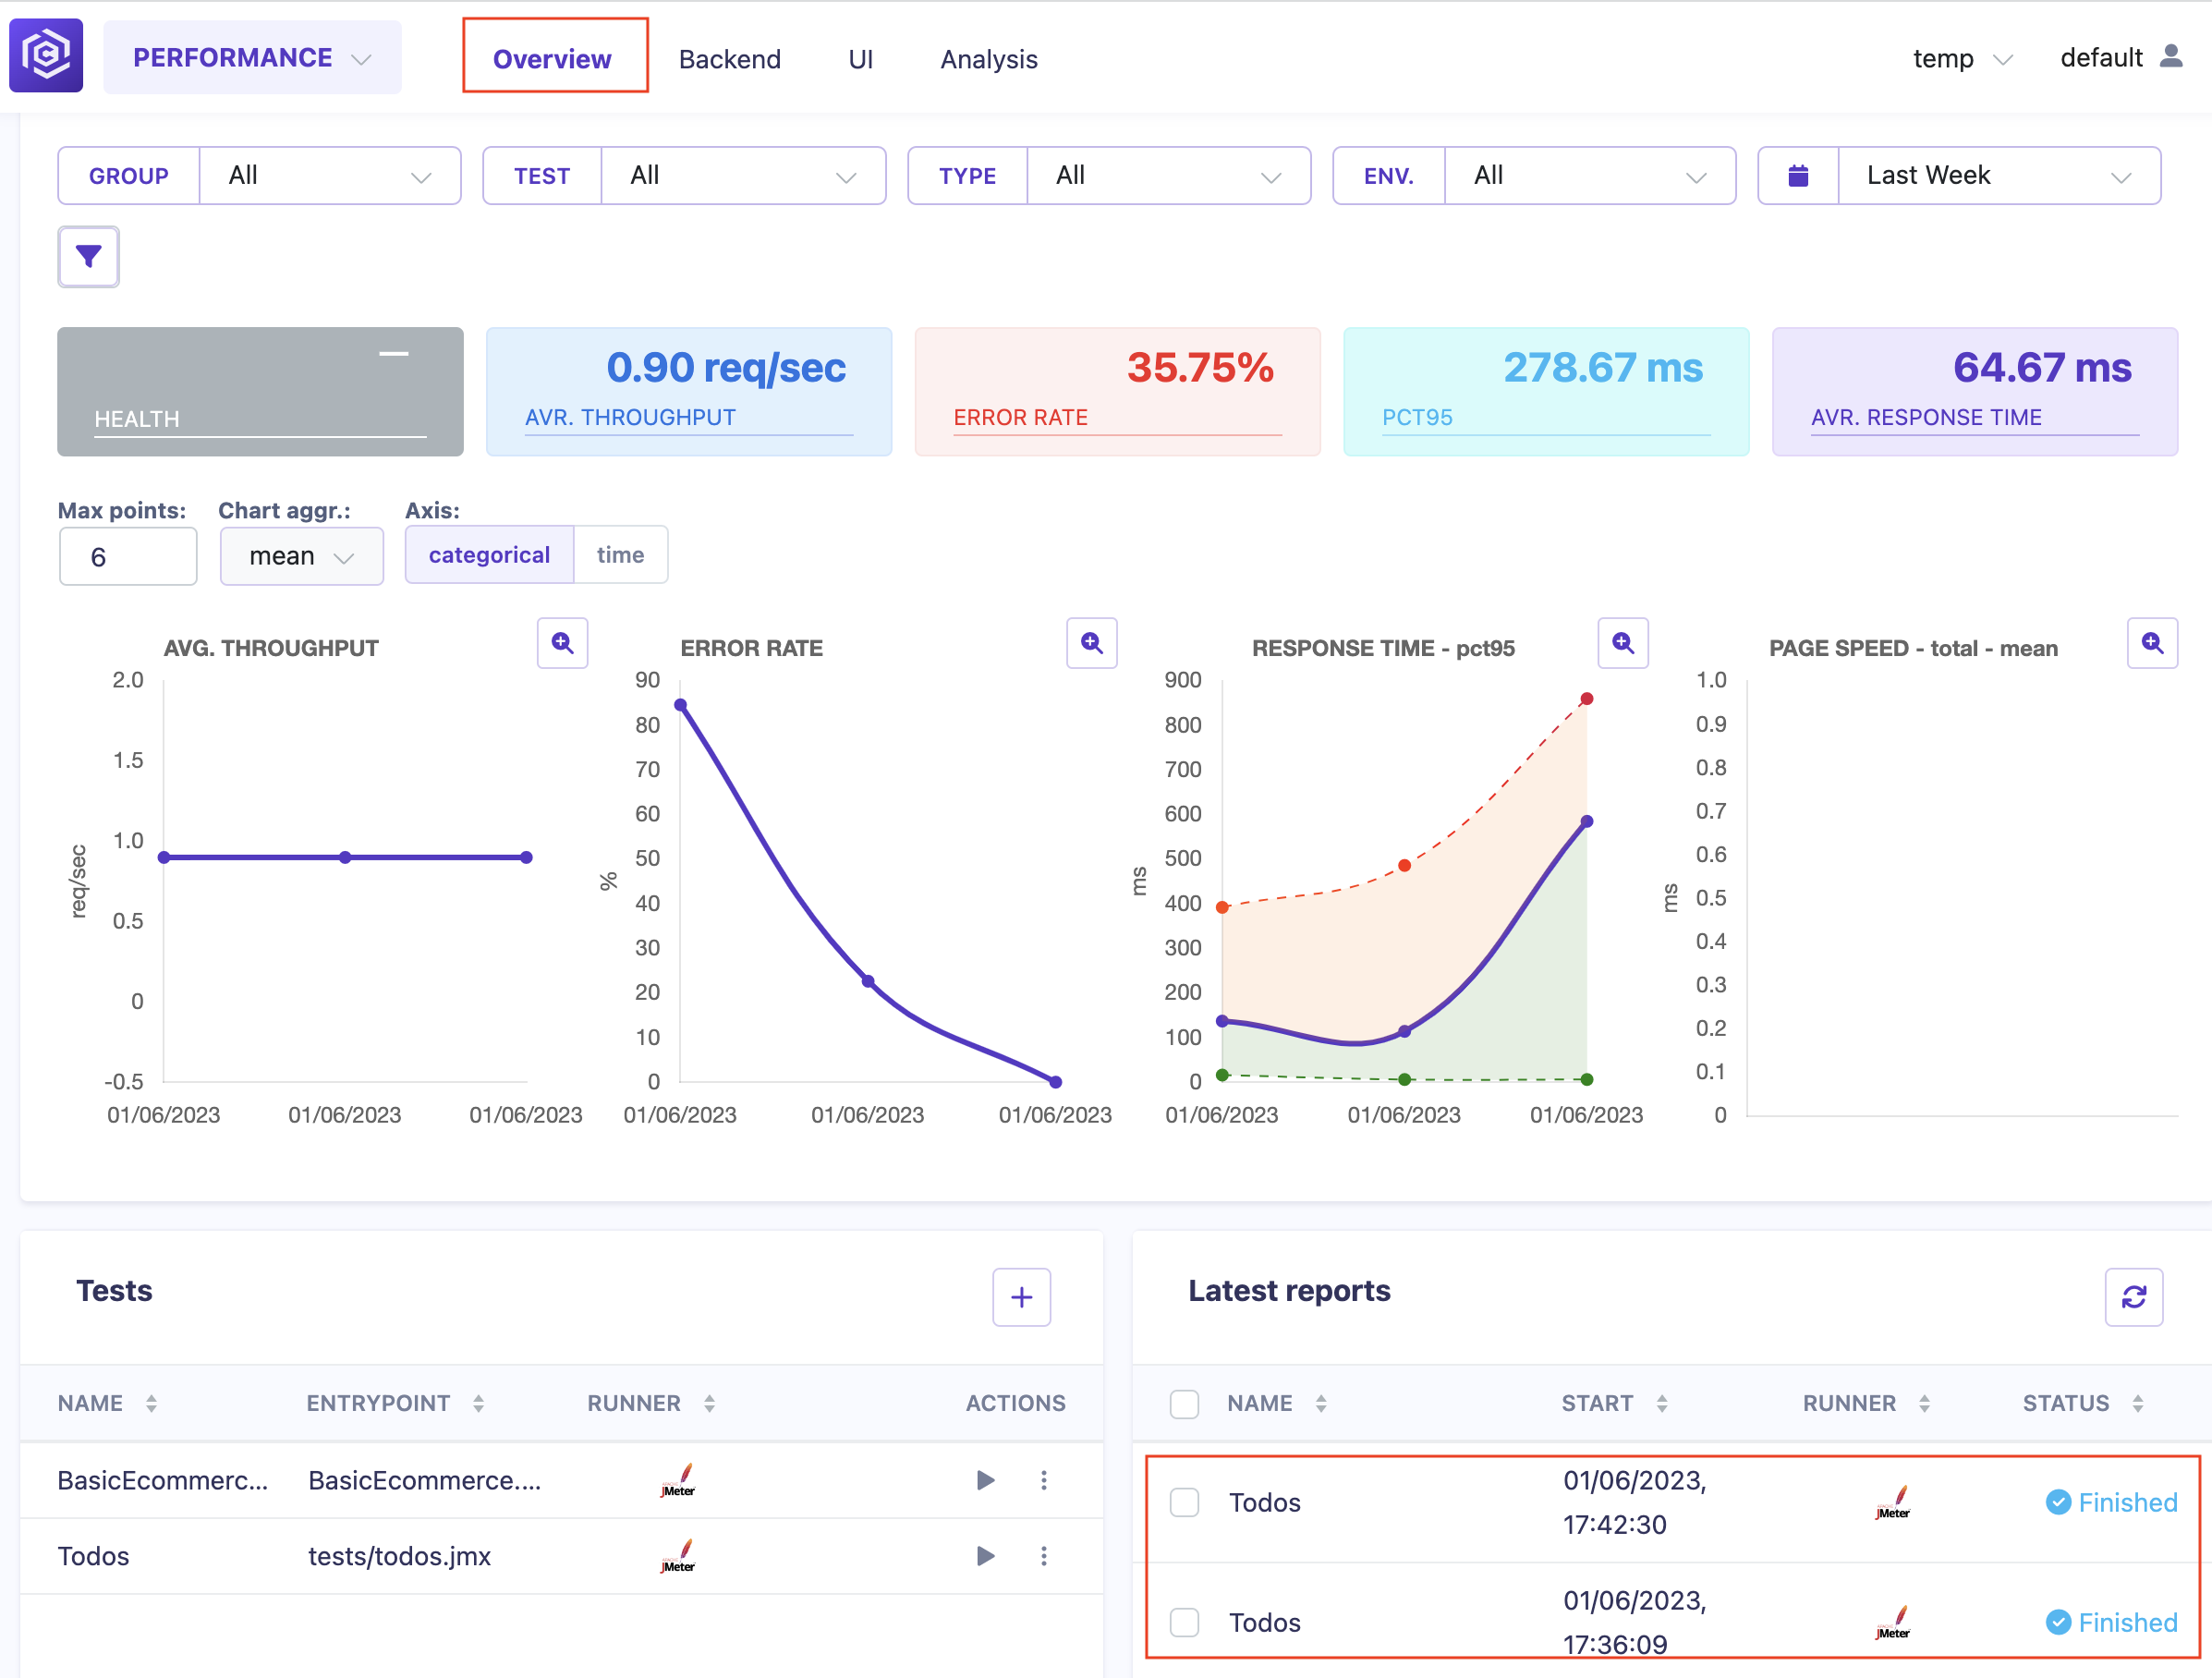
This guide provides step-by-step instructions on how to analyze and compare test runs in Carrier. By comparing test runs, you can gain insights into the performance of your application and identify any improvements or regressions.
Prerequisites
Before you begin, make sure you have completed the following:
- Successfully executed test runs in Carrier
- Access to the Carrier web interface
Steps
Follow the steps below to analyze and compare test runs in Carrier:
Step 1: Run a Test
- Execute a test in Carrier following the steps outlined in the “Configure Backend Test in Carrier” guide.
- Wait for the test run to complete.
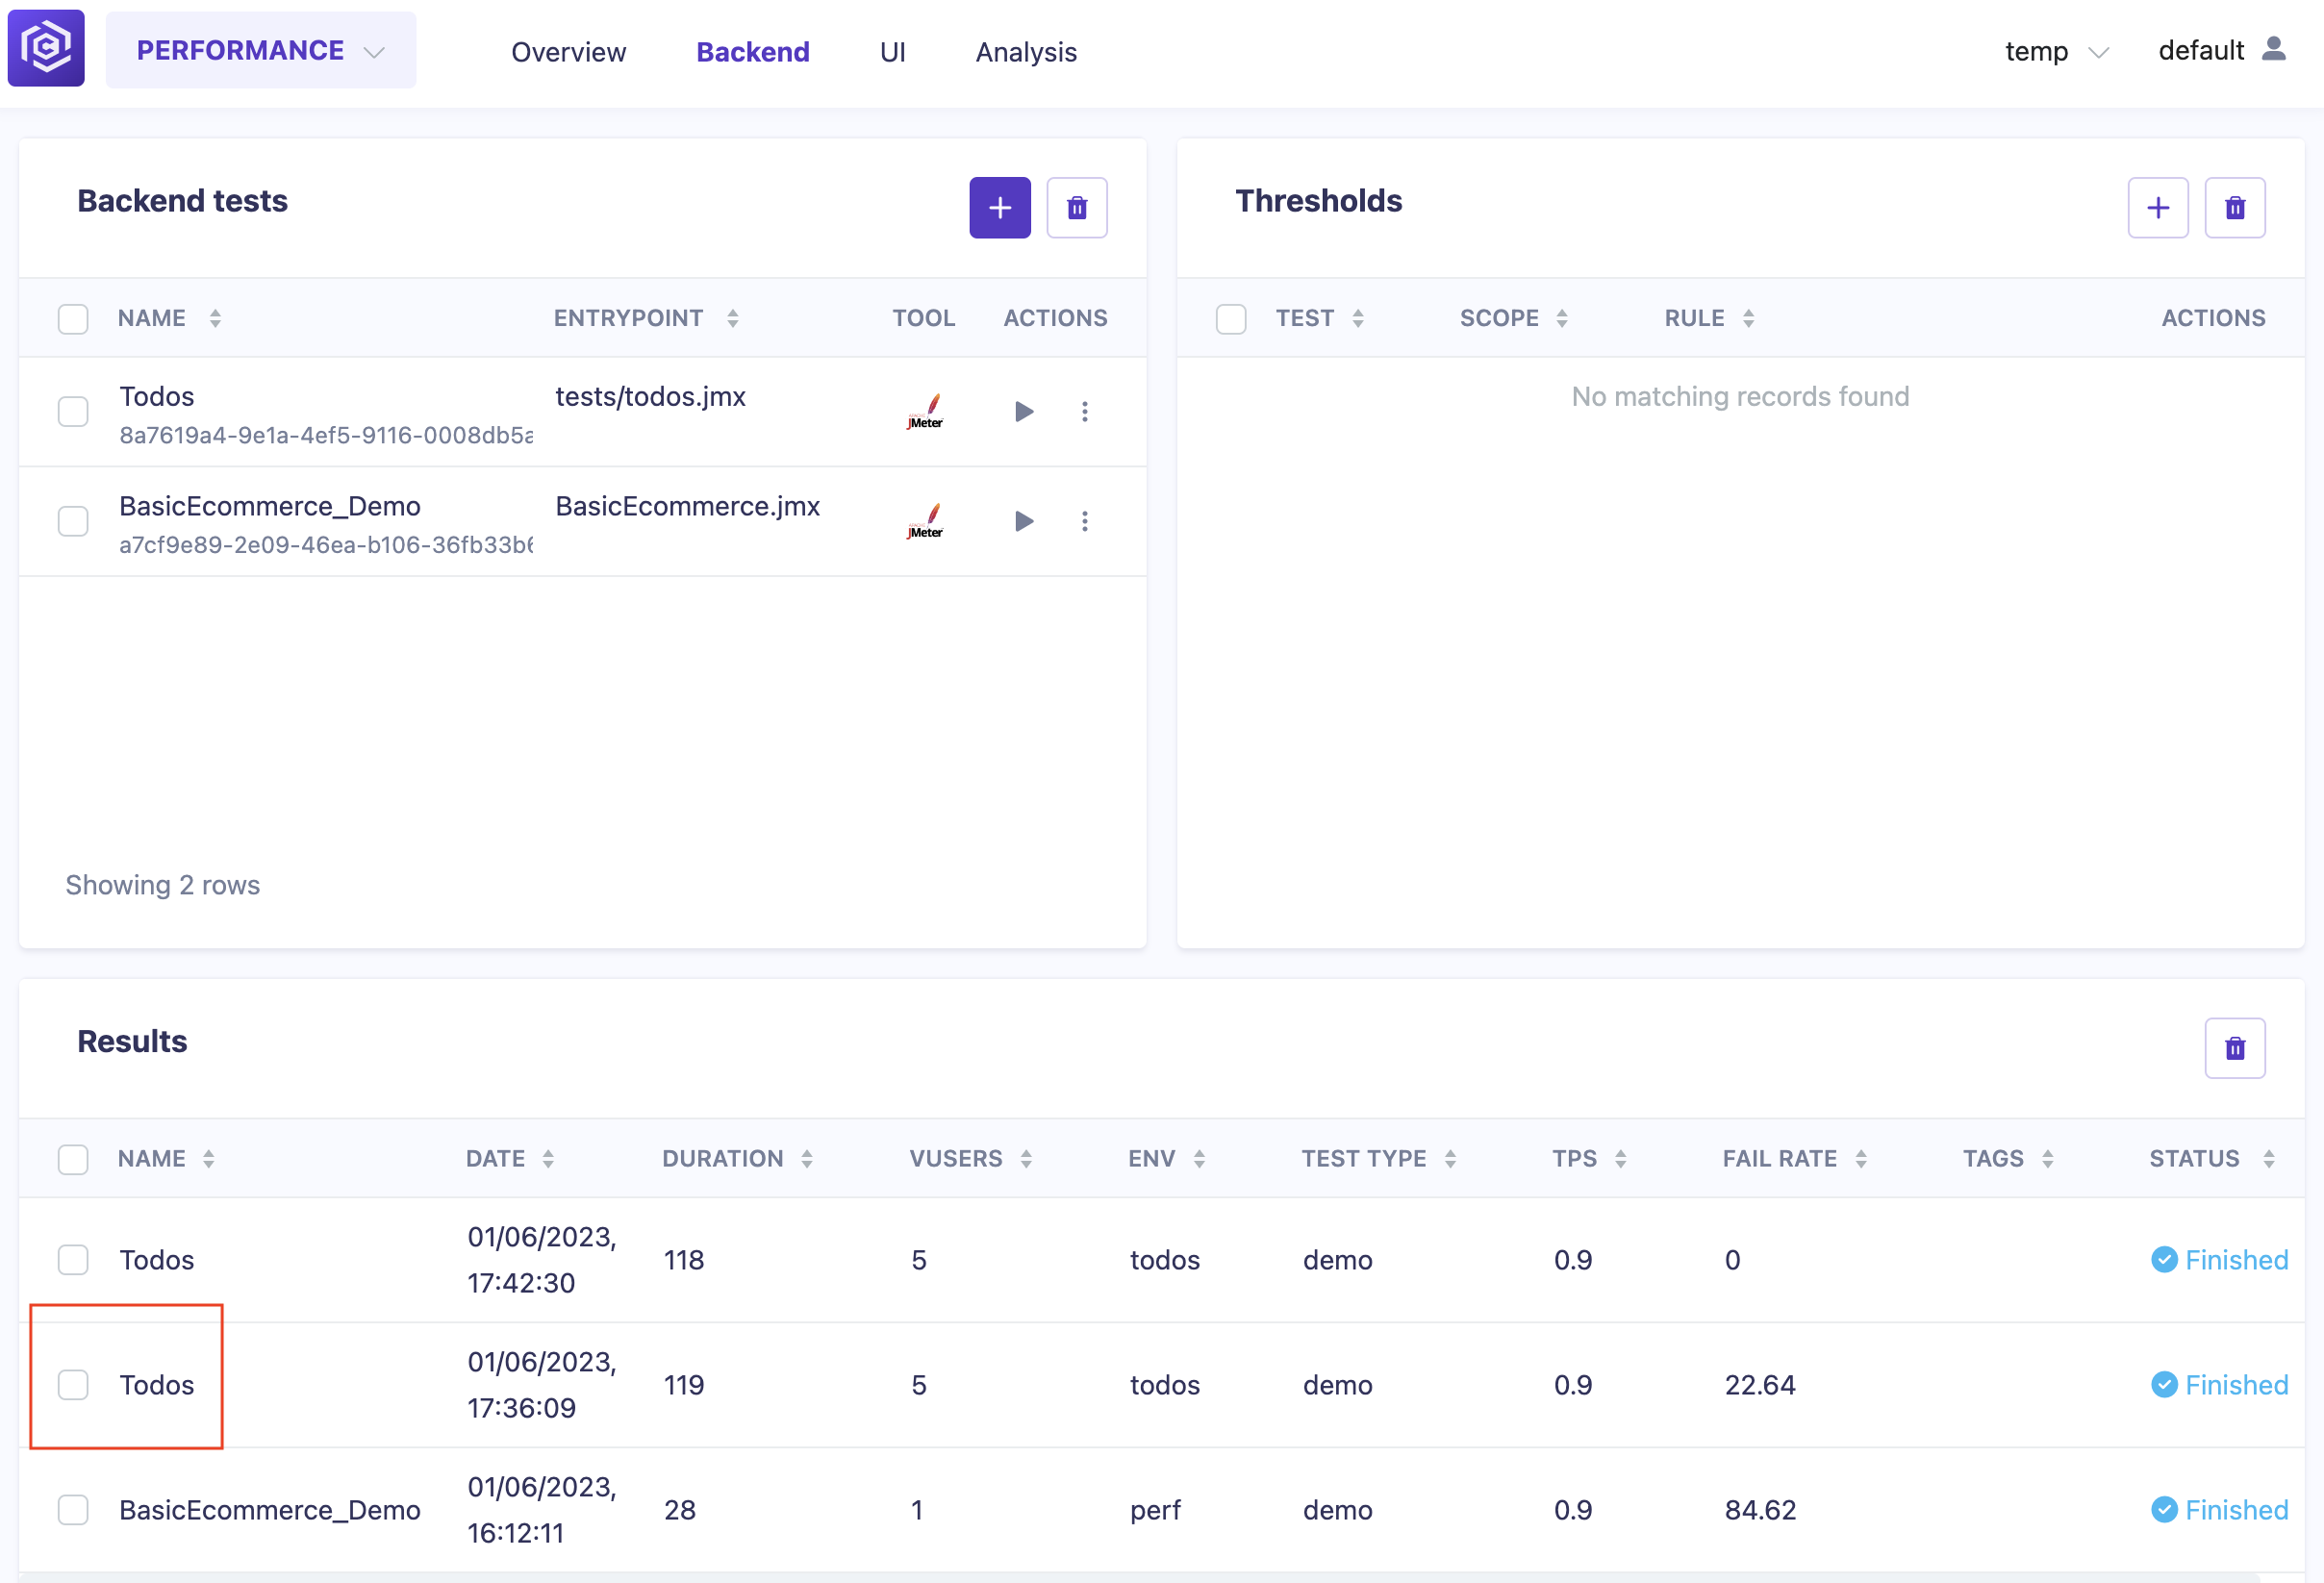
Step 2: Open the “Backend” Tab
Step 3: Open the Test in the “Results” Table
- Locate the test run you want to analyze in the “Results” table.
- Click on the test name to open the detailed results page.
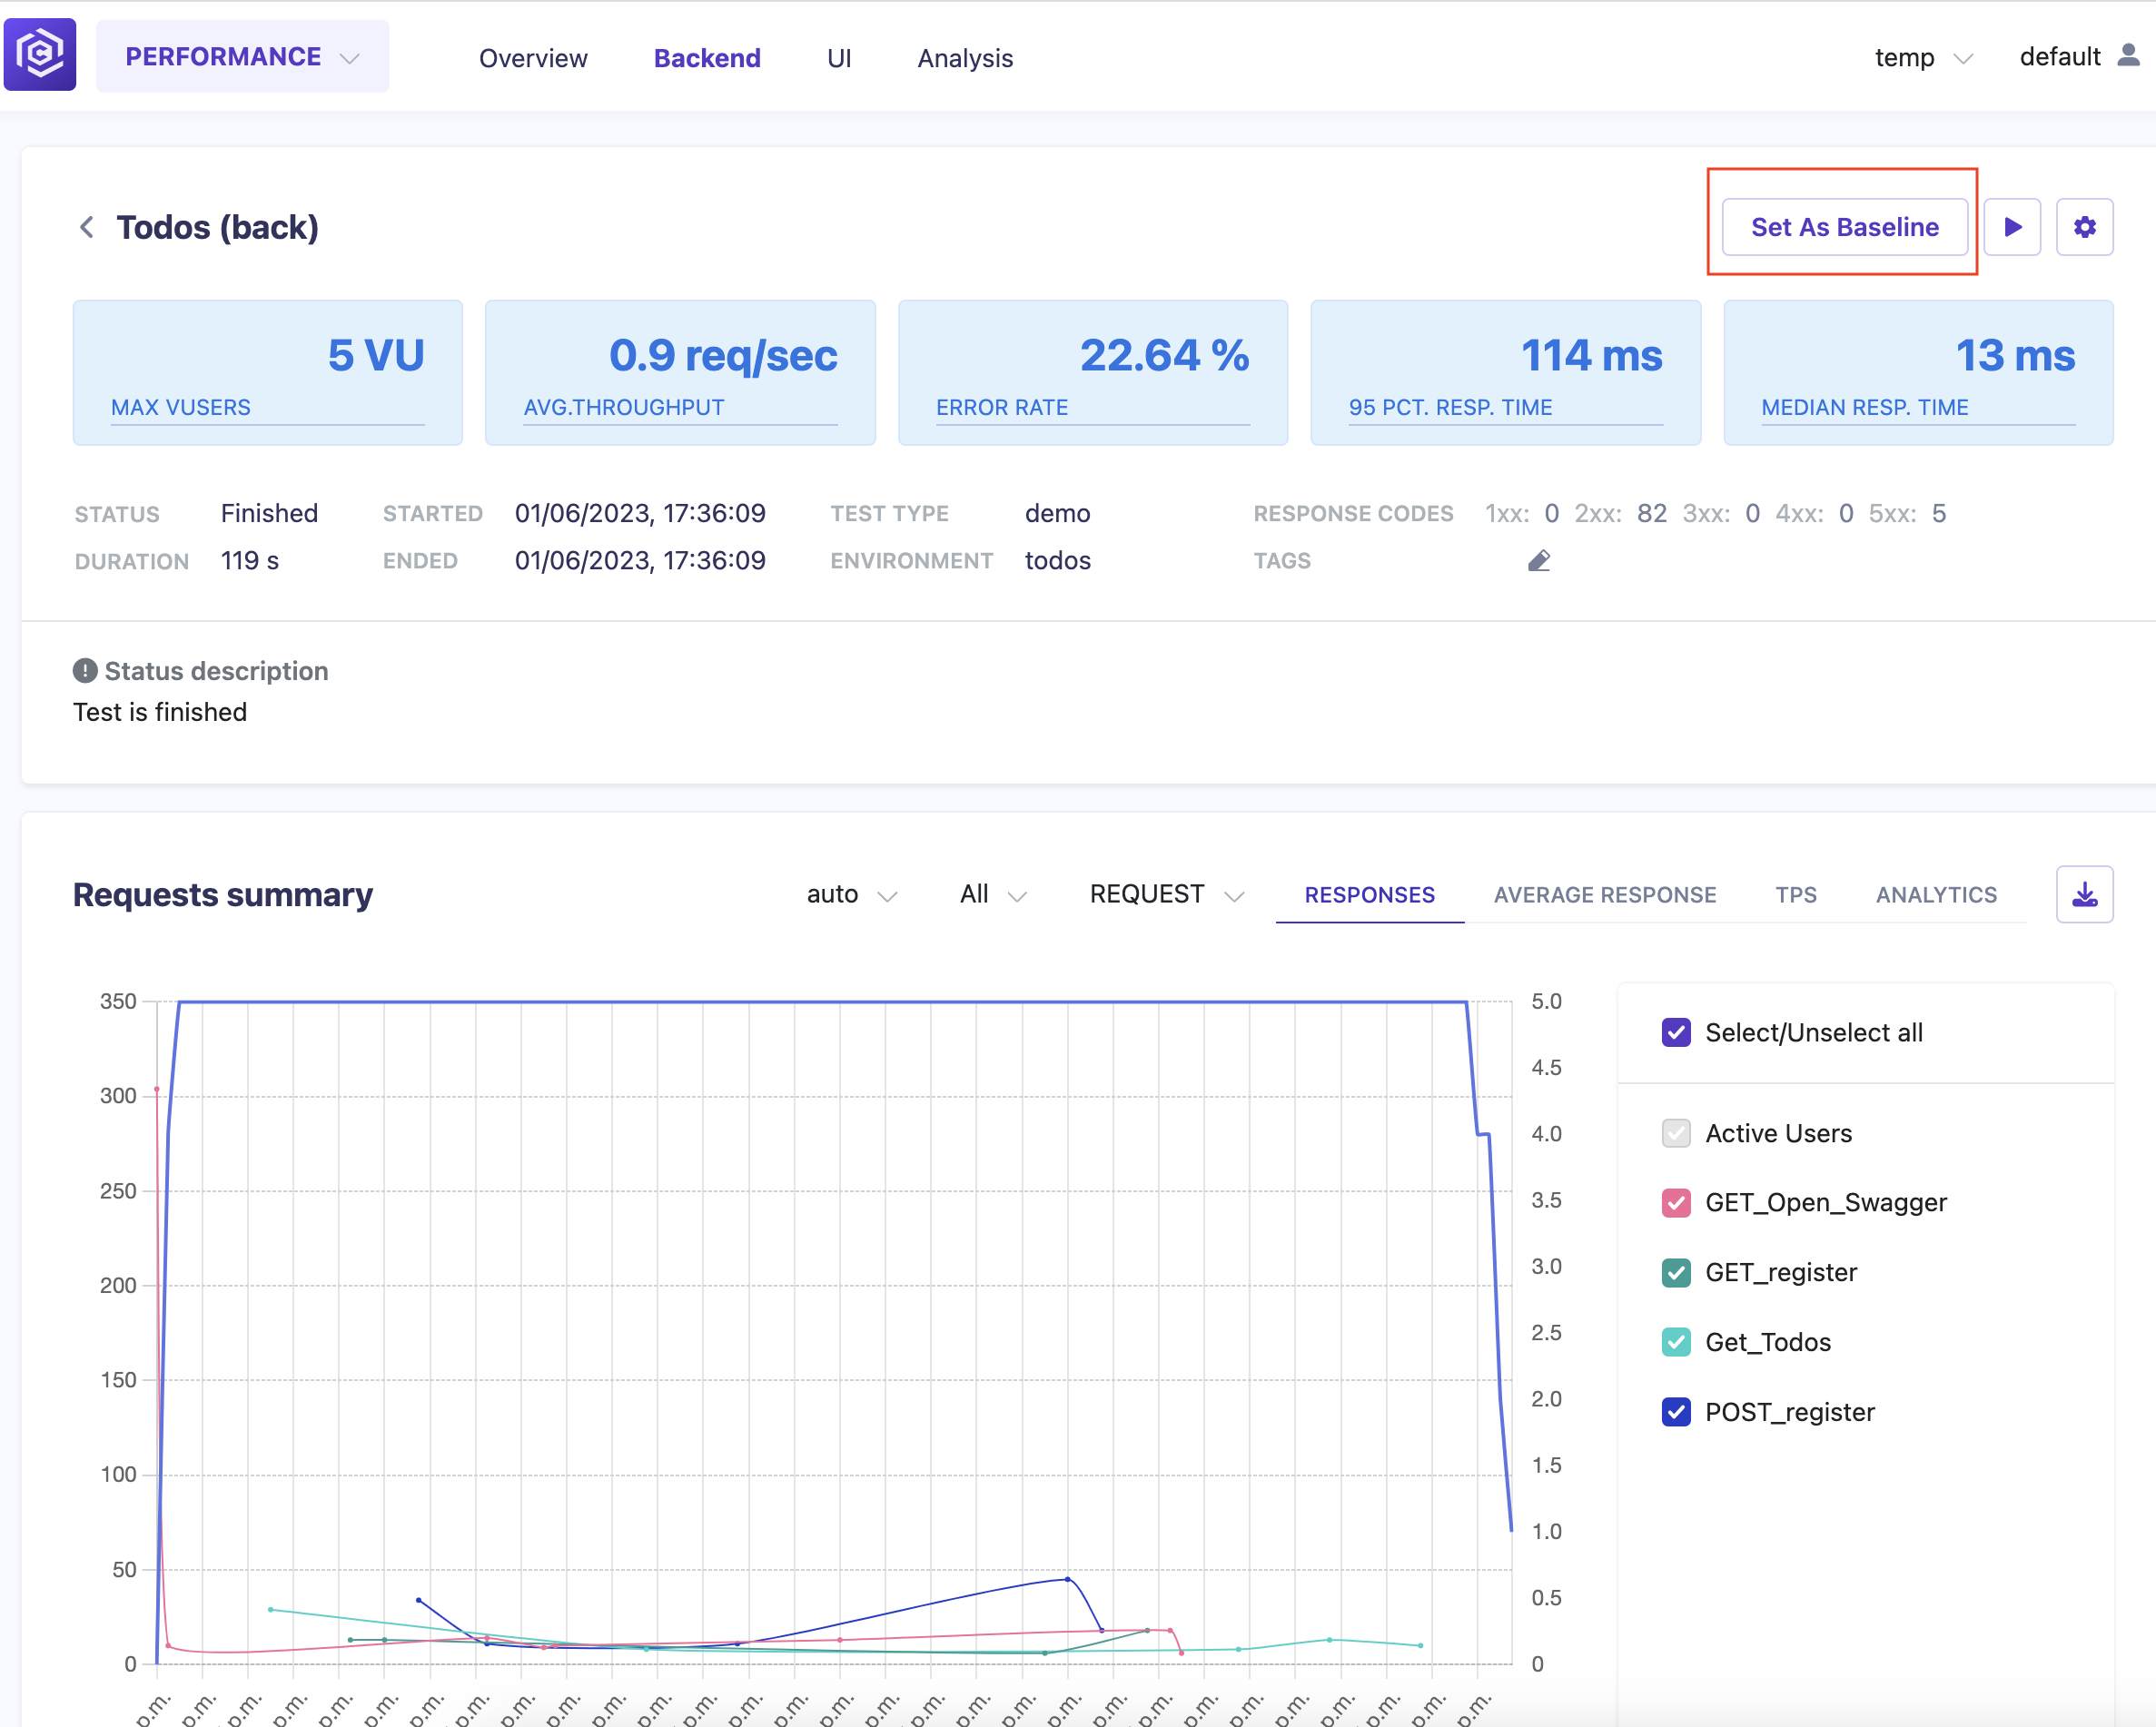
Step 4: Set the Test Run as a Baseline
In the detailed results page, click on the “Set as a Baseline” button.
![Set Baseline]()
This will mark the selected test run as a baseline for future comparisons.
Step 5: Run the Same Test Again
- Execute the same test again in Carrier.
- Wait for the test run to complete.
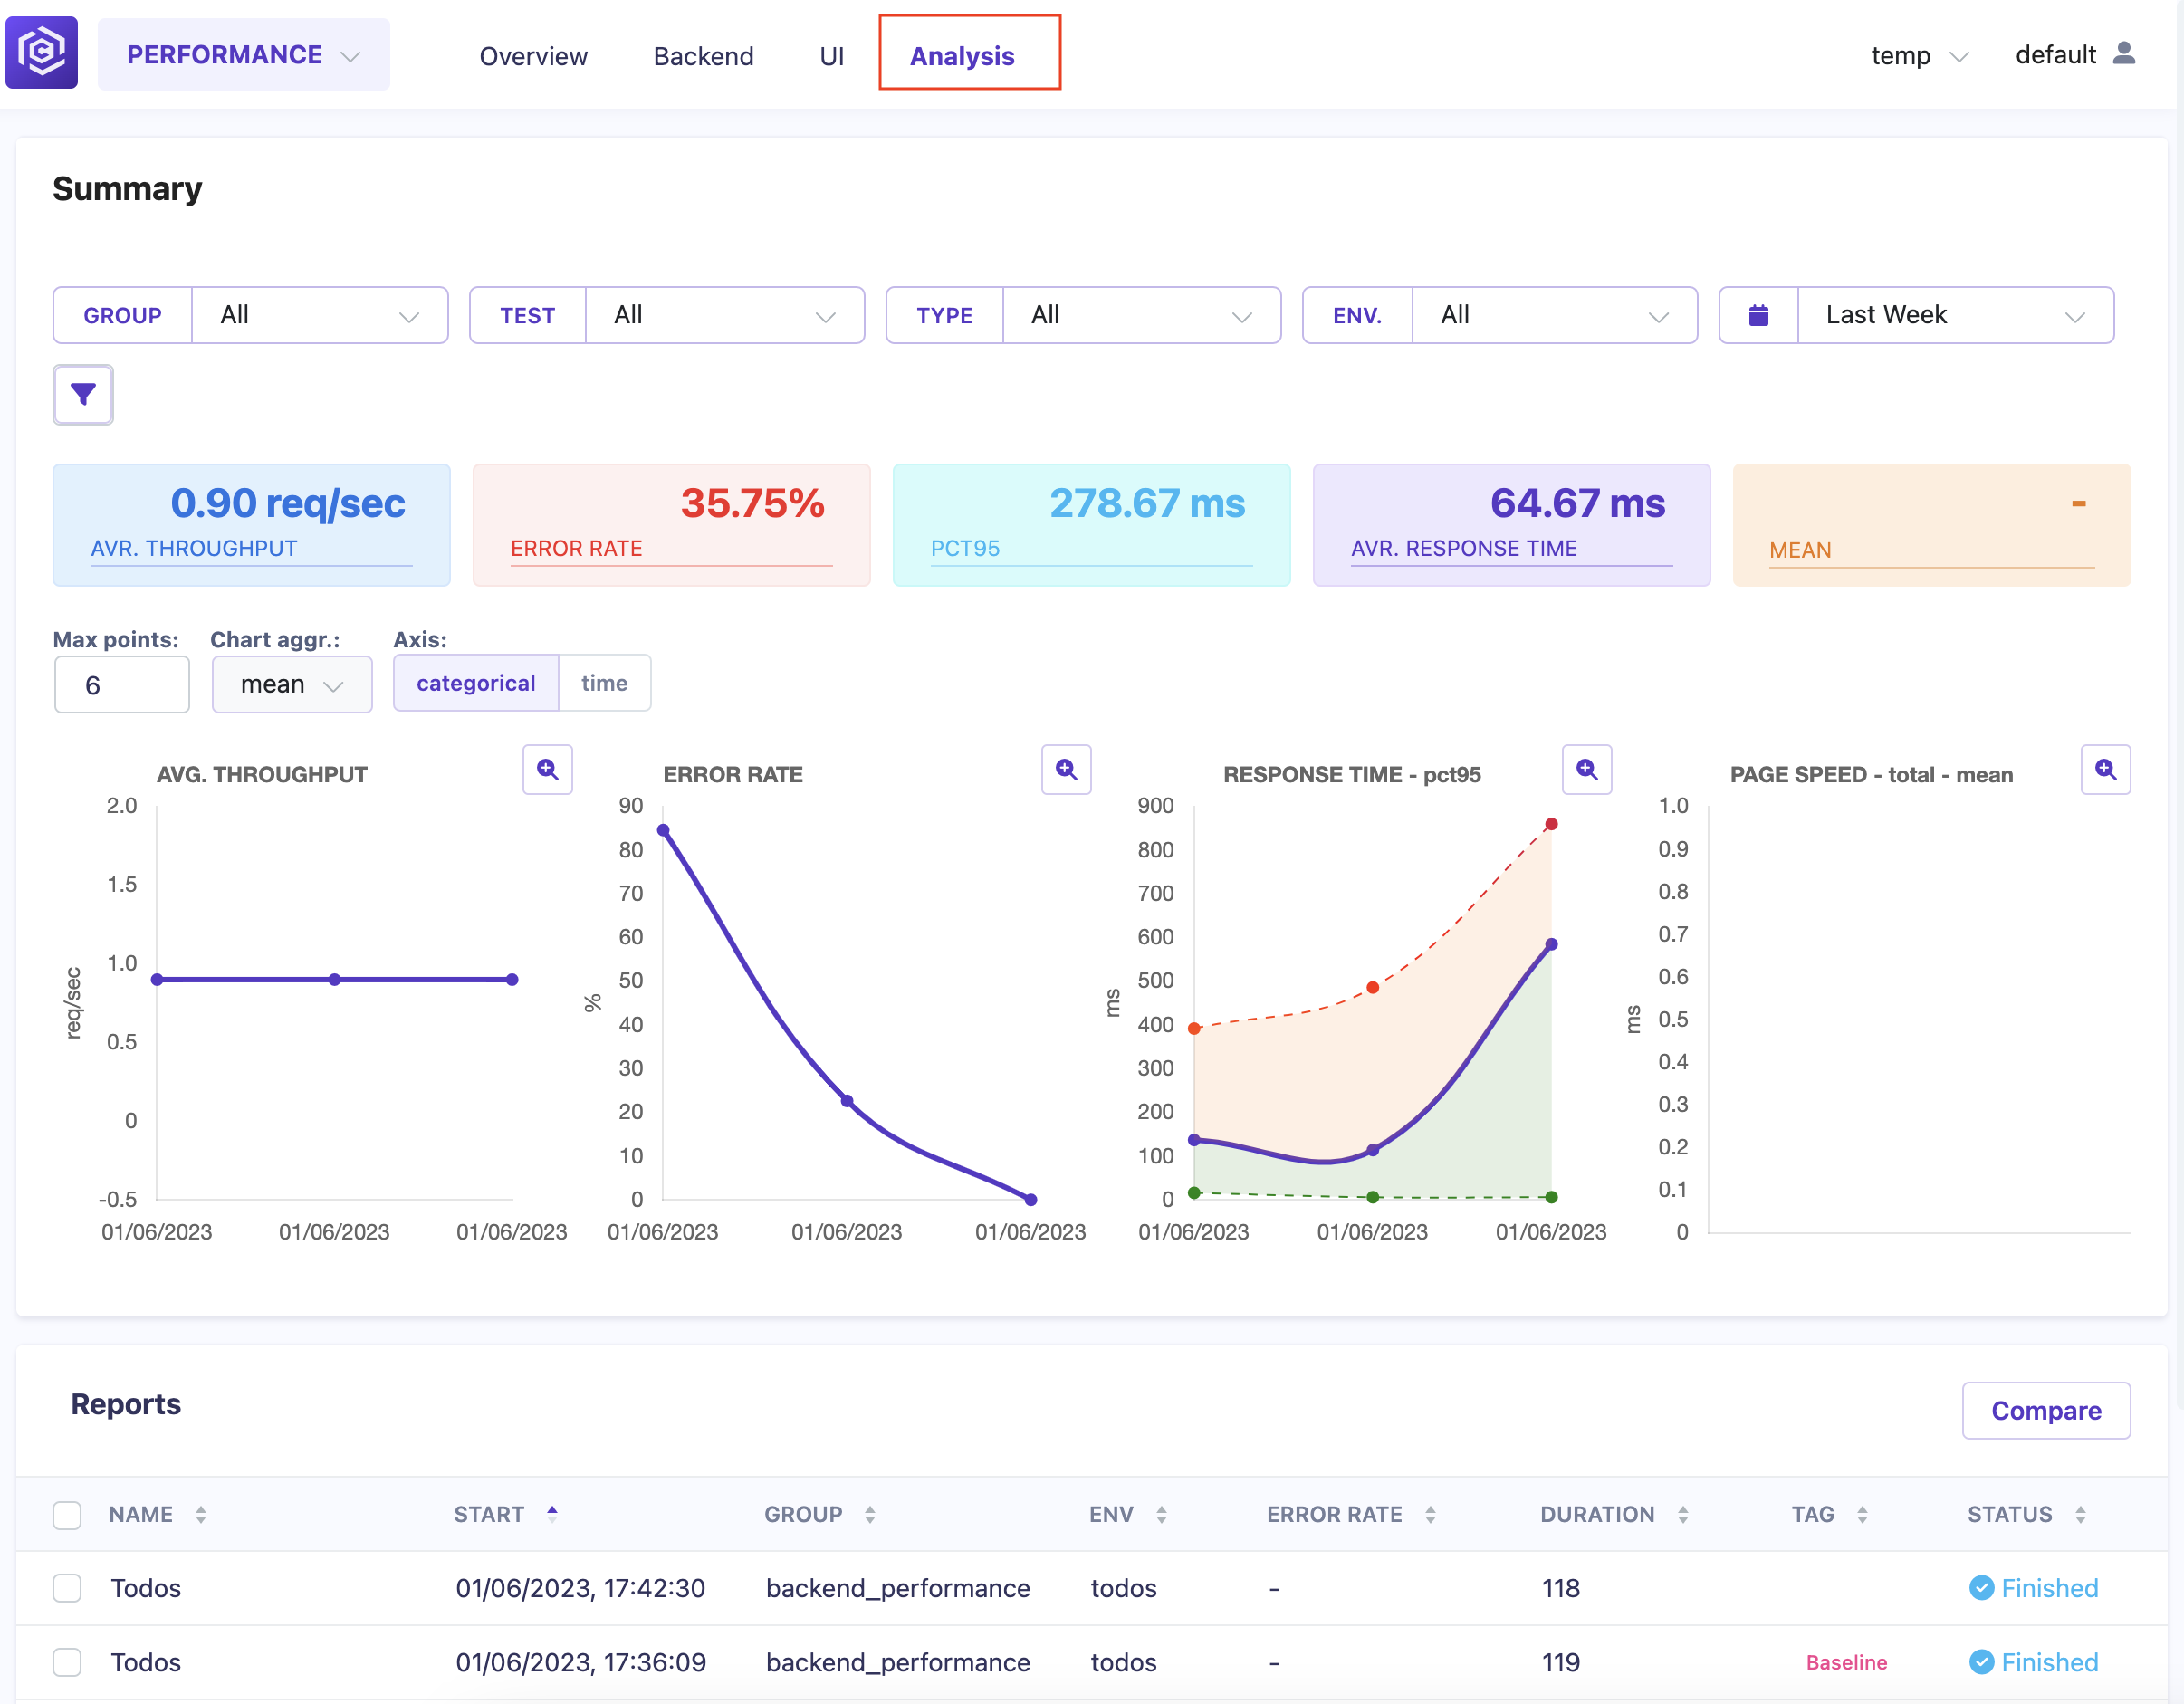
Step 6: Open the “Analysis” Tab
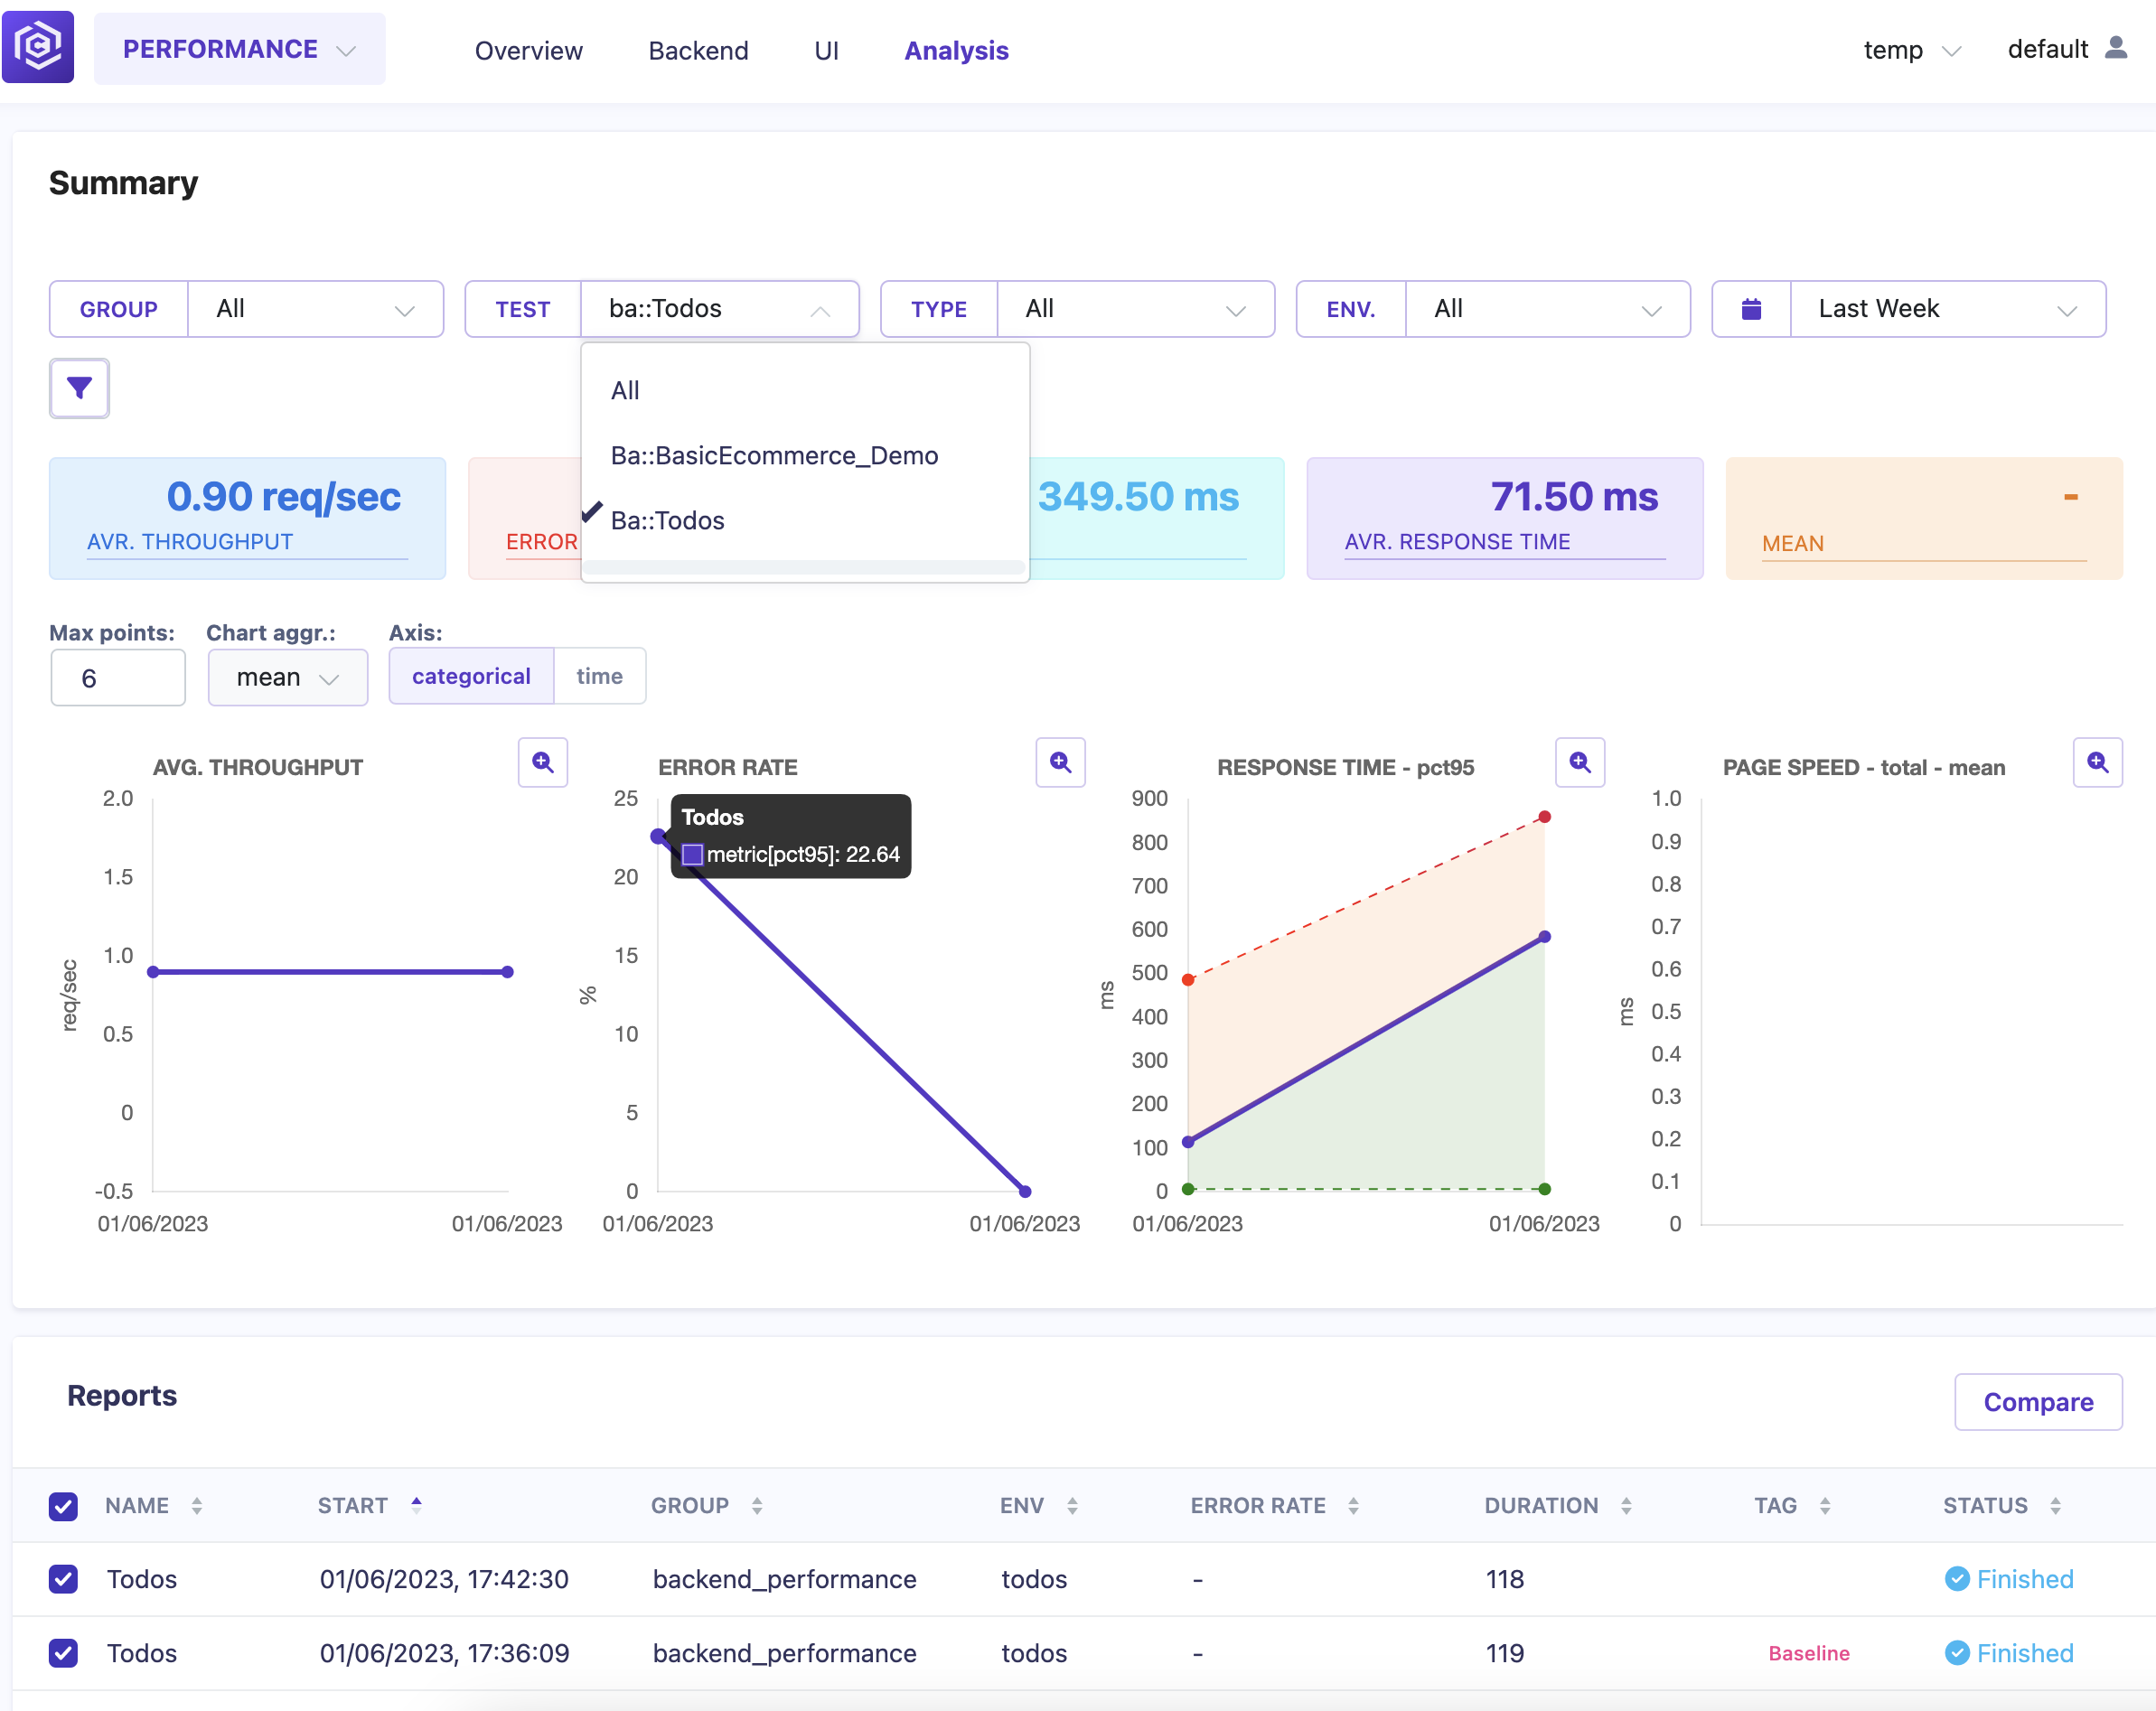
Step 7: Select the Test in the “Test” Filter
- In the “Test” filter section, select the name of the test you want to analyze from the dropdown menu.
Step 8: Select Two Tests to Compare
- In the “Reports” section, select the two test runs you want to compare by clicking on the checkboxes next to their names.
![Select Tests to Compare]()
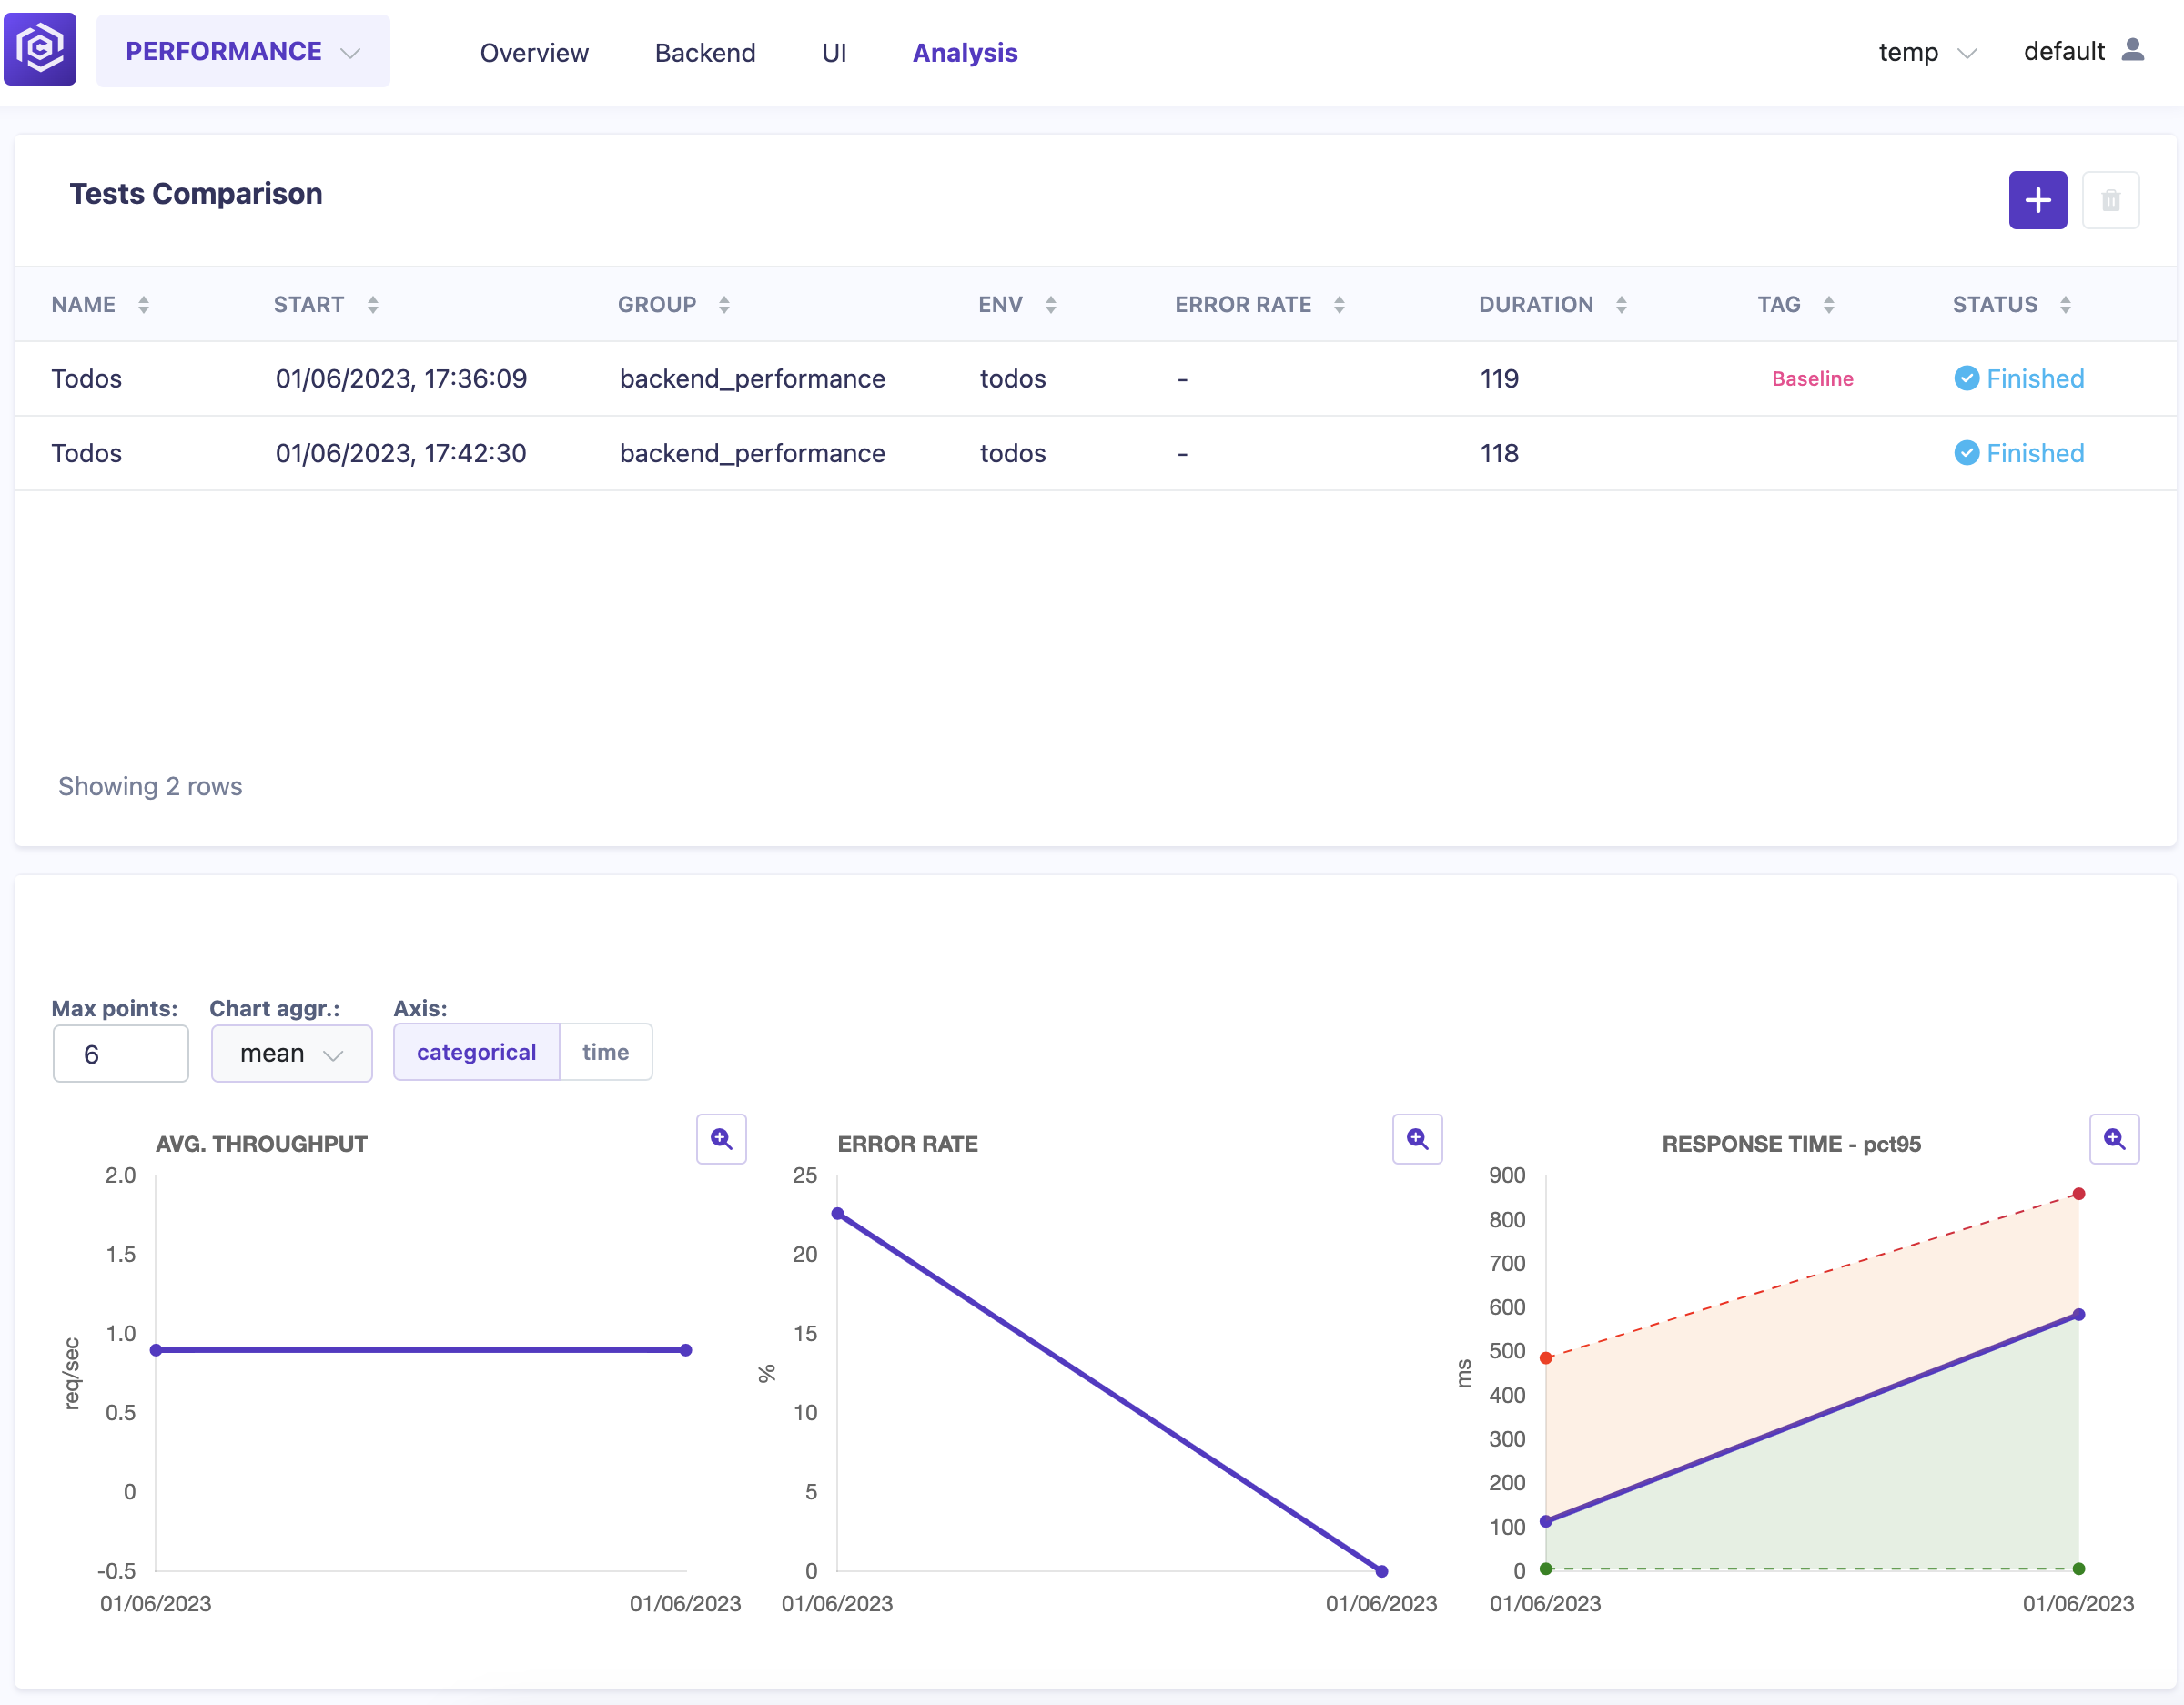
- Click on the “Compare” button to proceed.
![Comparison View]()
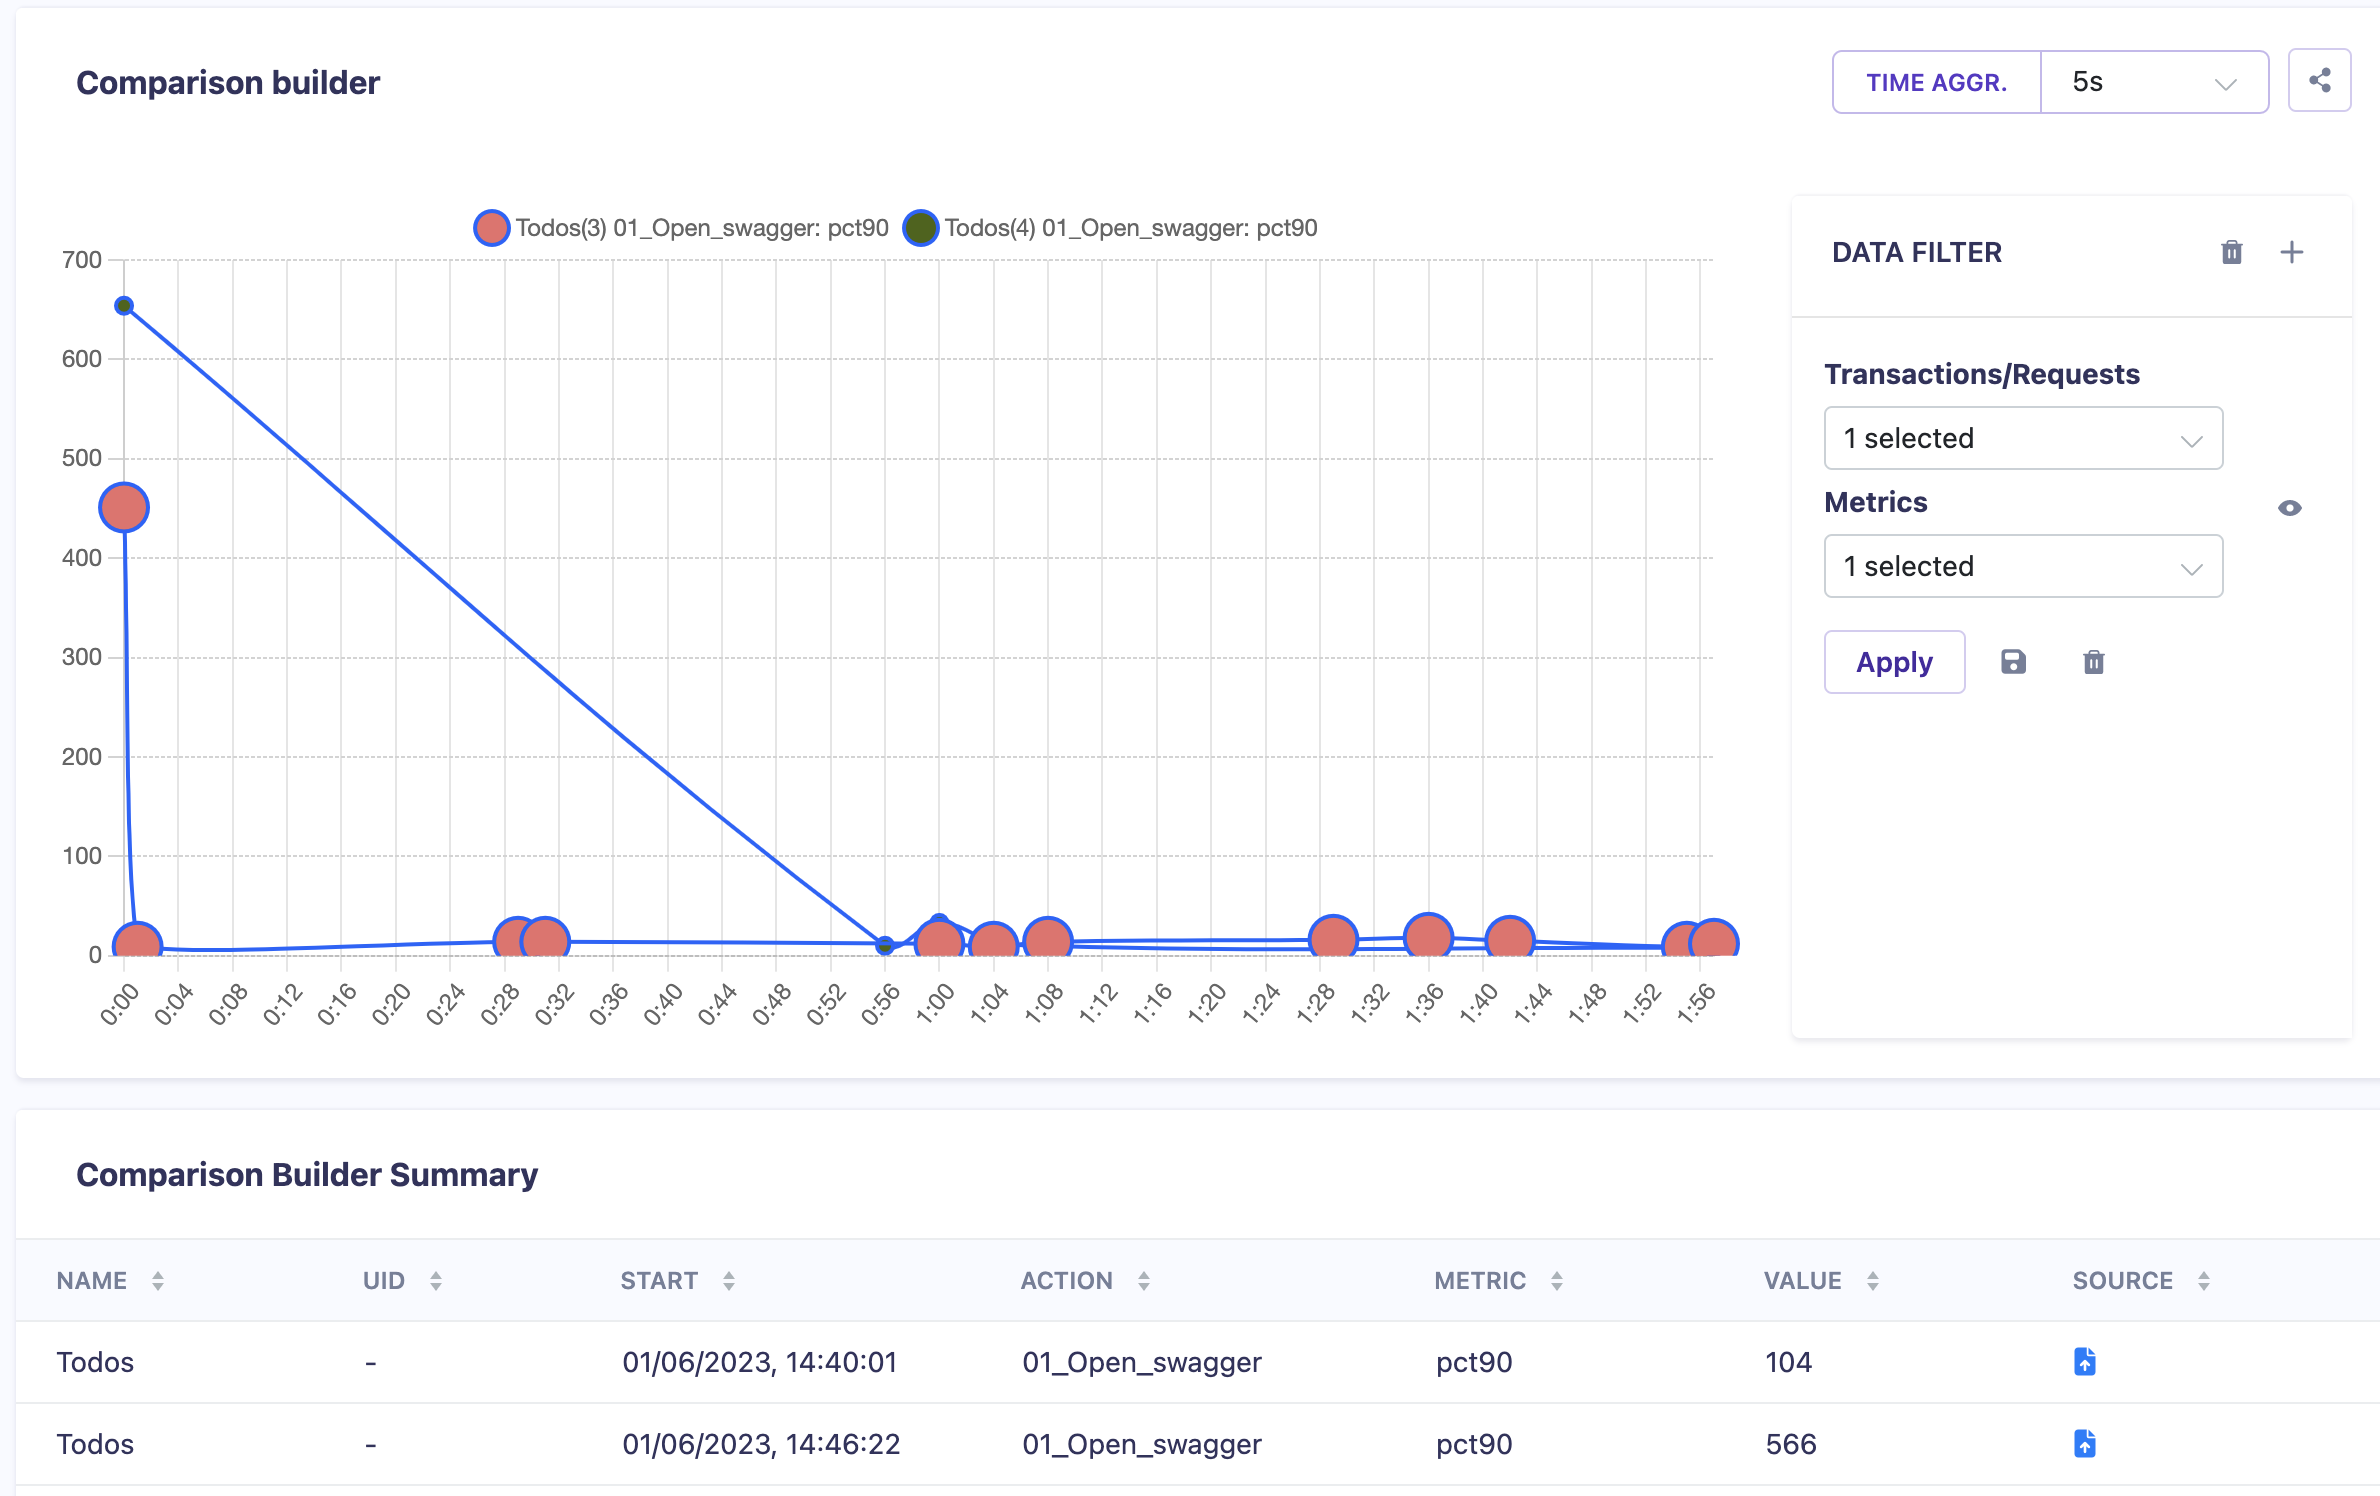
Step 9: Navigate to the “Comparison Builder”
- In the “Comparison Builder” section, find the “Data Filter” option.
- Here, you will see comparison graphs based on the selected filter.
Step 10: Select Data to Compare in the “Data Filter” Section
- In the “Data Filter” section, click on the “Add” button.
![Comparison View]()
- Select the specific data you want to compare, such as response time, throughput, or error rate.
- Click “Apply” to save the data filter.
![Comparison Summary]()
Step 11: Select Metrics to Use for Comparison
- In the “Metrics” section, select the metrics you want to use for the comparison.
- You can choose multiple metrics to analyze.
- Click “Apply” to save the selected metrics.
Step 12: Analyze the Data
- The comparison results will be displayed in charts and tables in the “Analysis” tab.
- Analyze the data to identify any performance improvements or regressions between the test runs.
- You can further customize the analysis by adjusting the data filters, metrics, and visualization options.
Congratulations! You have successfully analyzed and compared test runs in Carrier. Use the insights gained from the comparison to optimize the performance of your application.
Next Steps
After analyzing and comparing test runs, you may want to take further actions based on the insights obtained. This can include fine-tuning your application, optimizing performance, or implementing fixes for any identified issues.

