
Overview
This guide explains how to extend the JMeter container in Carrier with custom plugins (JAR files). By following these steps, you can add additional functionality to your JMeter tests using plugins and extensions.
Prerequisites
Before you begin, ensure you have:
- Access to Carrier and permissions to manage artifacts and test plans
- The JMeter plugin (JAR file) you want to use
Step-by-Step Instructions
Step 1: Create or Select a Bucket in Carrier Artifacts
- Go to the Carrier Artifacts section.
- Create a new bucket or select an existing one to store your JMeter plugins.
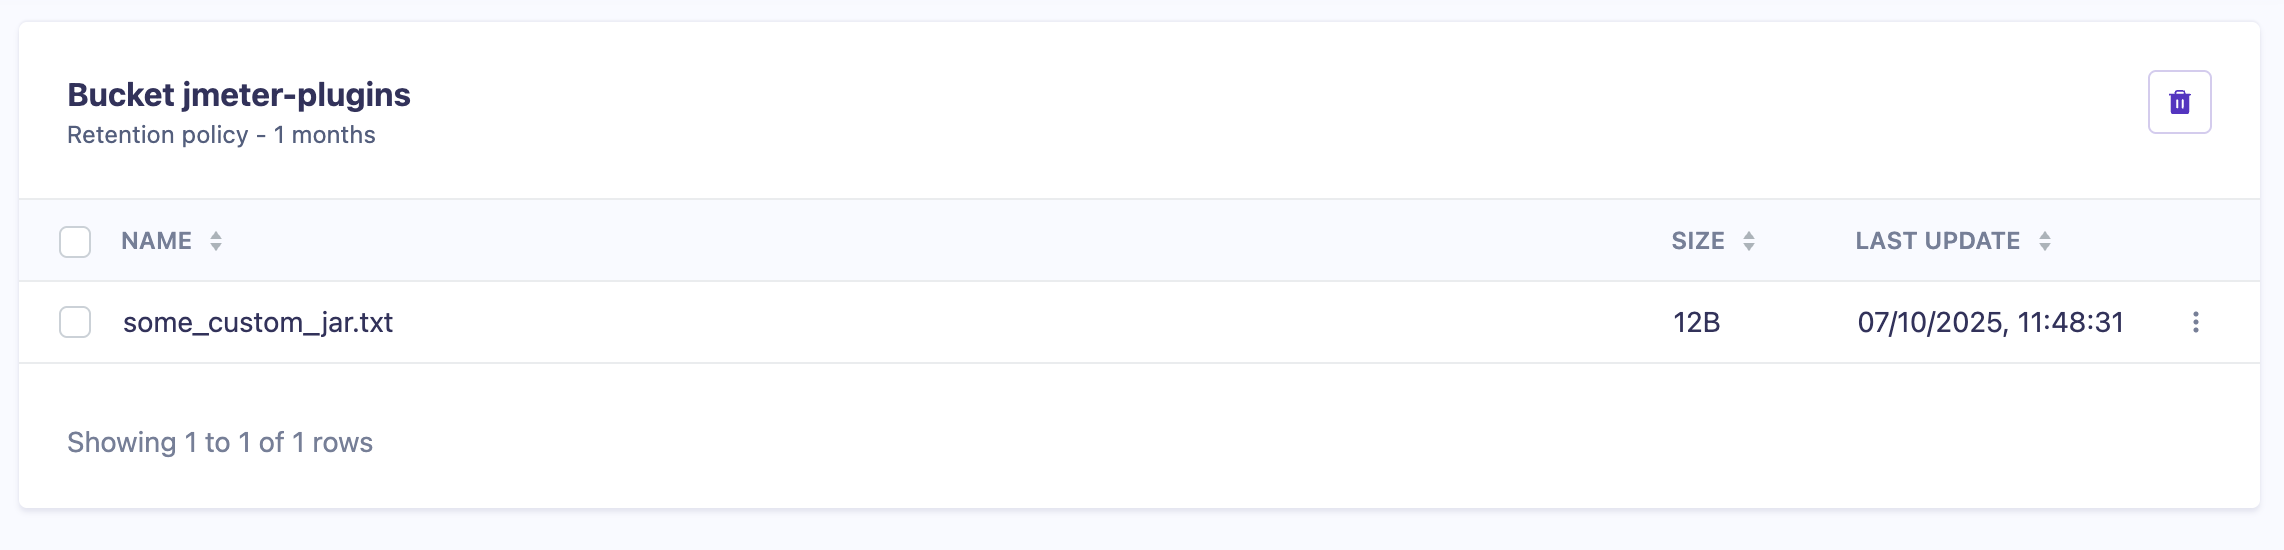
Step 2: Upload the JMeter Plugin (JAR File)
- Upload your JAR file (plugin) to the selected bucket.
- After upload, you should see your file listed in the bucket.
Step 3: Configure Custom Plugins and Extensions in Test Planner
- Open the test planner for your JMeter test.
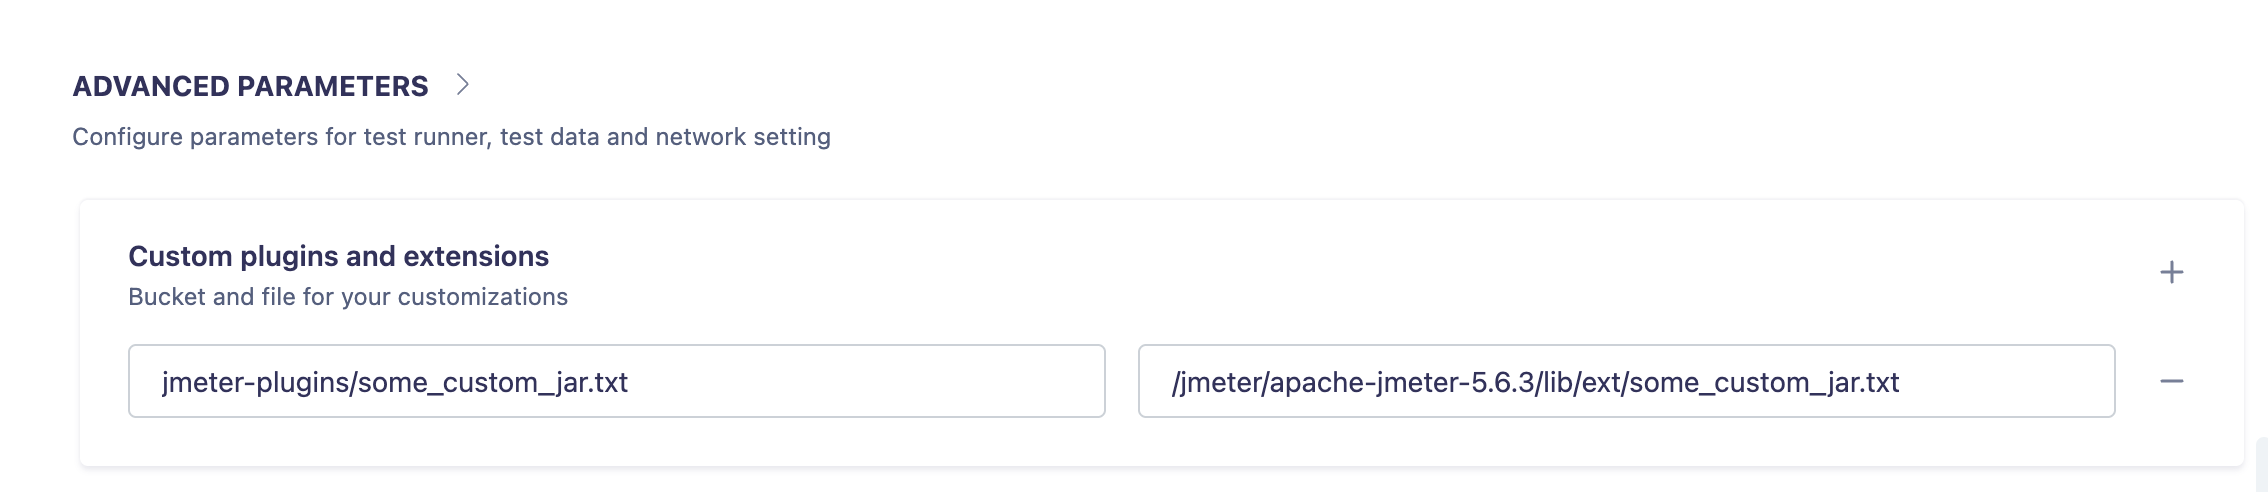
- Go to the Advanced Parameters section.
- In the Custom plugins and extensions area, add a new entry:
- First input: Path to the file in Carrier artifacts, e.g.
bucket_name/jar_name(for example:jmeter-plugins/some_custom_jar.txt) - Second input: Path where the artifact will be stored inside the JMeter container. For JMeter 5.6.3, use
/jmeter/apache-jmeter-5.6.3/lib/ext/some_custom_jar.txt. For other versions, adjust the path accordingly (e.g.,/jmeter/apache-jmeter-5.5/lib/ext/for JMeter 5.5).
- First input: Path to the file in Carrier artifacts, e.g.
Step 4: Save the Test Plan
- Save your test plan with the configured additional parameters (plugins and extensions).
Step 5: Run the Test
- Start your test as usual. Before execution, the container will download all configured extensions and store them in the specified path inside the JMeter container.
- If everything is configured correctly, JMeter will use the new plugins/extensions during the test run.
For troubleshooting or more advanced configuration, see other guides in the Performance category.