Overview
This guide outlines the steps required to change the instance type in Carrier’s Control Tower, allowing for customization of resources to meet various performance and cost needs.
Prerequisites
Before proceeding, ensure you have:
- Access to Carrier’s GitHub repository.
- Administrative access to the Carrier installation platform.
Step-by-Step Instructions
Step 1: Download Control Tower Configuration
Begin by downloading the latest control-tower.zip package from the official Carrier repository. 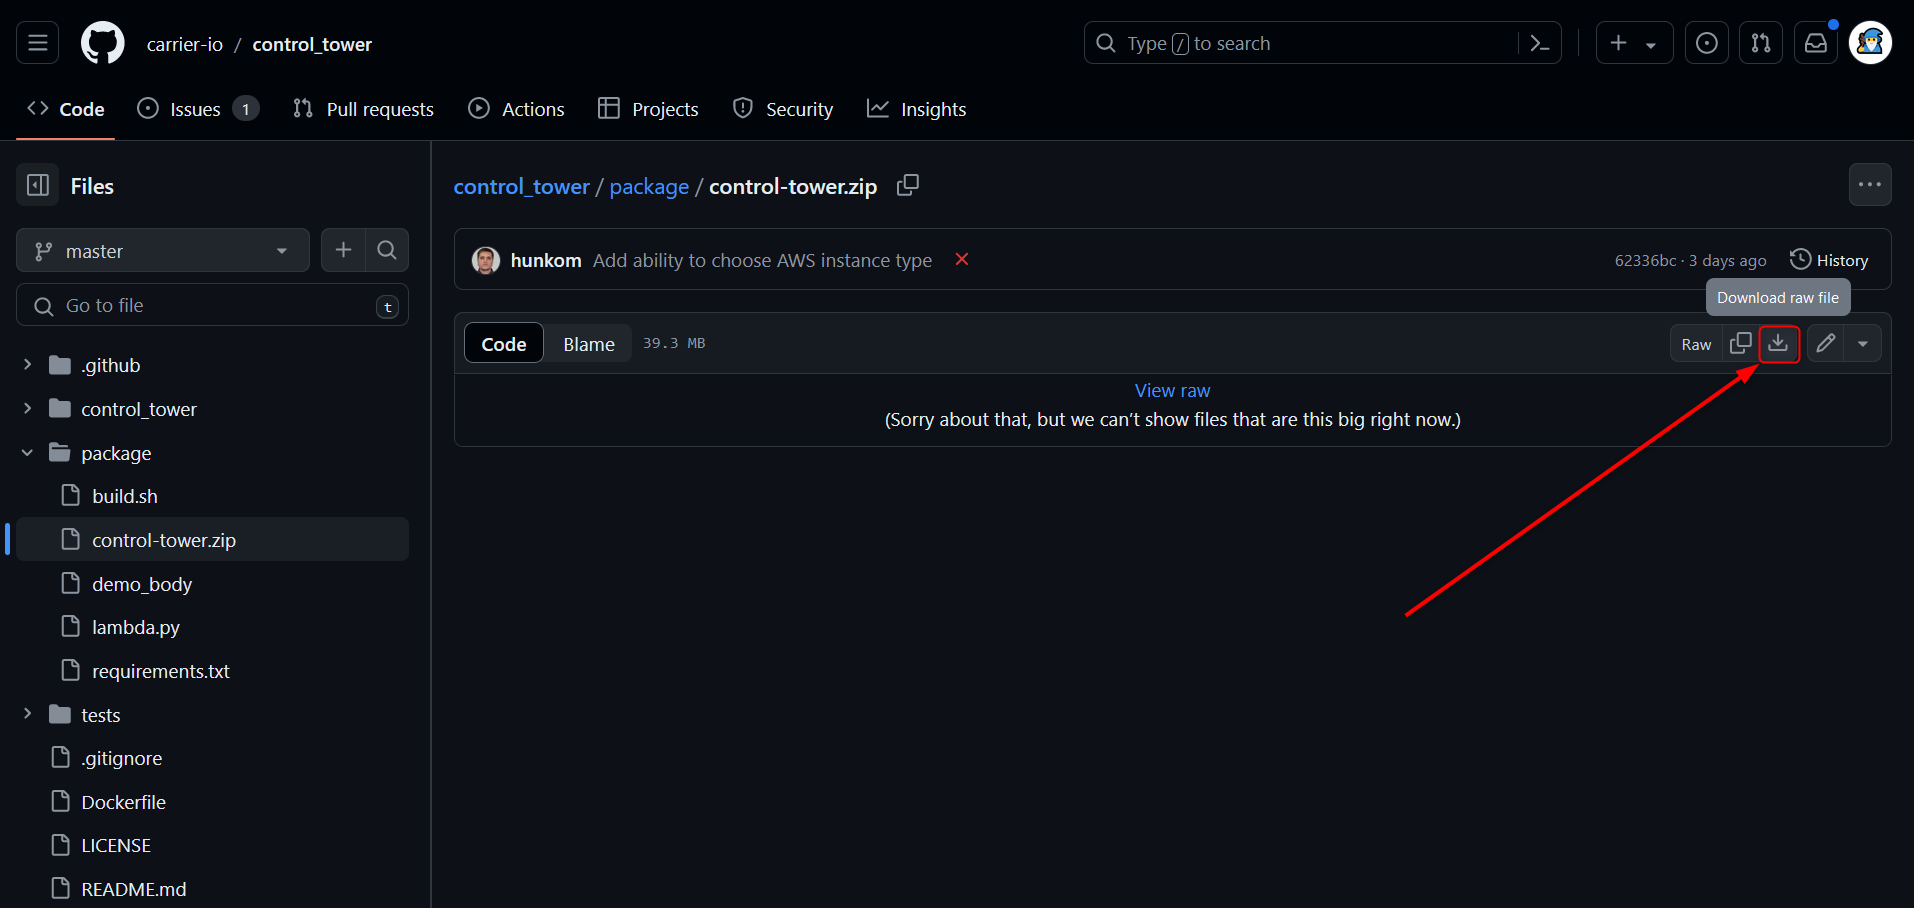
Step 2: Extract the Package
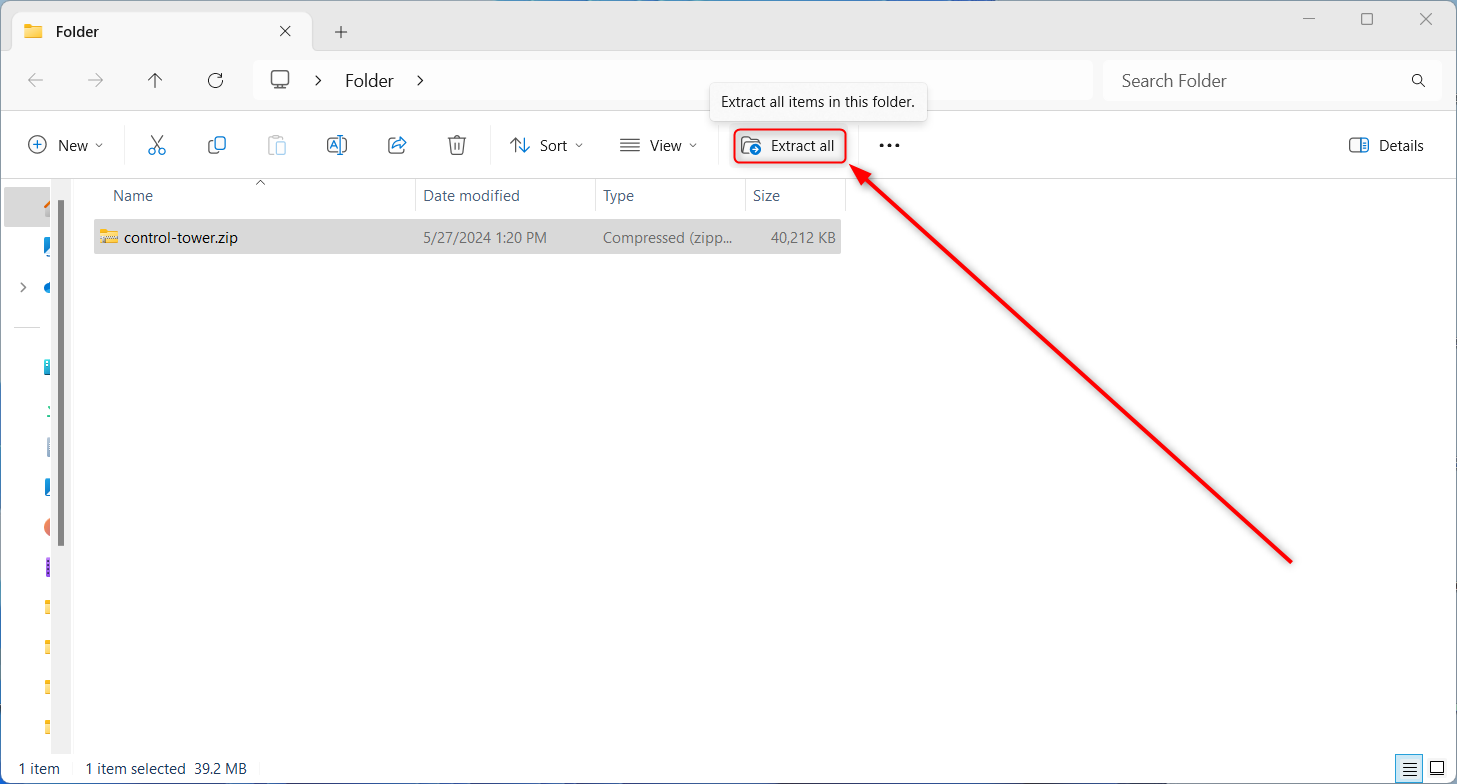
After downloading, extract the control-tower.zip to a new folder. Once extraction is complete, delete the ZIP file to clean up your workspace.
Step 3: Modify Instance Type Configuration
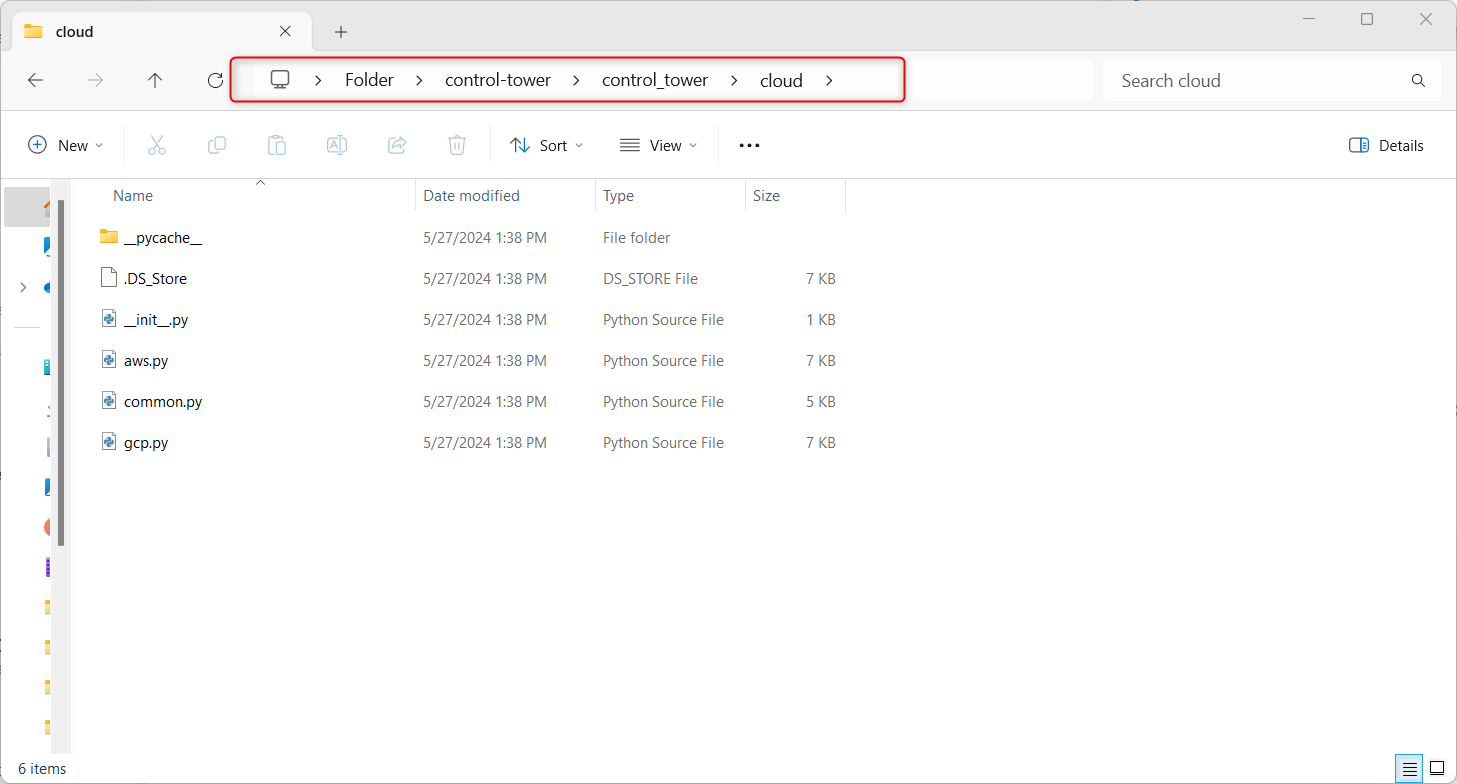
- Navigate to the extracted
control-towerfolder, then to the\control_tower\clouddirectory.![Navigate to folder]()
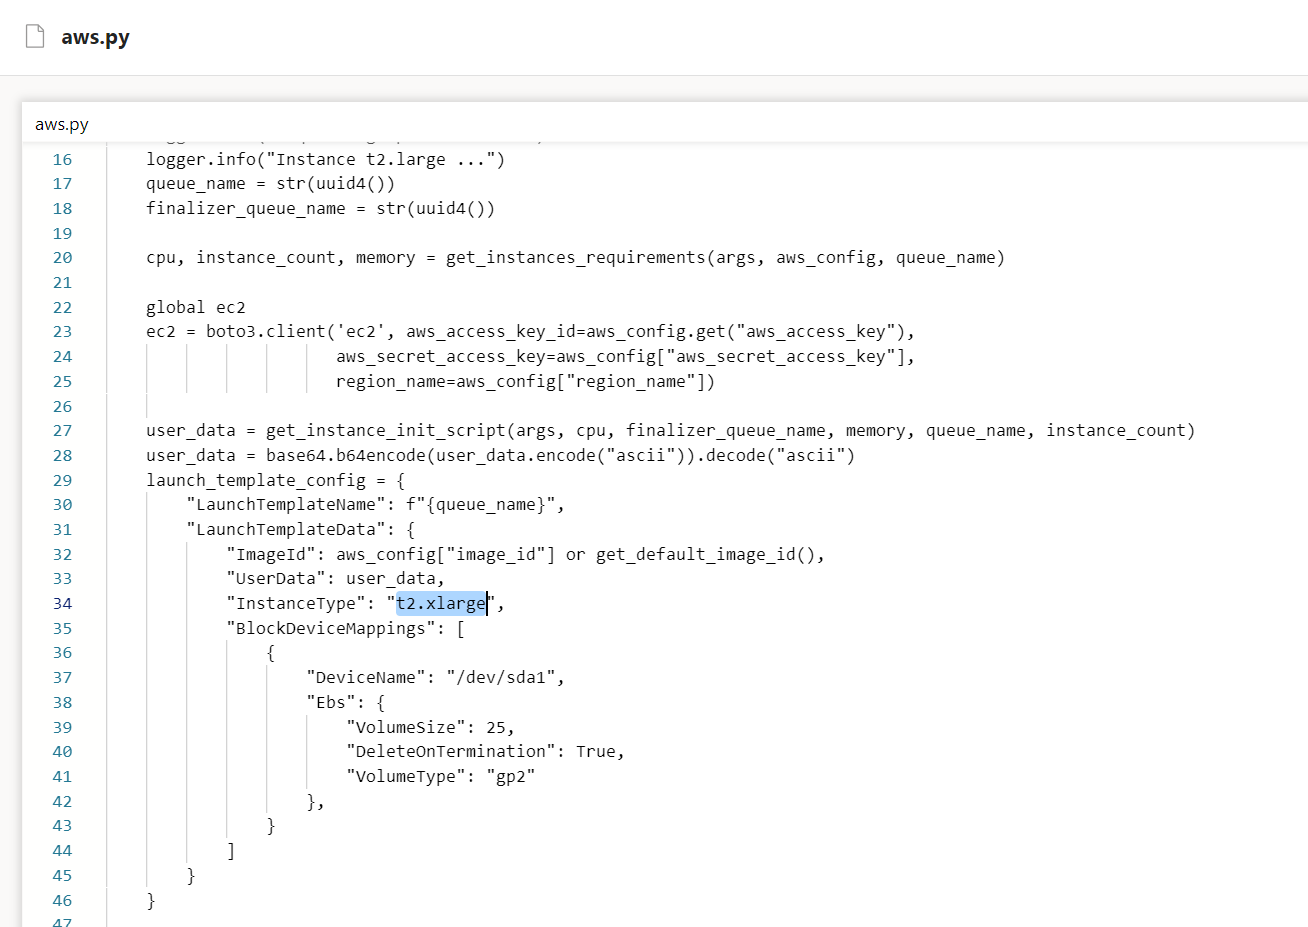
- Open the
aws.pyfile and locate line 34. - Modify the
"InstanceType"attribute to one of the following, depending on your requirements:t2.mediumt2.larget2.xlargem5.largem5.xlargem5.2xlargem5.4xlargem5.8xlargem5.12xlarge
Step 4: Repackage the Control Tower
Zip the control-tower folder again after making the necessary changes, preparing it for upload. 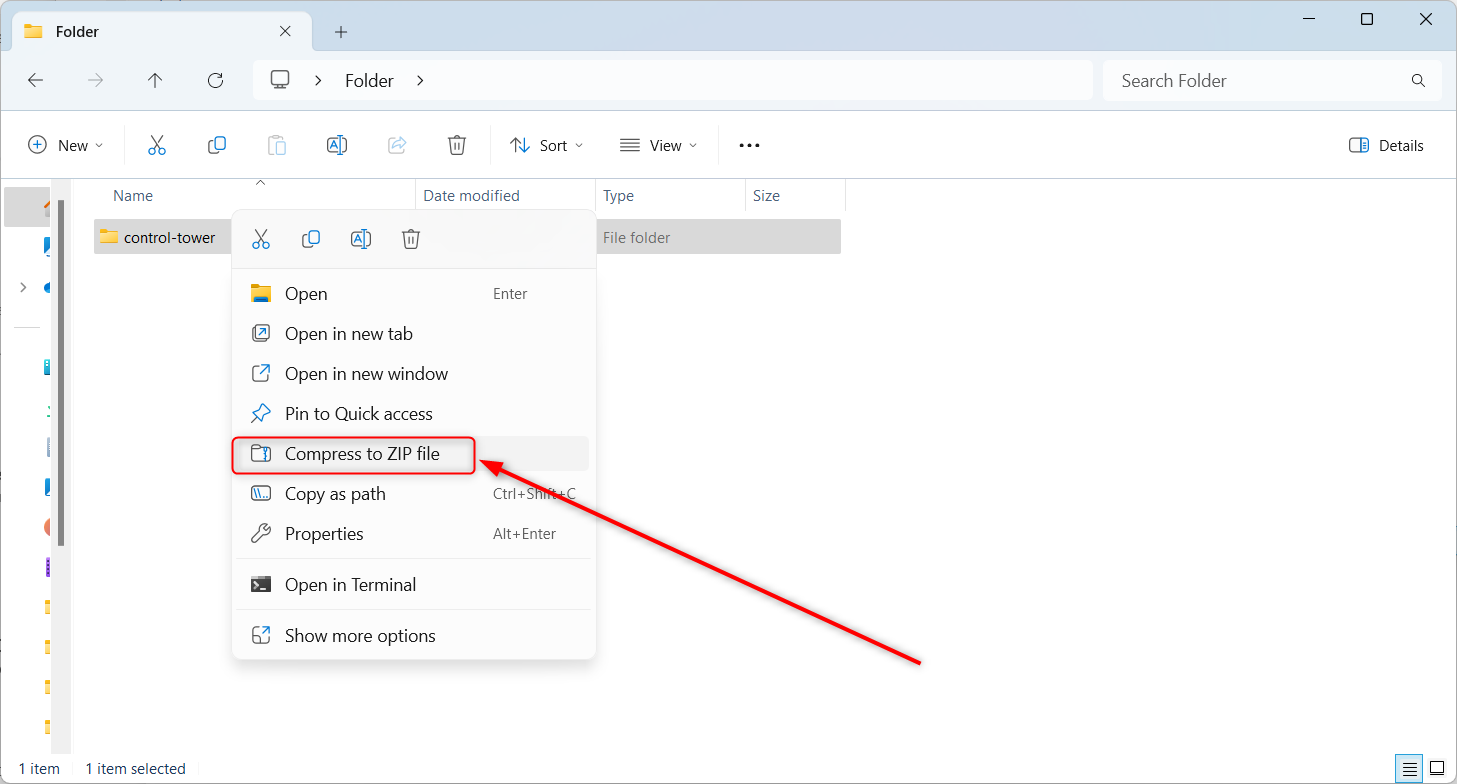
Step 5: Upload Modified Package
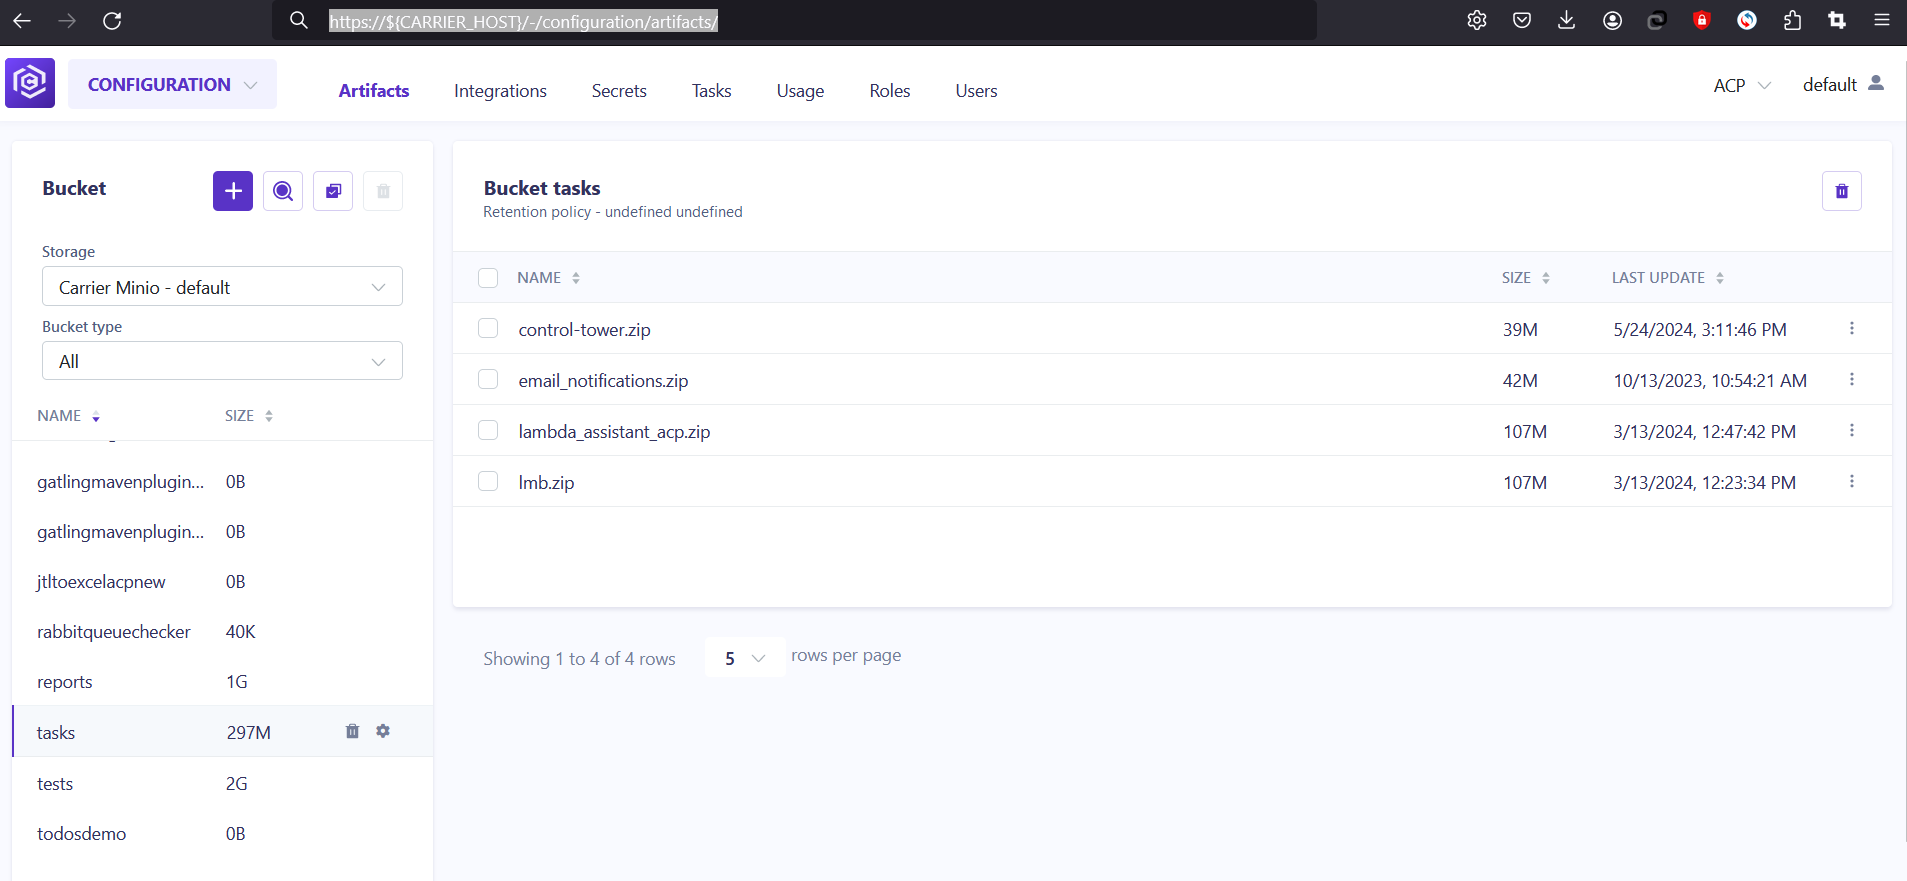
- Navigate to the Carrier configuration portal at
https://${CARRIER_HOST}/-/configuration/artifacts/. - Click tasks.
![Click tasks]()
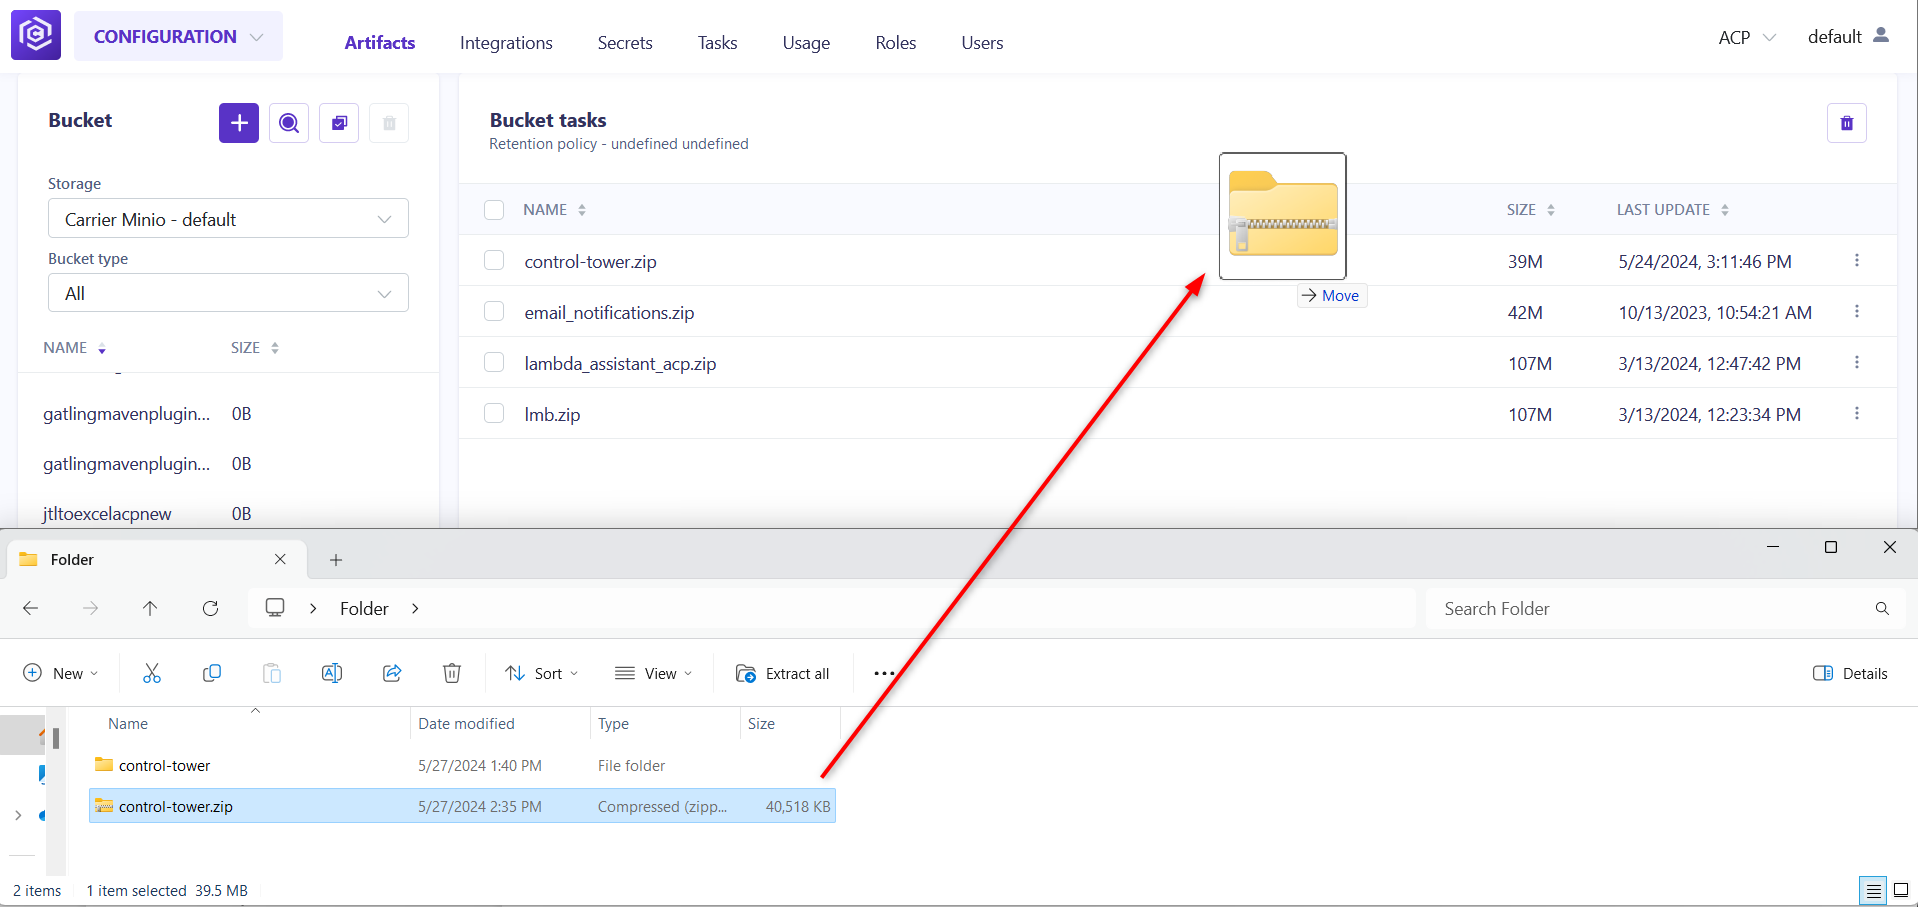
- Drag and drop the new
control-tower.zipfile into the appropriate section to upload it.
Step 6: Deploy Changes
Deploy the new configuration through the Carrier portal to apply the changes.
Step 7: Run Your Tests
After deployment, run your tests to validate that the new instance type settings are functioning correctly.
You can use this Carrier guide to config yor first backend test
Conclusion
By following these steps, you have successfully customized the instance type used by Carrier’s Control Tower. This adjustment can lead to better performance and cost management based on your specific needs.
For further customization or troubleshooting, refer to the Carrier documentation or contact support.

