Overview
This guide provides step-by-step instructions for installing Carrier on Fedora operating systems.
Please find the hardware requirements by following the link.
Prerequisites
Before installing Carrier, you need to ensure that the following tools are installed on your Fedora system:
- Docker 4.19.0+
- Docker Compose 1.29.2+
- Git 2.40.1+
- Make
After executing the installation commands, it is important to ensure that there are no errors. Please verify that the installation process completed successfully without encountering any issues.
Install Docker
- Update the system:
1
sudo dnf update -y
- Install required packages:
1
sudo dnf install -y dnf-plugins-core
- Set up the Docker repository:
1
sudo dnf config-manager --add-repo https://download.docker.com/linux/fedora/docker-ce.repo
- Install Docker:
1
sudo dnf install docker-ce docker-ce-cli containerd.io docker-compose-plugin -y
- Start and enable Docker service:
1
2
sudo systemctl start docker
sudo systemctl enable docker
- Verify that Docker is installed correctly:
1
docker --version
Install Docker Compose
Ensure that you have Docker installed on your Fedora system. If Docker is not installed, you can refer to the previous instructions to install it.
Install Docker Compose:
1
2
sudo dnf install python3-pip -y
pip3 install docker-compose
Install Git
- Install Git:
1
sudo dnf install -y git
- Verify the Git installation:
1
git --version
Install Make
- Install Make:
1
sudo dnf install -y make
- Verify the Make installation:
1
make --version
After completing these steps, you have successfully installed Docker, Docker Compose, Git, and Make tools on your Fedora system.
Make sure to execute these additional steps before proceeding with the Carrier installation to ensure that all the required tools are installed on your Fedora system.
Carrier Installation Steps
You need to use public IP to access Carrier
- Сlone the carrier-io centry repository to the
/optdirectory:1
git clone https://github.com/carrier-io/centry.git -b beta-3.0 /opt/centry - Navigate to the downloaded folder:
1
cd /opt/centry - Set the
CURRENT_IPenvironment variable to the public IP of your Fedora system:1
export CURRENT_IP=$(curl -s ifconfig.me)
- Set the IP parameters in the
.envandMakefilefiles:
It is recommended to update .env and Makefile manually, but you can also try next commands to do it automatically. Please double check that all the values are updated
1
2
sudo sed -i -e "s/\$APP_IP/$CURRENT_IP/g" .env
sudo sed -i -e "s/\#DIRECT_IP=YOUR_IP_HERE/DIRECT_IP=$CURRENT_IP/g" Makefile
- Update the installation path in the
.envfile:1 2
sudo vi .env # Update the CARRIER_PATH and VOLUMES_PATH variables with /opt/centry
If you are going to store your data on the disk instead of docker volumes you should update .env and Makefile
1
2
3
4
5
6
7
8
9
10
    vi Makefile
    ....
    LOCAL_VOLUMES=true
    ....

    vi .env
    ....
    CARRIER_PATH=/opt/centry
    VOLUMES_PATH=/opt/centry/volumes
    ....
- Export the Docker and Docker Compose timeouts:
1
2
export DOCKER_CLIENT_TIMEOUT=120
export COMPOSE_HTTP_TIMEOUT=120
- Launch the Carrier installer:
1
sudo make up
Expected Output:
1
2
3
4
5
6
7
8
9
10
11
12
13
14
 Starting carrier-minio    ... done
 Starting carrier-redis    ... done
 Starting carrier-influx   ... done
 Starting carrier-postgres ... done
 Starting carrier-loki     ... done
 Creating carrier-vault    ... done
 Creating centry_traefik_1 ... done
 Creating carrier-rabbit   ... done
 Creating carrier-grafana  ... done
 Creating carrier-keycloak             ... done
 Creating carrier-interceptor          ... done
 Creating carrier-interceptor_internal ... done
 Creating carrier-pylon                ... done
 Creating carrier-pylon-auth           ... done
1
docker logs -f carrier-pylonExpected Output:
1
2
3
4
5
6
7
8
9
10
11
 INFO - pylon.core.tools.process - Stored in directory: /root/.cache/pip/wheels/e3/76/6f/c25be6a9e6cc9985b96e8c95997d46790242c6426ef68e754c
 INFO - pylon.core.tools.process - Successfully built jsonpath_rw
 INFO - pylon.core.tools.process - Installing collected packages: ply, decorator, jsonpath_rw
 INFO - pylon.core.tools.process - Successfully installed decorator-5.1.1 jsonpath_rw-1.4.0 ply-3.11
 INFO - plugins.auth_mappers.module - Initializing module
 INFO - plugins.auth_oidc.module - Initializing module
 INFO - plugins.auth_root.module - Initializing module auth_root
 INFO - pylon.core.tools.server - Starting Flask server
 * Tip: There are .env or .flaskenv files present. Do "pip install python-dotenv" to use them.
 WARNING - werkzeug -  * Debugger is active!
 INFO - werkzeug -  * Debugger PIN: 686-802-926
Verify that no Docker containers have been restarted:
1
 docker ps -a
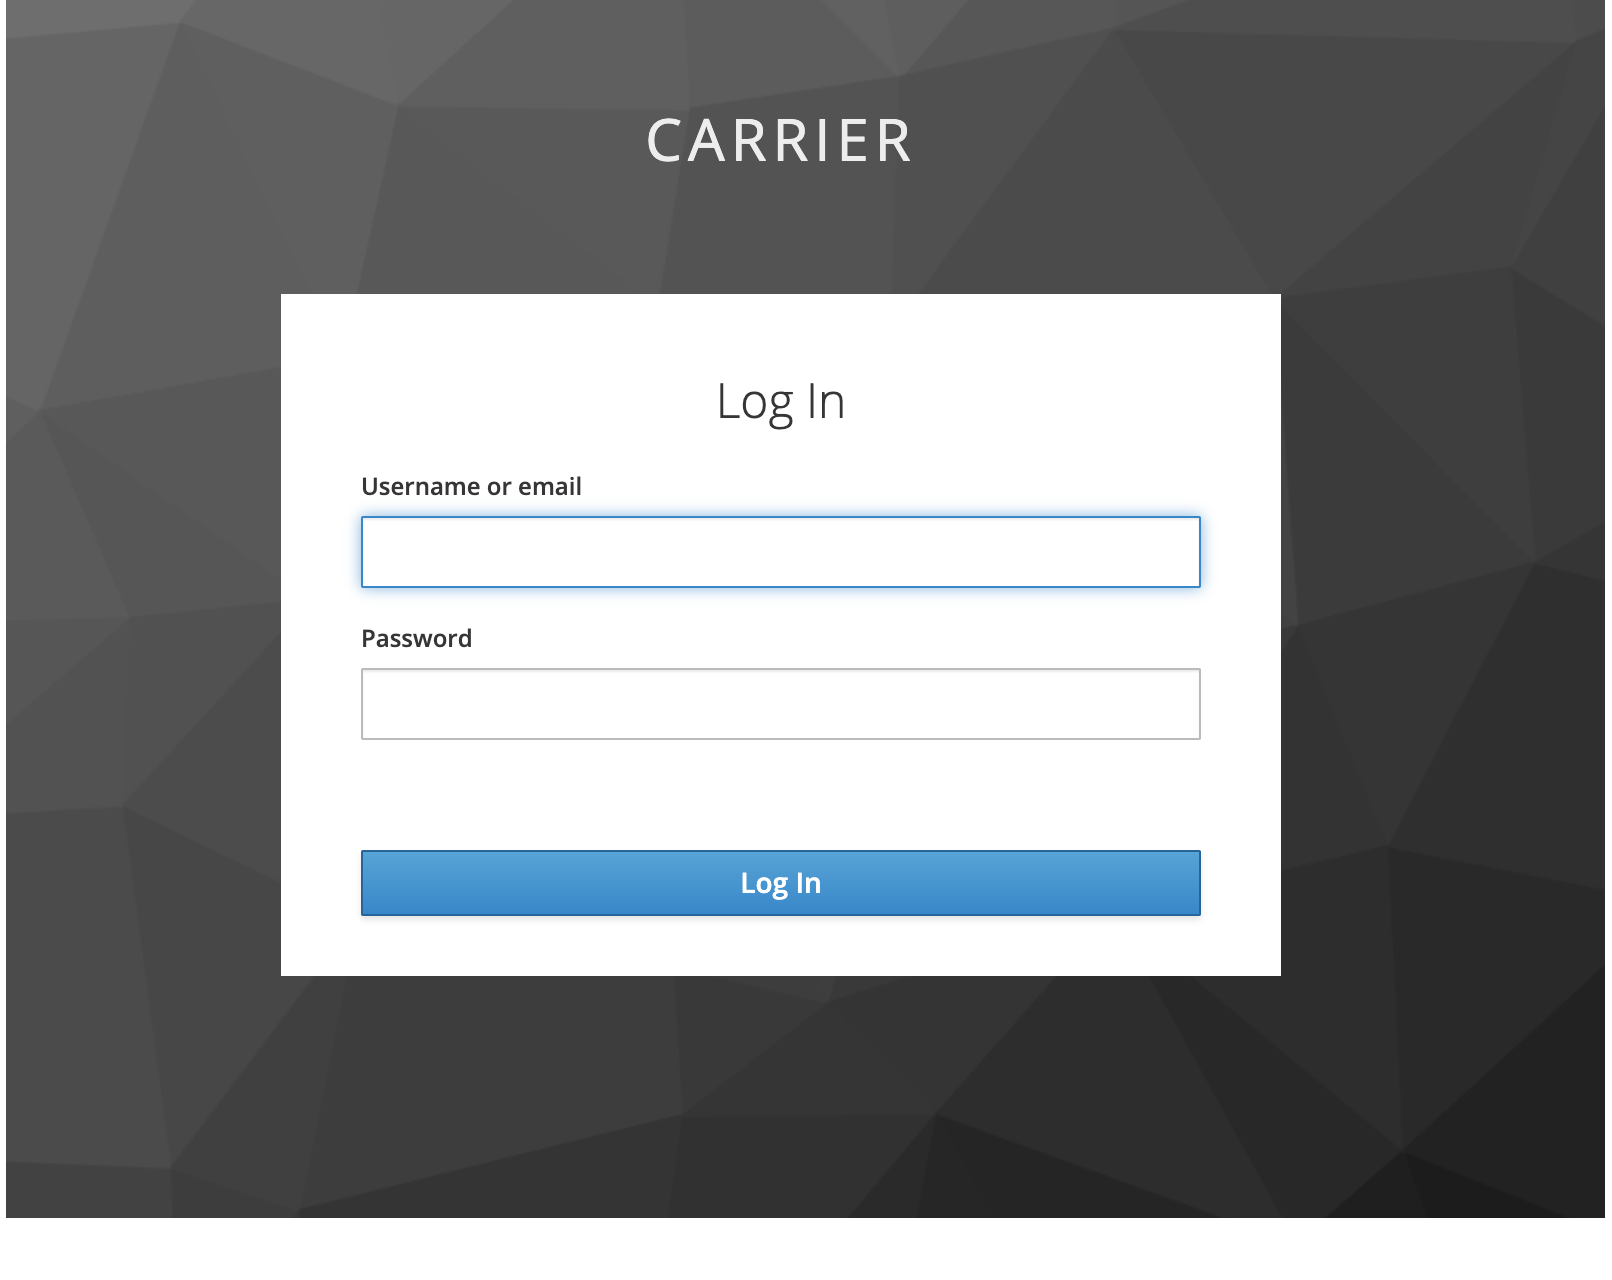
Once the installation is finished, open the following URL in a browser:
http://<public DNS or IP>Login for the first time to the system using the
admin/admincredentials.You’re all set, then! Excellent Work!
Next Step: Create a Project in Carrier
Once you have completed the installation steps, you can proceed to create your first project in Carrier. The project allows you to organize and manage your performance and security tests.
Follow the guide on how to create a project in Carrier to get started.
Troubleshooting
- Restart carrier-pylon container:
1
2
sudo docker restart carrier-pylon
sudo docker logs -f carrier-pylon
- If something doesn’t work as expected, check the logs of the following containers for any errors:
1
2
3
sudo docker logs -f carrier-keycloak
sudo docker logs -f centry_traefik_1
sudo docker logs -f carrier-pylon-auth
Uninstall
If the root volume was used as the hard drive, use the following commands to stop containers and remove all required artifacts:
1
2
3
sudo docker-compose down
sudo docker volume prune
sudo docker network prune
If a mounted disk was used, manually delete all directories with images:
1
2
sudo docker-compose down
sudo rm -rf /opt/docker

